
CLASSIC
Inspired by real customer needs and refined over time,
Classic is the roofing solution that brings together safety, quality, and elegance.
SMART BENEFITS
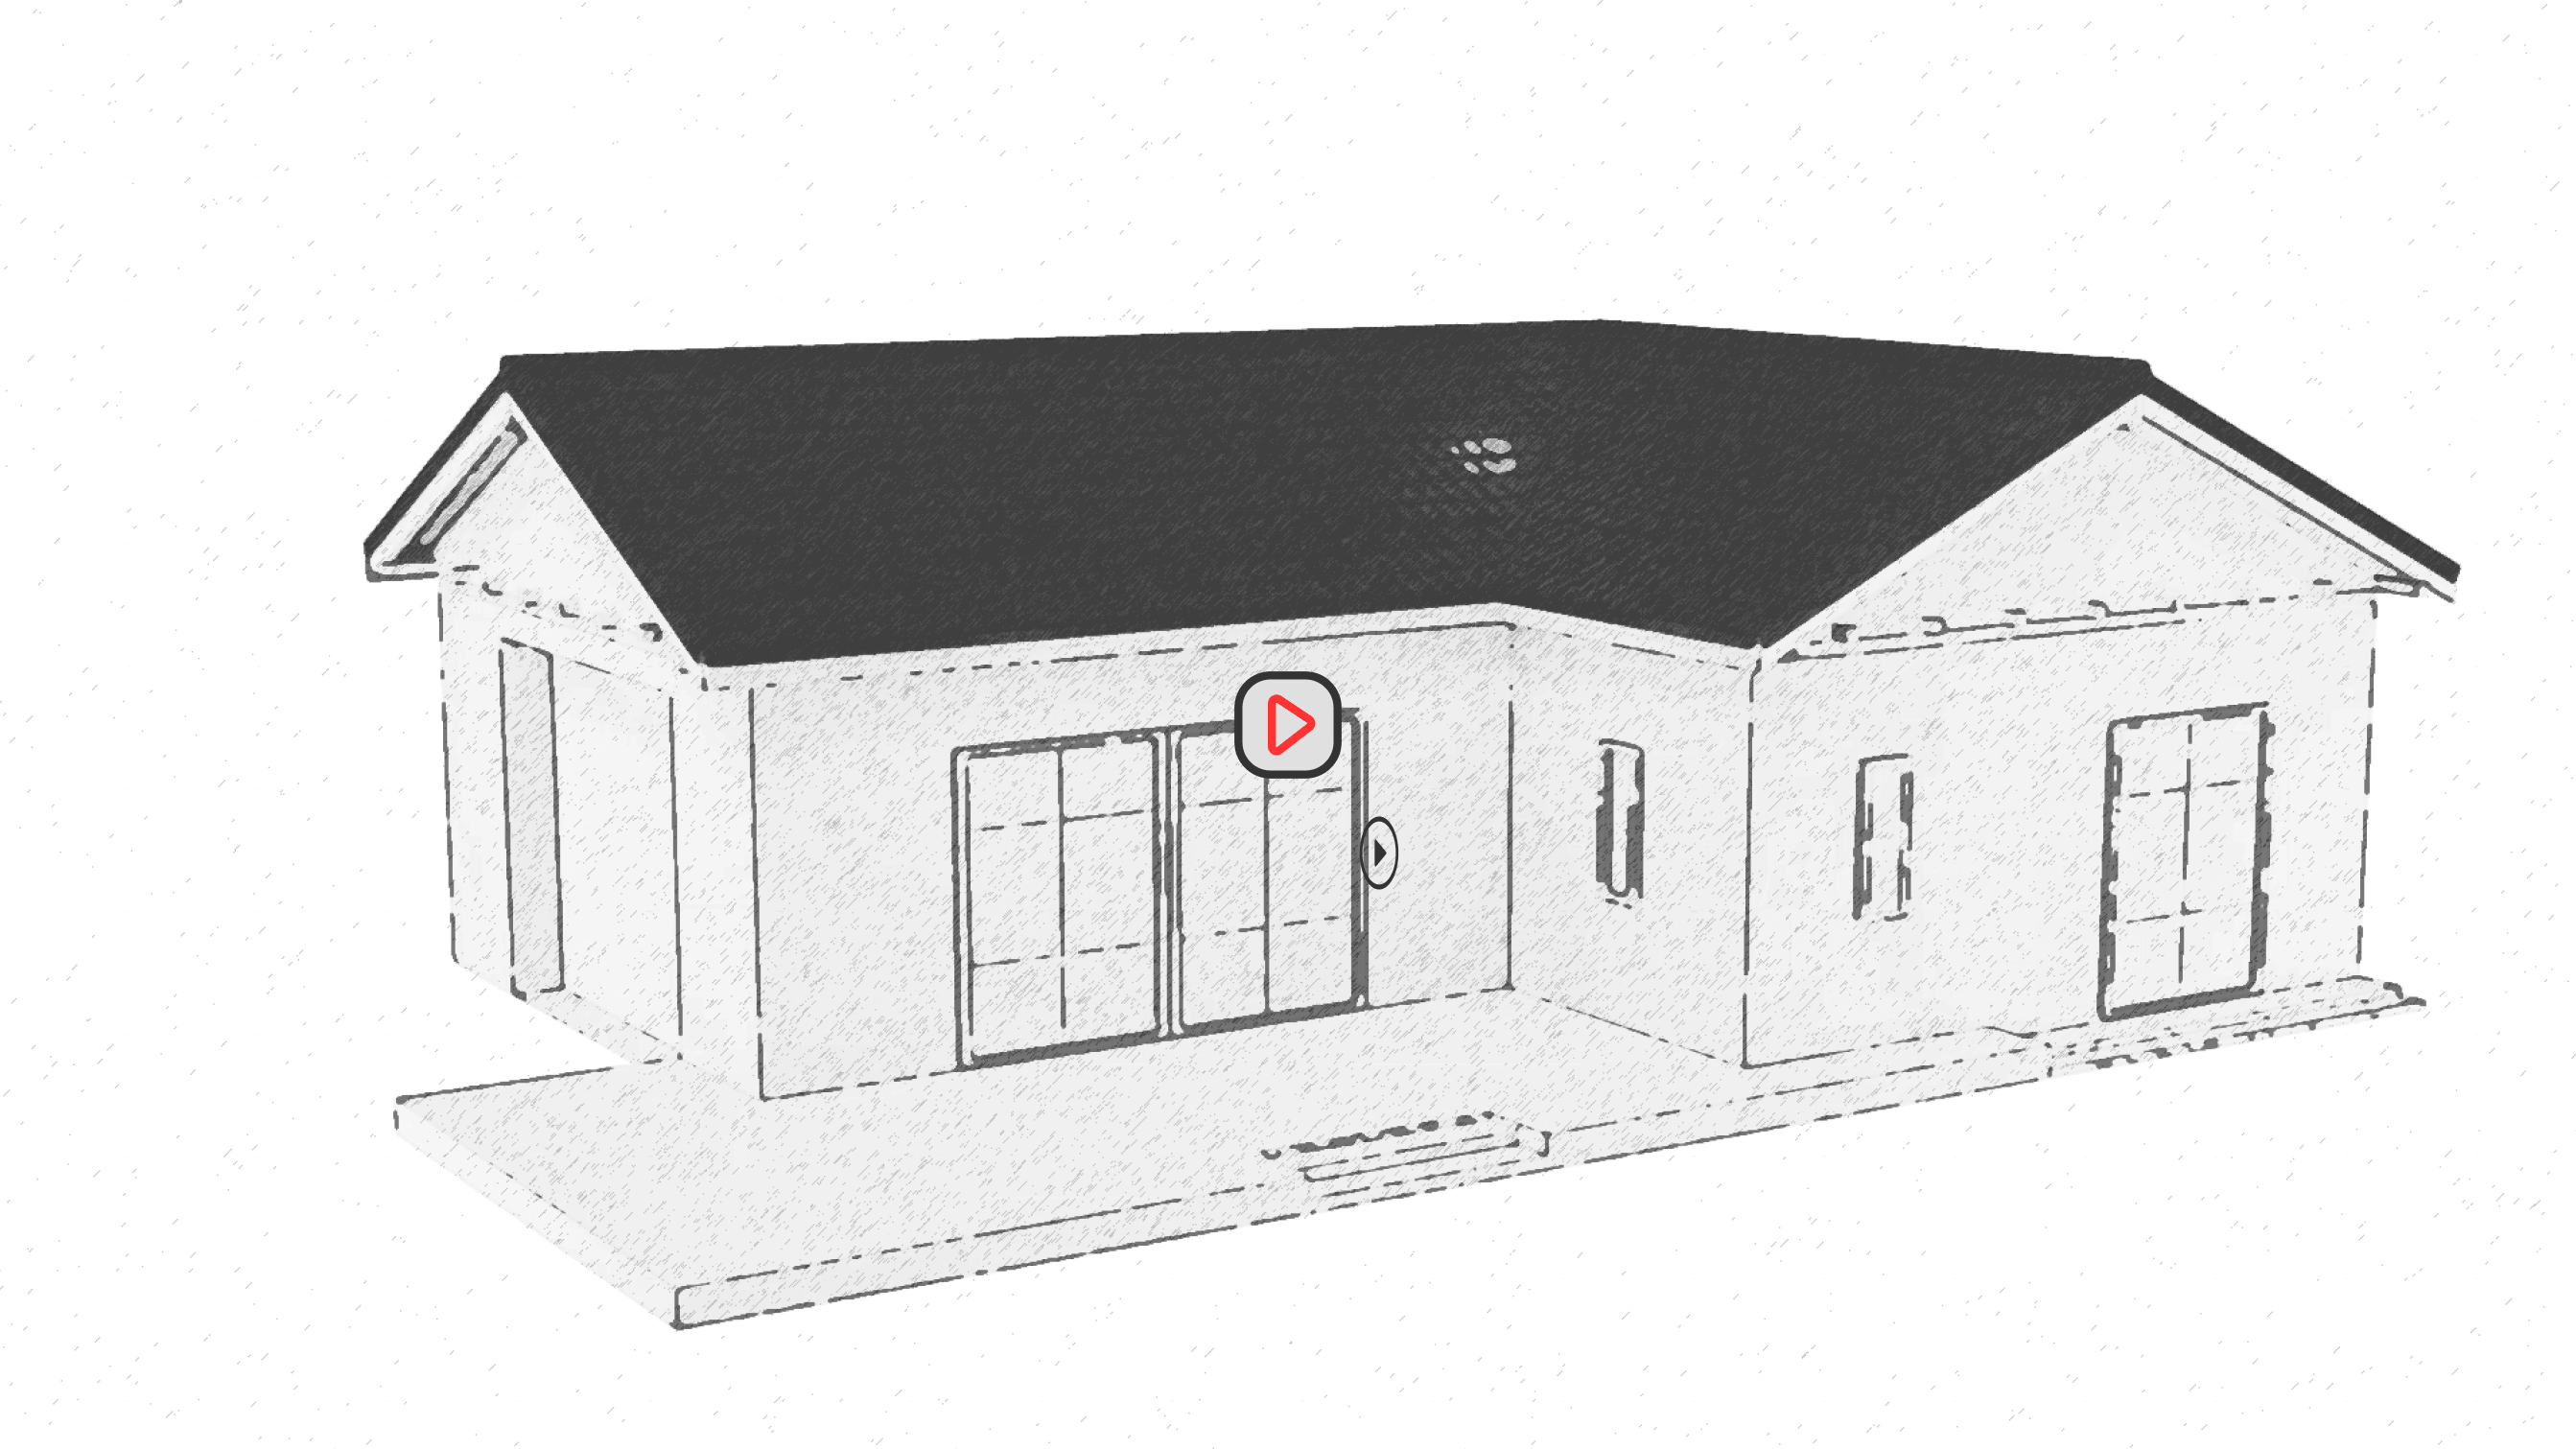
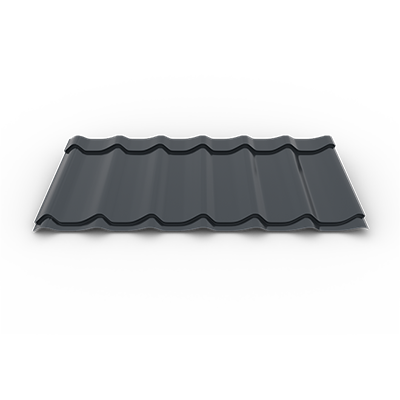
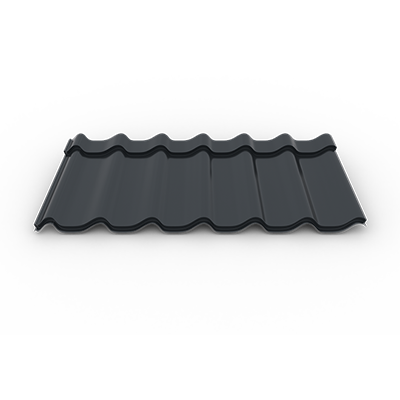
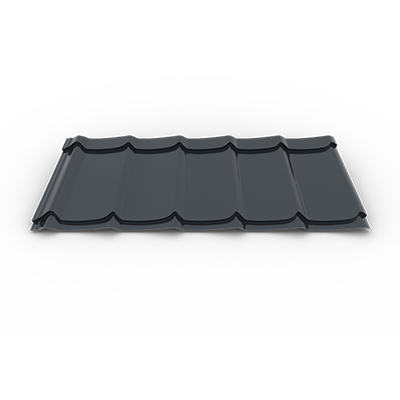
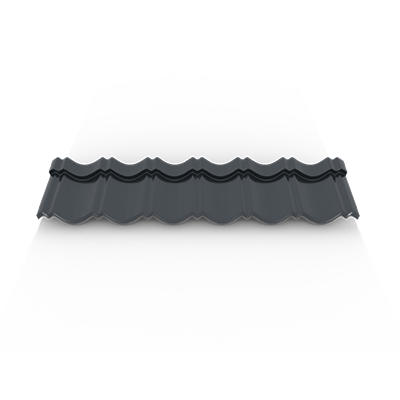
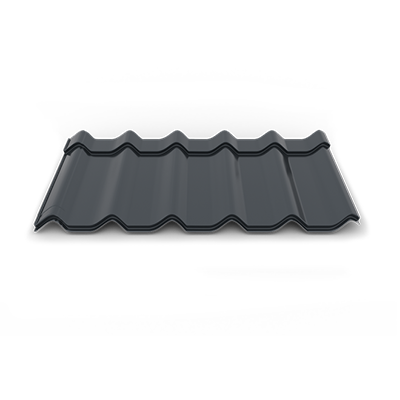
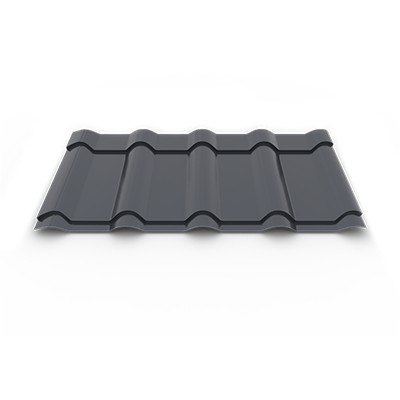
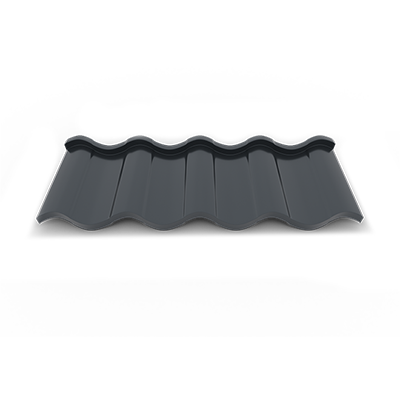
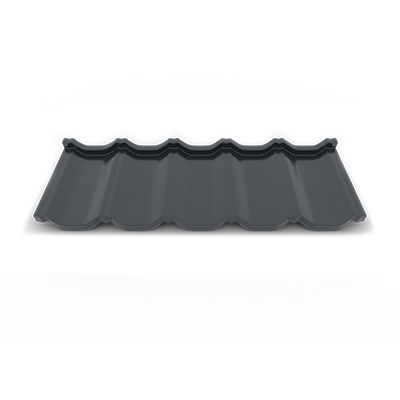
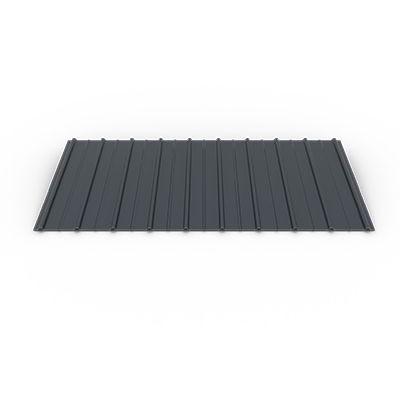
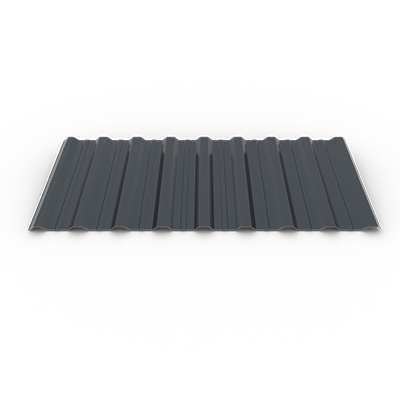
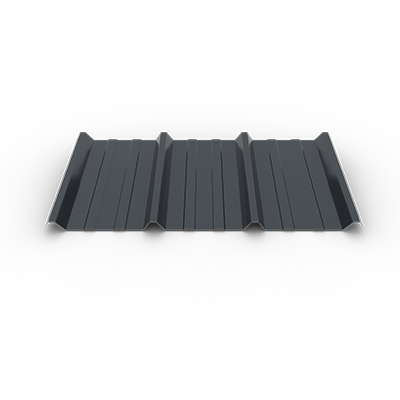
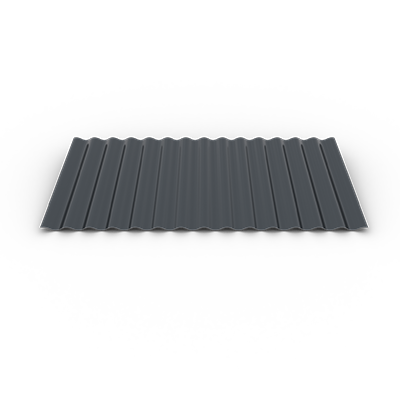
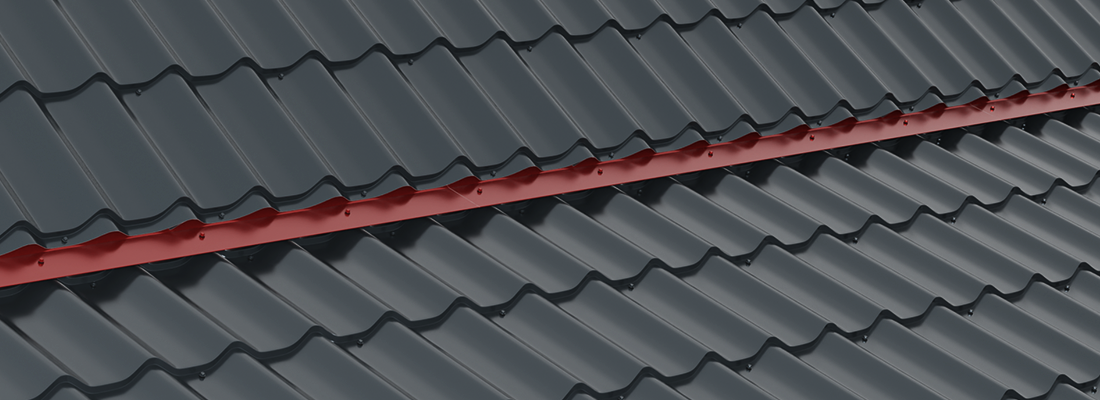
SMART Classic metal tile is one of the most popular metal roofing tile profiles, appreciated for its balance between aesthetic appearance, durability, and affordability. Inspired by the traditional shape of ceramic roof tiles, the Classic profile provides an elegant and uniform roof appearance, suitable for most house styles and residential buildings.
Thanks to its balanced design and classic proportions, the Classic metal tile roof integrates easily into both new construction projects and roof renovation works. The profile geometry ensures rigidity and stability for the metal panels, contributing to the durability of the entire roofing system.
Although the classic metal tile profile is widely used in the industry, each manufacturer applies its own profiling parameters — such as wave frequency, profile depth, or joint geometry. These details influence both the final appearance of the roof and the installation process of the panels. Within the SMART system, the Classic profile is optimized to provide a balance between aesthetics, rigidity, and installation efficiency.
SMART Classic metal tile is manufactured from pre-painted galvanized steel sheet, protected by a multilayer system against corrosion and climatic factors. The product is available in glossy polyester and matte polyester finishes, offering aesthetic options suitable for different roofing types.
To meet different project requirements, the Classic profile is available in thicknesses of 0.4 mm, 0.45 mm, and 0.5 mm, allowing the selection of a solution adapted both technically and economically. The low weight, efficient installation, and compatibility with all roofing accessories make SMART Classic a reliable choice for creating a durable metal tile roof.
 Successfully blends into most architectural styles
  Minimum maintenance (no regular interventions: painting, varnishing, treatments against insects, sun or humidity)
  Complete range of accessories
  Technical warranty of up to 15 years
  Recyclable product
  Mechanical resistance in harsh weather conditions
 FINISHES & COLORS
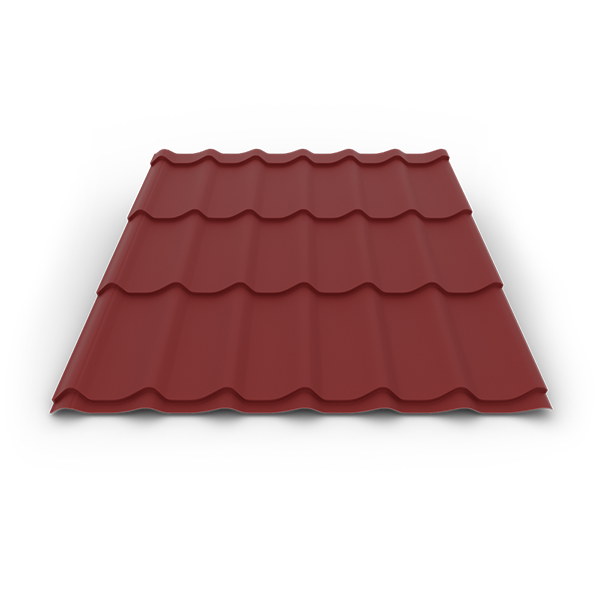
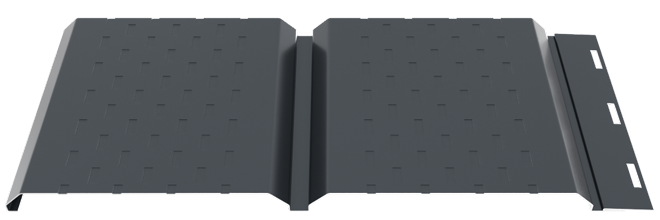
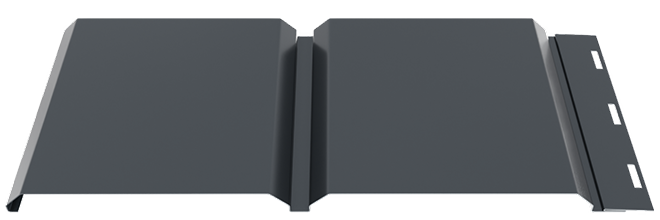
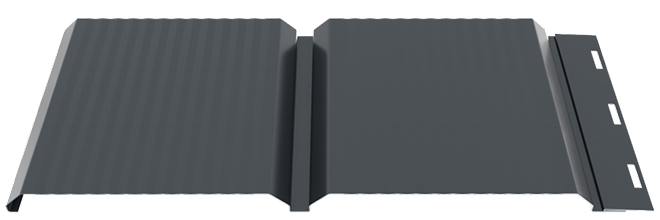
Matt
Metal sheet coated with a matt polyester layer, with low gloss, suitable for roofing and cladding.


Glossy
Metal sheet coated with a glossy polyester layer, with a smooth surface and a brighter appearance, suitable for roofing and cladding.


Displayed product colors could vary from one screen to another, according to the display's settings or filters used. For best accuracy please make sure that you ask a sales representative for a color plate sampler.
TECHNICAL SPECIFICATIONS
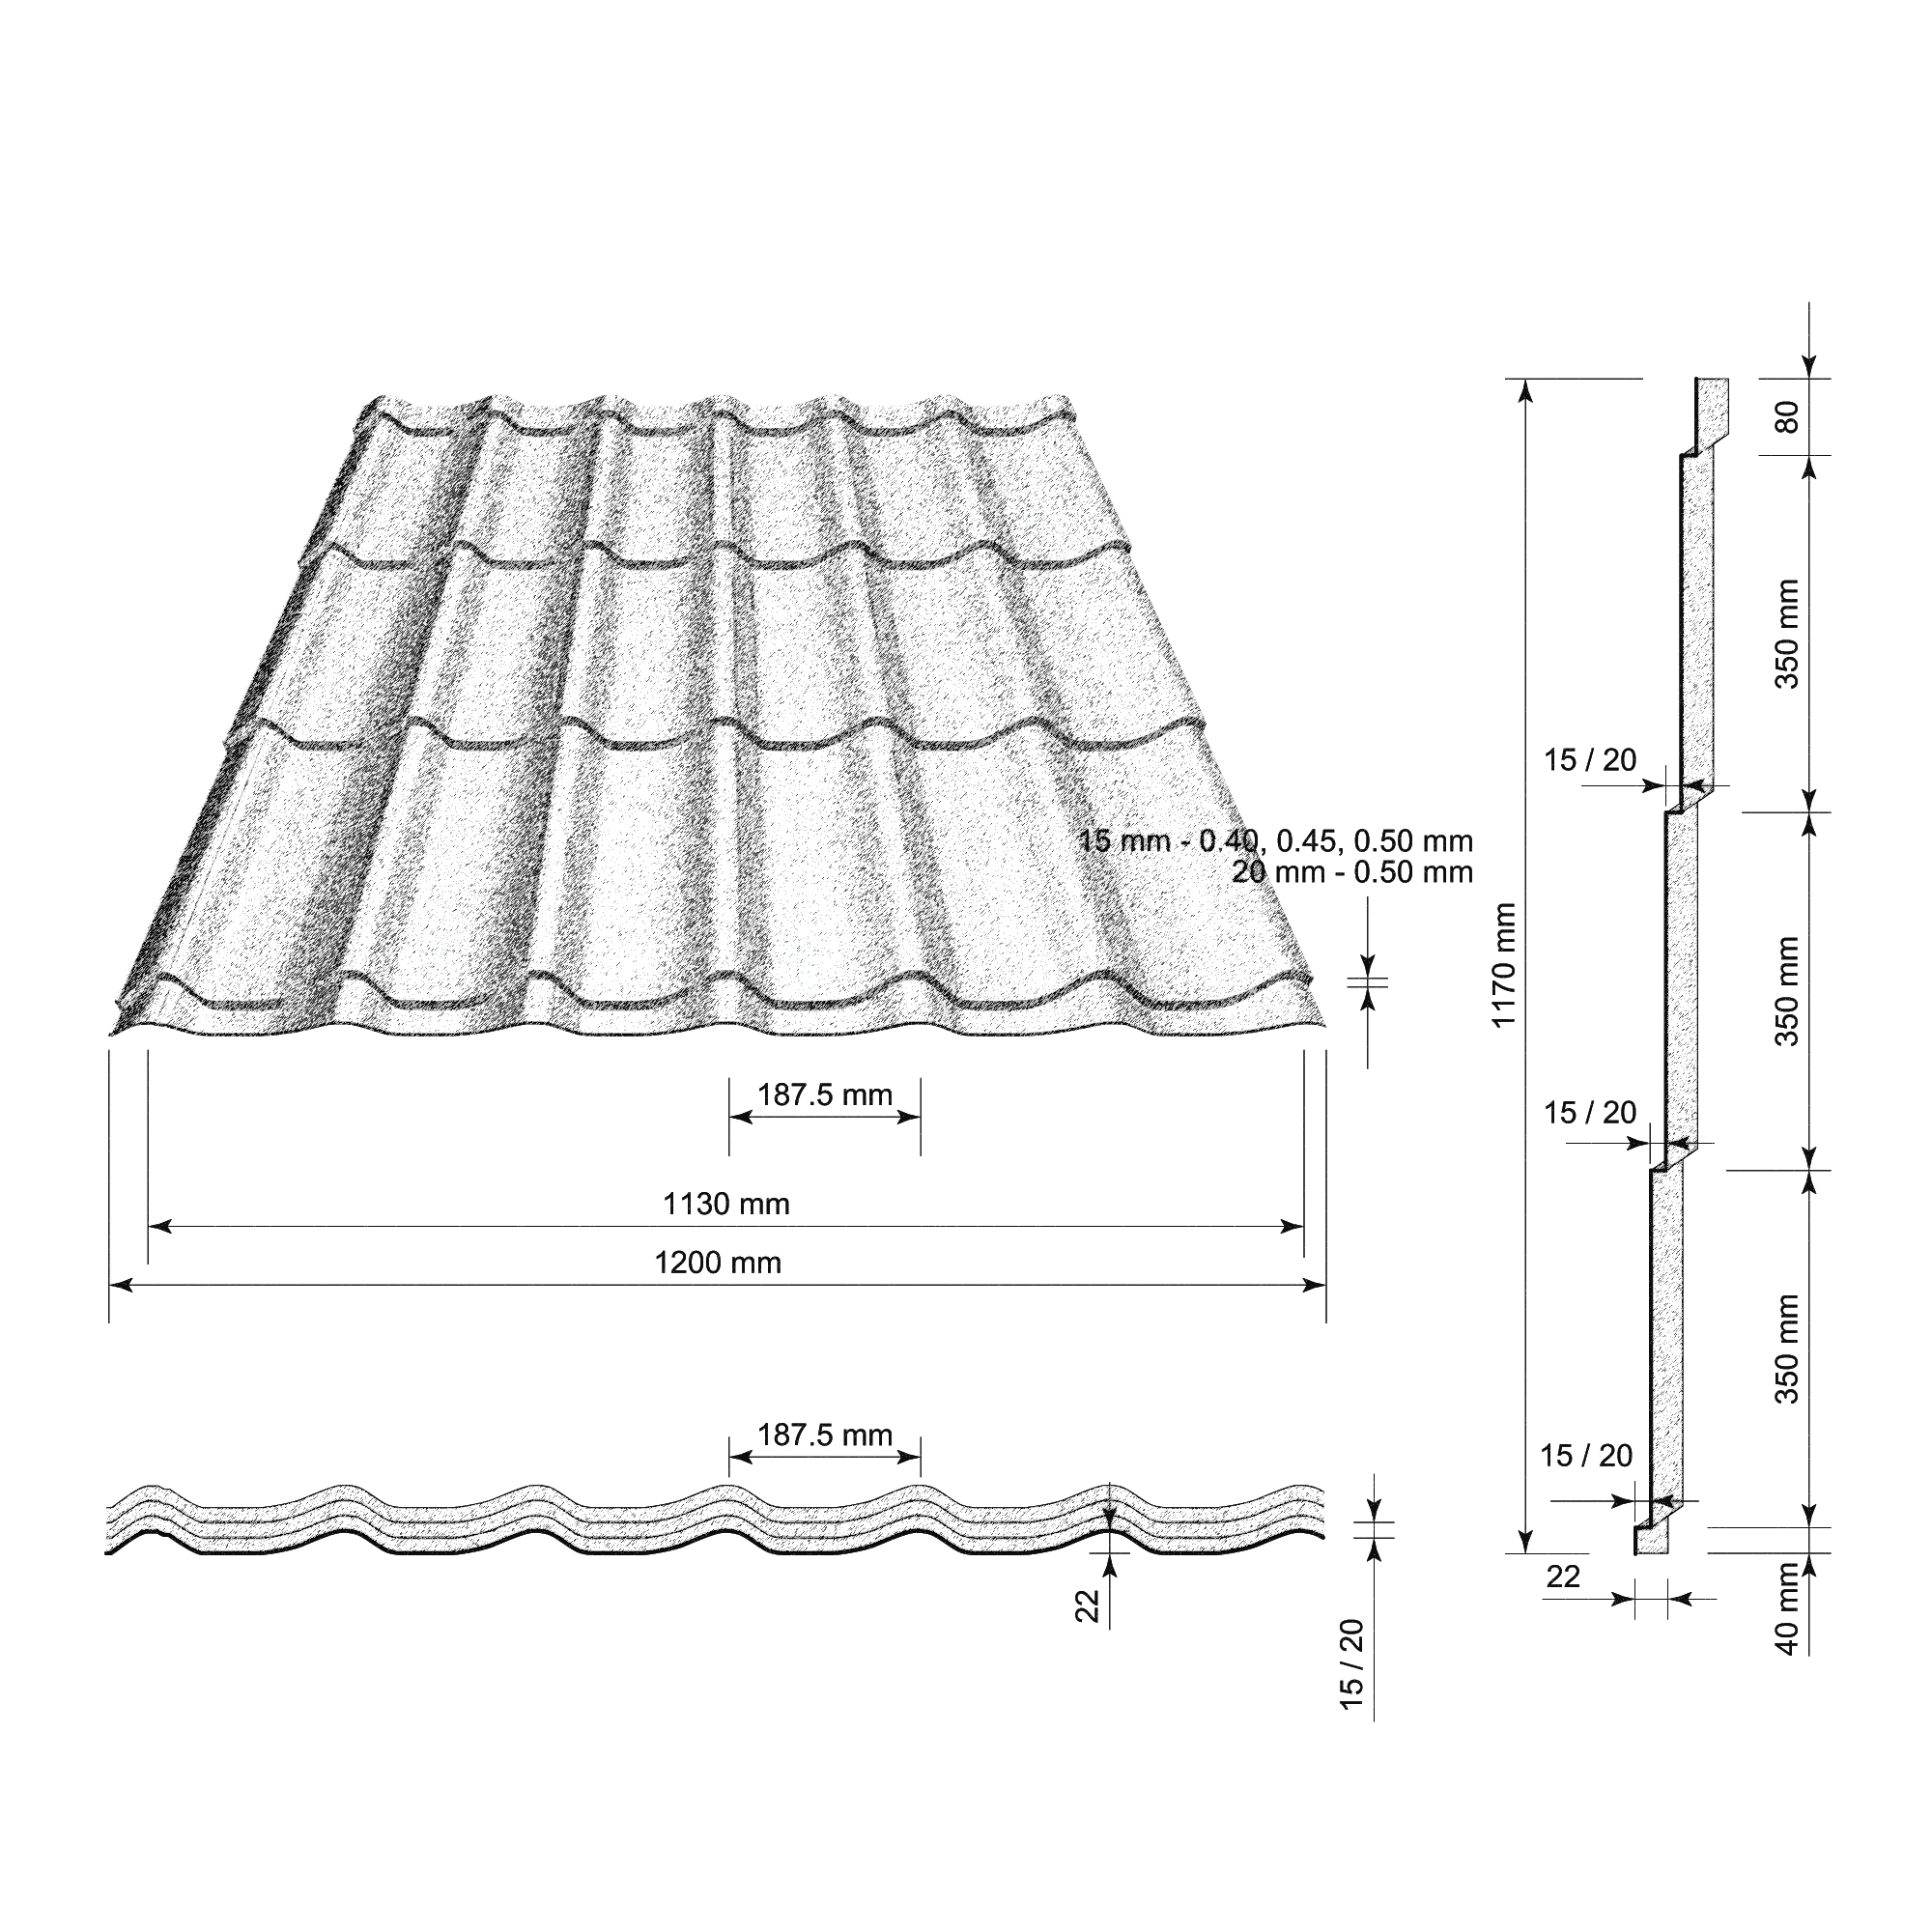
- Total width 1200 mm
- Useful width 1130 mm
- Profile depth 22 mm
- Tile step height 15 / 20 mm
- Total profile height 37 / 42 mm
- Battening distance 350 mm
- Minimum installation slope 14°
- Weight 3.2 | 3.6 | 4.0 Kg / m²
- Thickness 0.40 | 0.45 | 0.50 mm
- Length 450 - 6000 mm
SMART ACCESSORIES
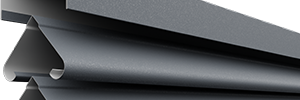
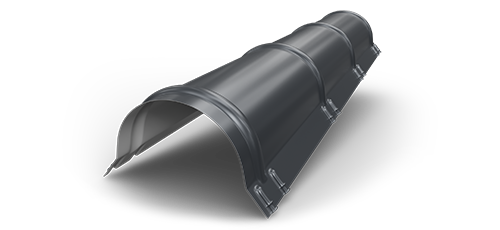 ROUND FINNED CREST
ROUND FINNED CREST
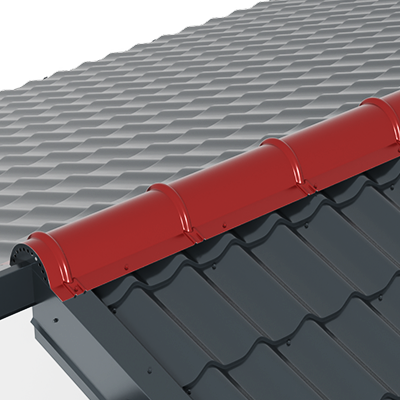
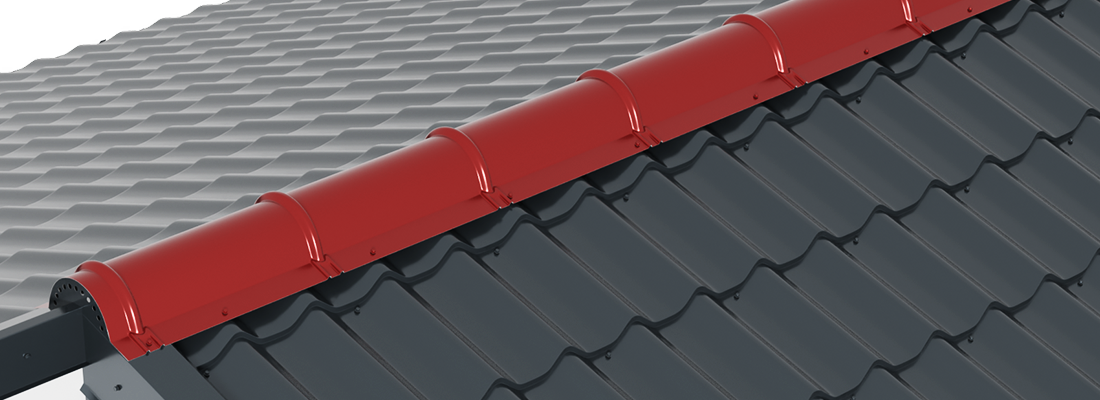
Used to close the intersection between 2 roof slopes, straight or angle-mounted.
 STRAIGHT RIDGE
STRAIGHT RIDGE
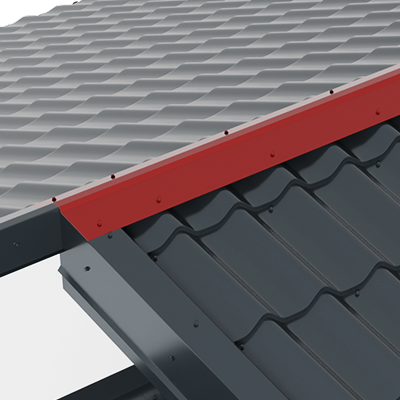
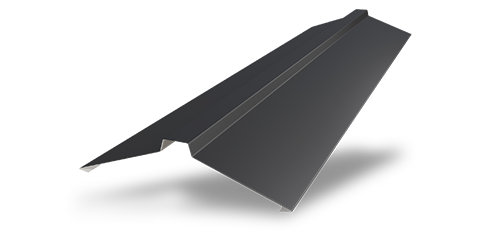
Used to close the intersection between 2 roof slopes, straight or angle-mounted.
 WALL EAVES METAL ROOF TILE
WALL EAVES METAL ROOF TILE
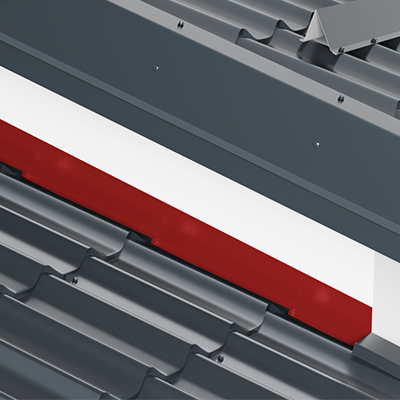
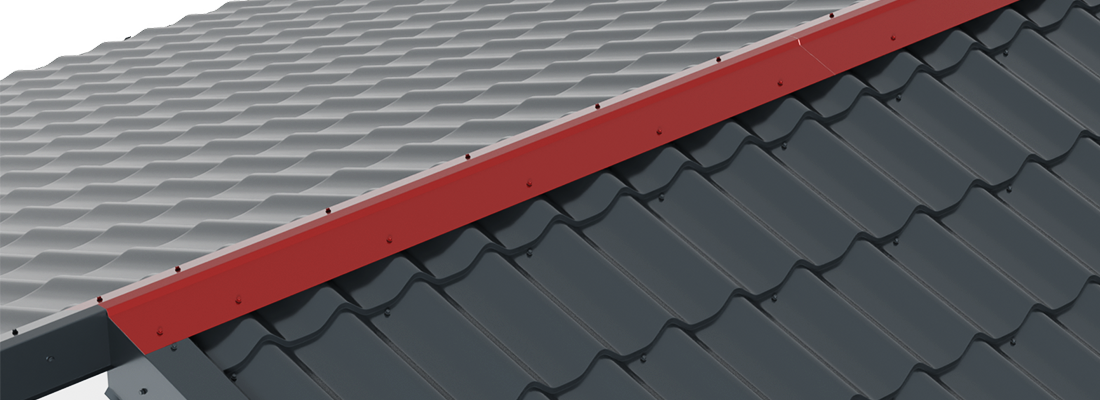
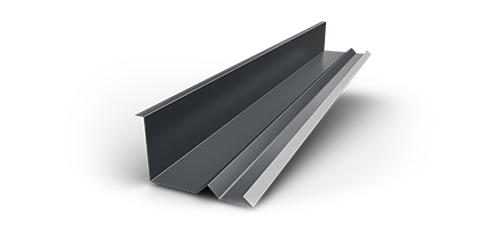
It is mounted at the intersection between a wall or blind wall and a roof slope, at a straight angle. The pitch angle runs along the blind wall. It is fastened onto the wall.
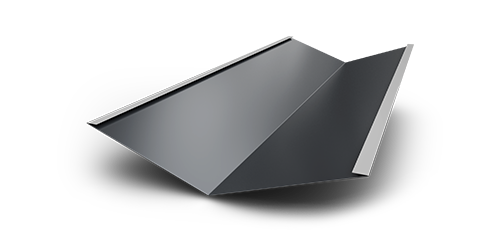 VALLEY
VALLEY
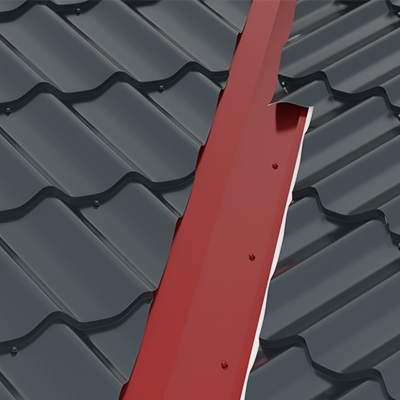
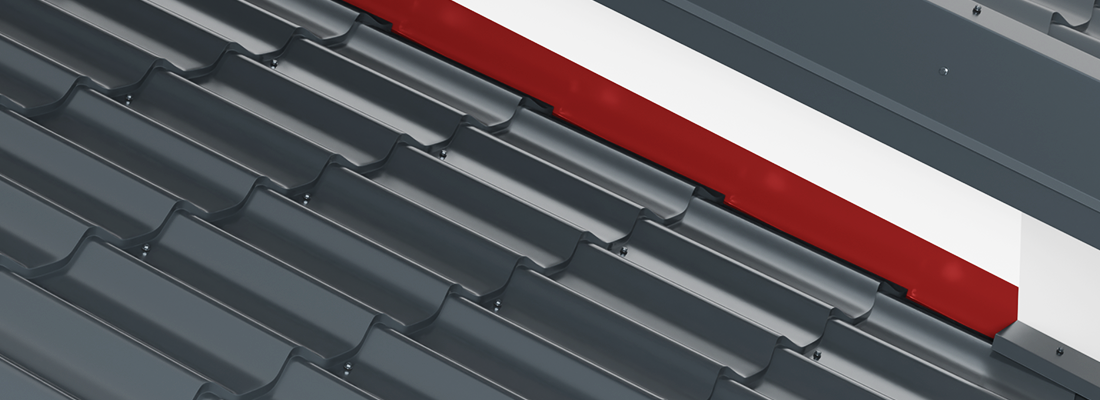
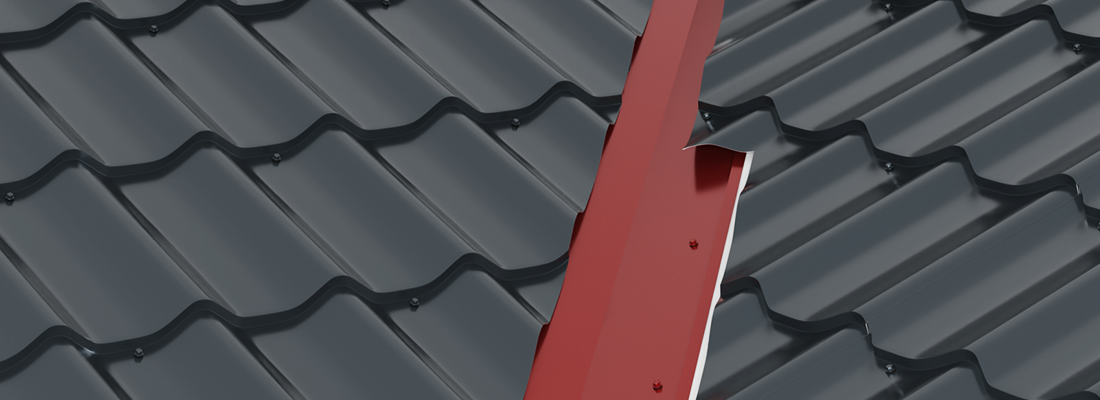
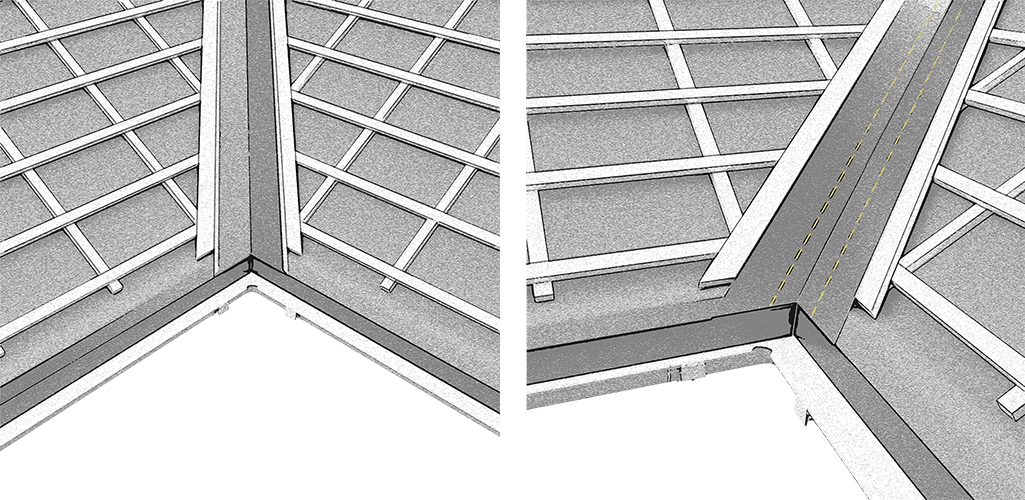
Mounted at the intersection of two roof slopes. A 70 mm limit is marked along both sides of the valley axis, which determines the overlap of the tile panels.
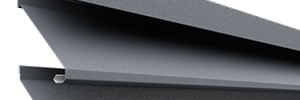
 GUTTER GRADE
GUTTER GRADE
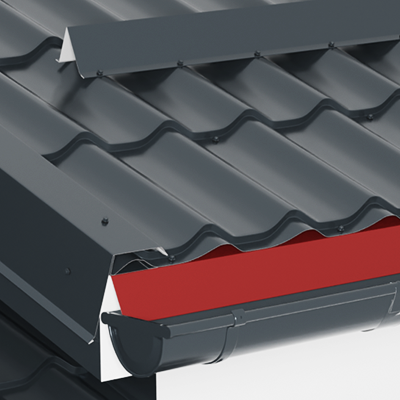
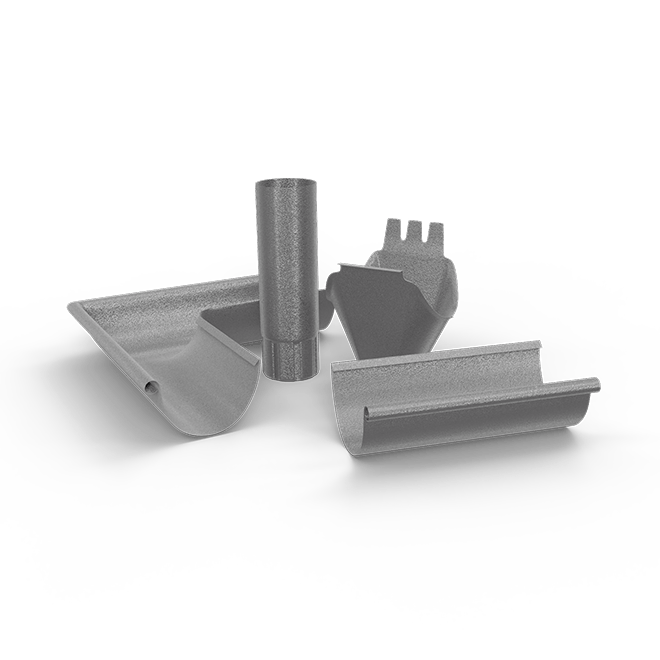
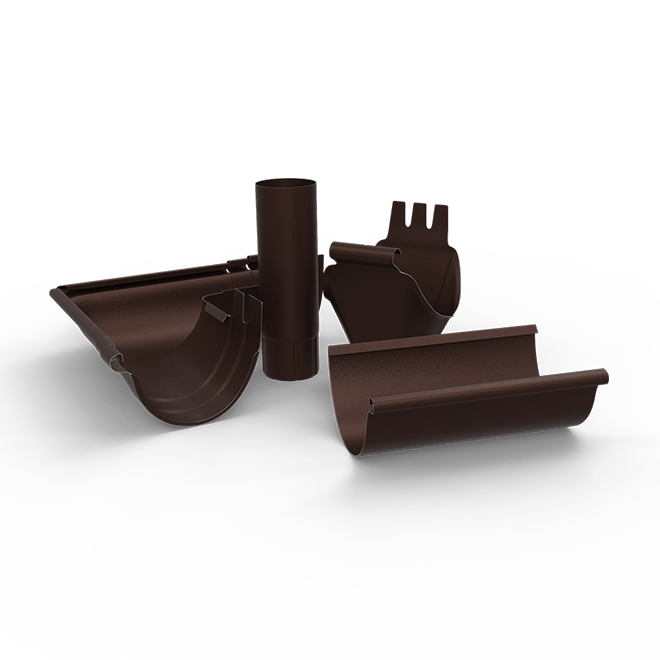
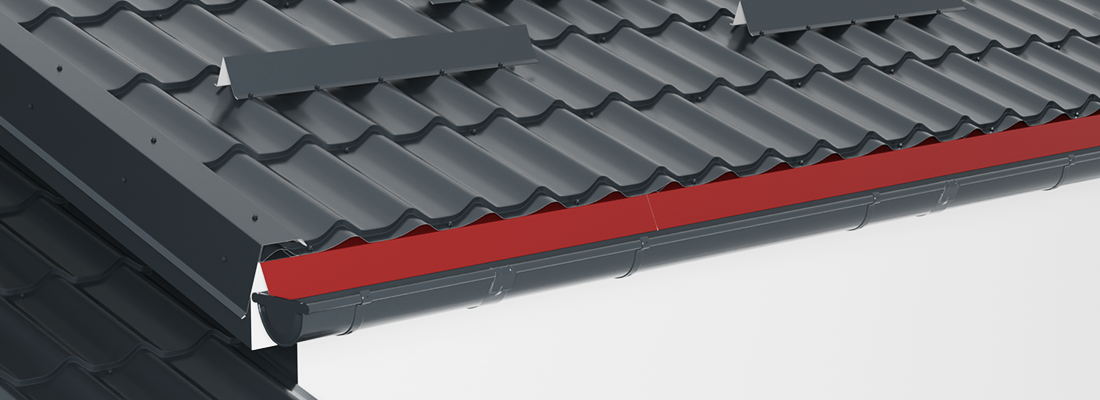
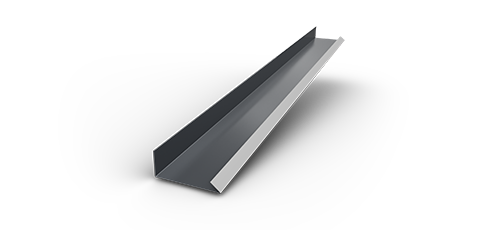
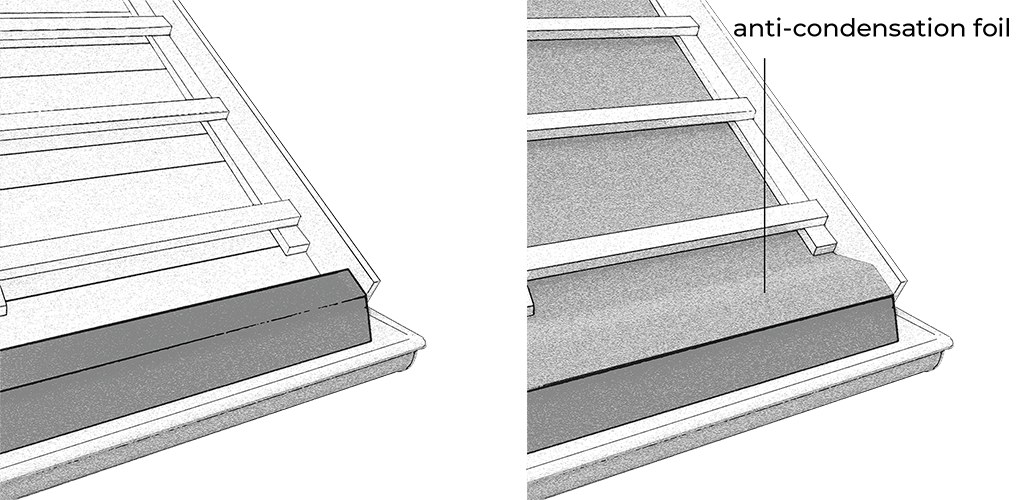
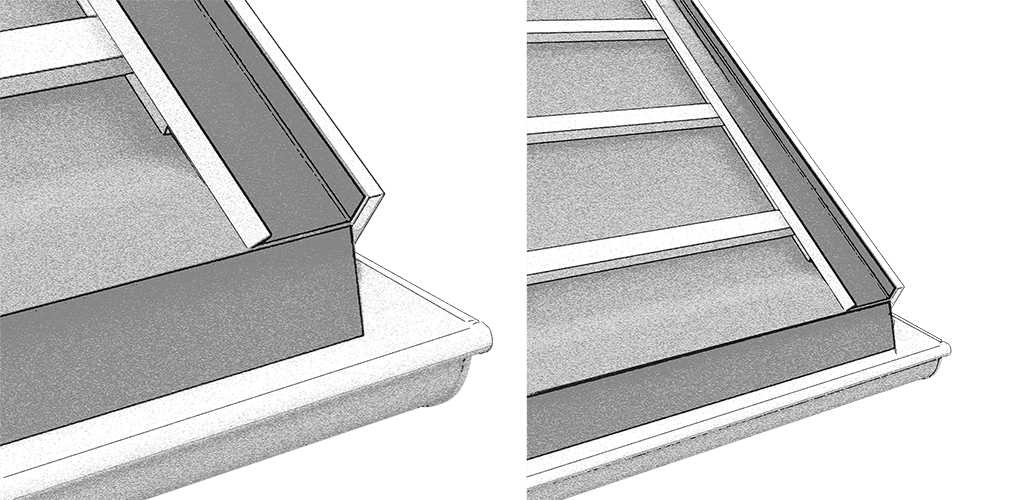
It is mounted on the wooden structure intended for fixing the rainwater collection system, after the system has been installed but before applying the anti-condensation membrane. During installation, the gutter flashing must overlap the gutter by 5 cm. Its role is to direct the water from the roof into the gutter and to protect the wooden structure of the roof, even when a rainwater collection system is not installed.
 BORDER BAR GRADE
BORDER BAR GRADE
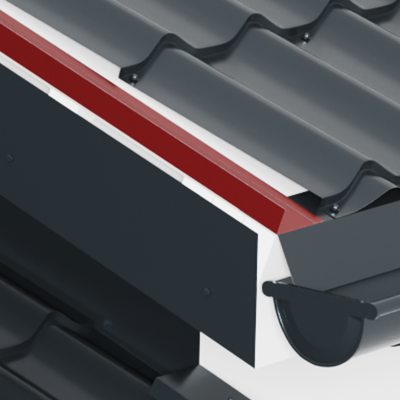
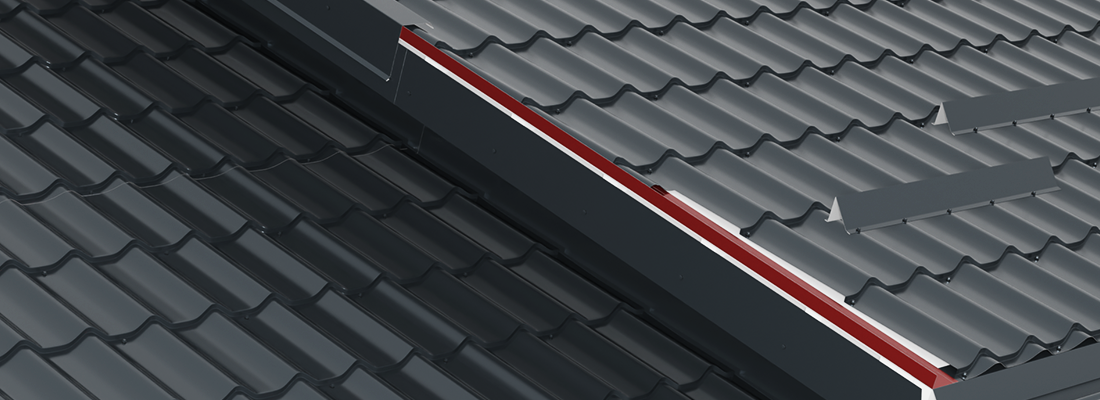
It is installed at the edge of the roof, after installing the gutter grade and before installing the roof tile panels. Its role is to gather water infiltrations that may occur due to lack of perpendicularity between the edge of the roof and the gutter edge.
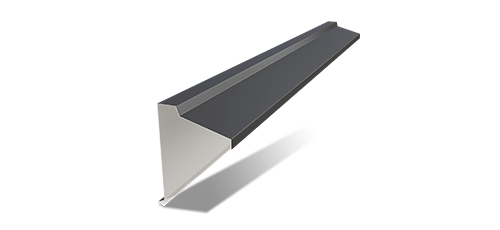 RIDGE ANGLE
RIDGE ANGLE
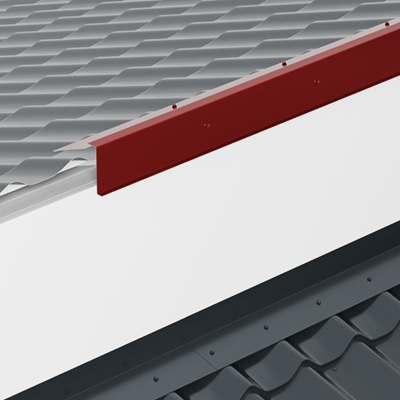
It is used to close the upper ridge area, in case a roof slope intersects one of the vertical building walls.
 EDGE ANGLE BRACKET
EDGE ANGLE BRACKET
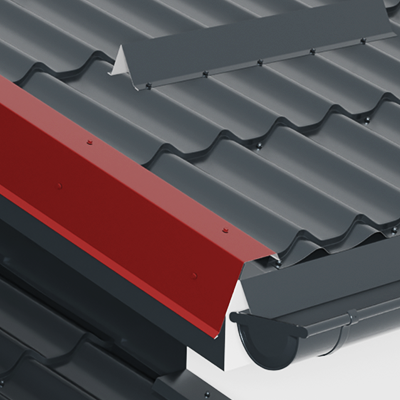
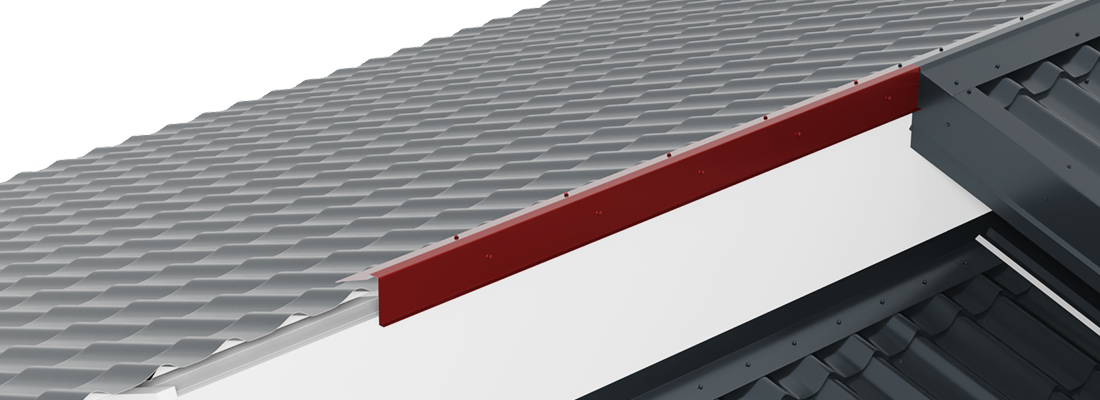
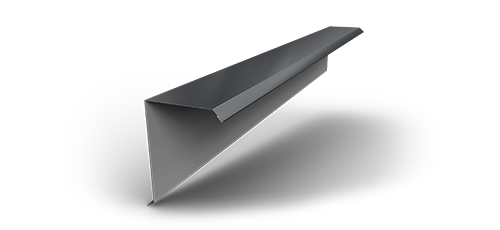
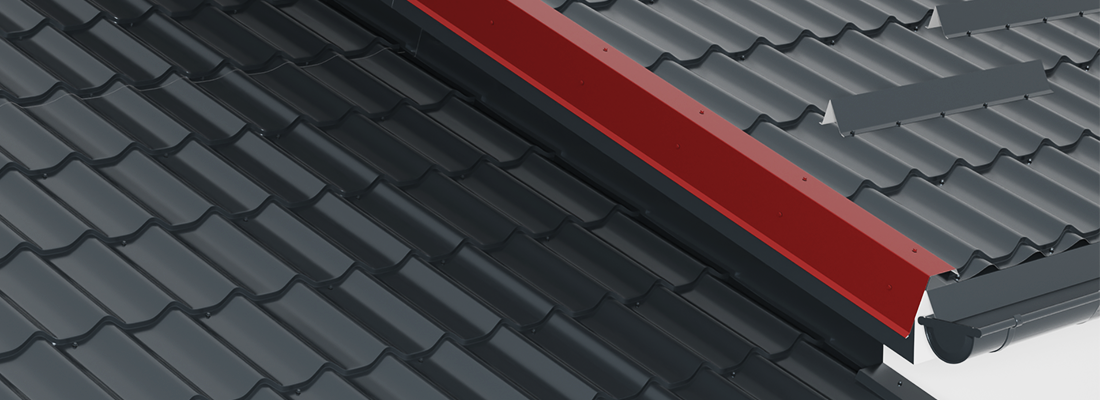
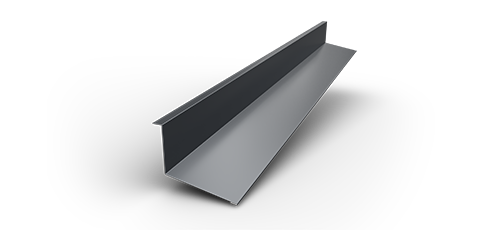
Used together with the corner edge eaves flashing / water deviation eaves flashing at the side closure of the roof.
 BLIND WALL ANGLE
BLIND WALL ANGLE
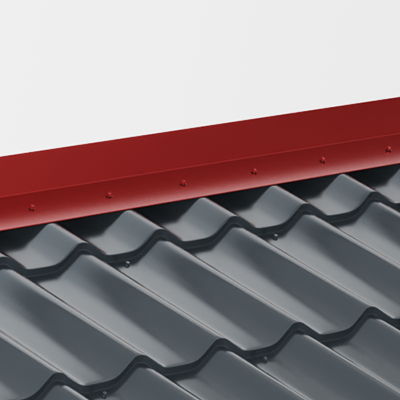
It is used at the intersection between a wall / blind wall and a roof slope, at a blunt angle. The slope angle starts at the intersection with the wall. The blind wall angle is mounted in the wall.
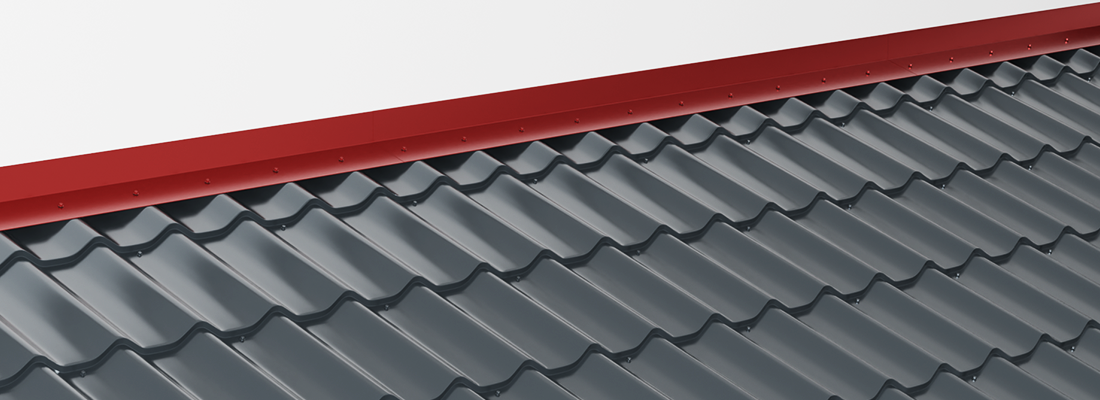
 FASCIA COVERING PROFILE
FASCIA COVERING PROFILE
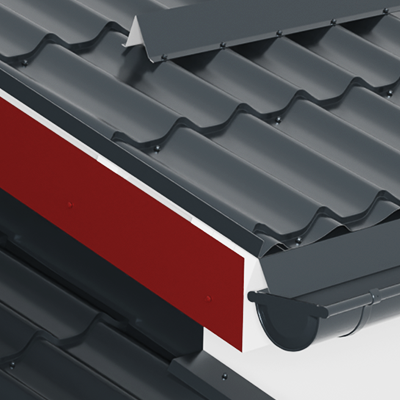
Used to cover and seal the side fascia areas that remain exposed after the installation of the roofing.
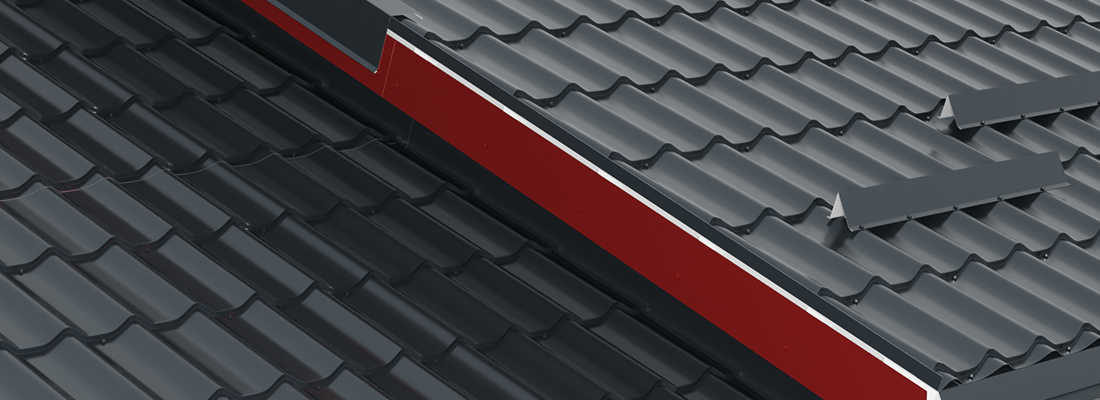
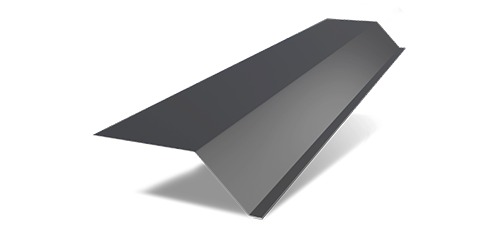 TRANSITION FLASHING – OUTSIDE
TRANSITION FLASHING – OUTSIDE
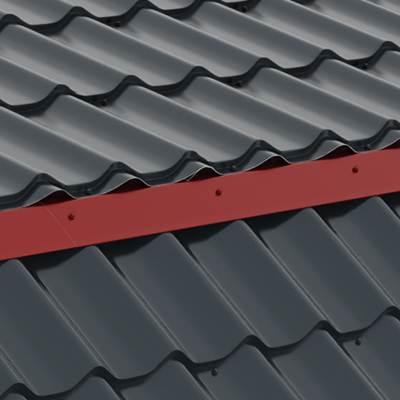
It is used at the transition from a smoother to a steeper slope, on the same roof ridge.
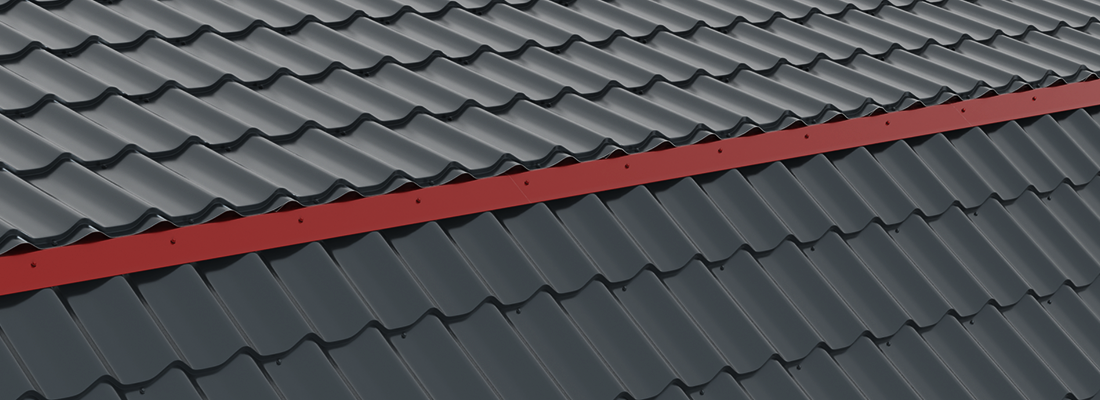
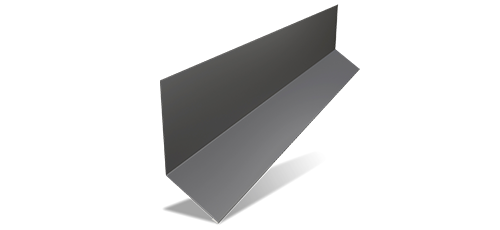 TRANSITION FLASHING – INSIDE
TRANSITION FLASHING – INSIDE
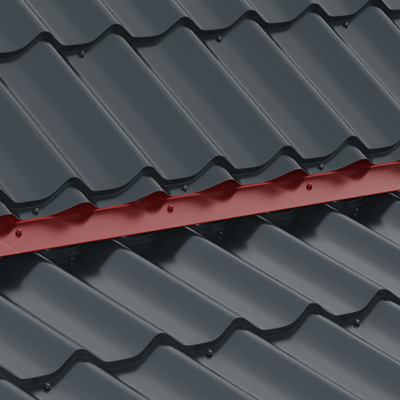
It is used at the transition from a steeper to a smoother slope, on the same roof ridge.
 CREST CAP
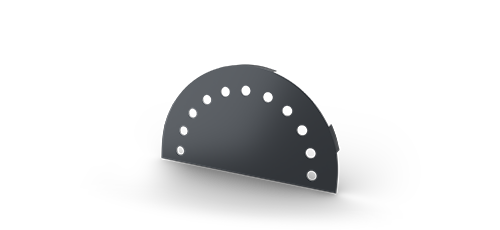
CREST CAP
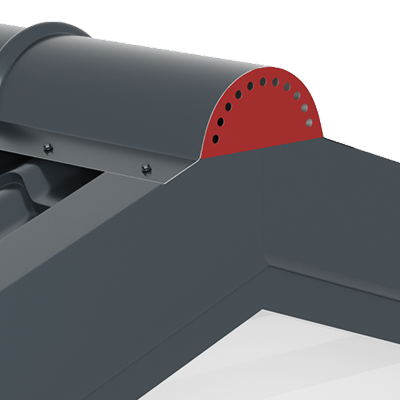
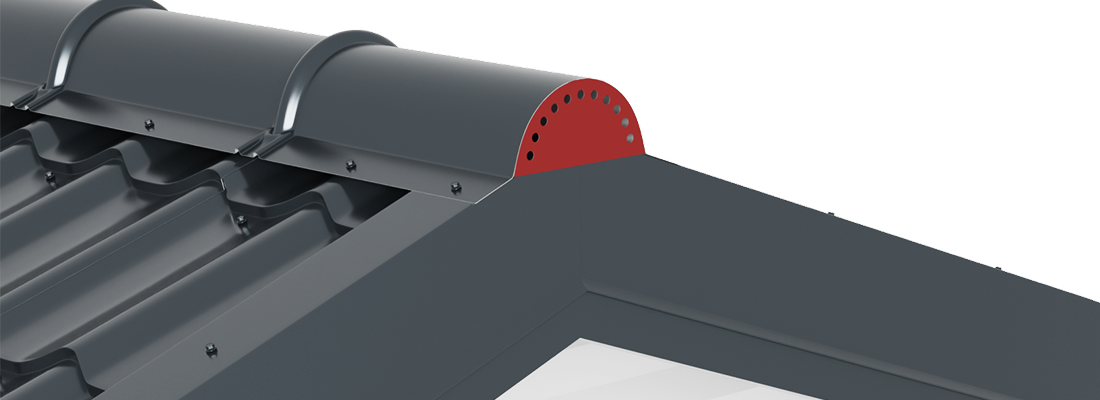
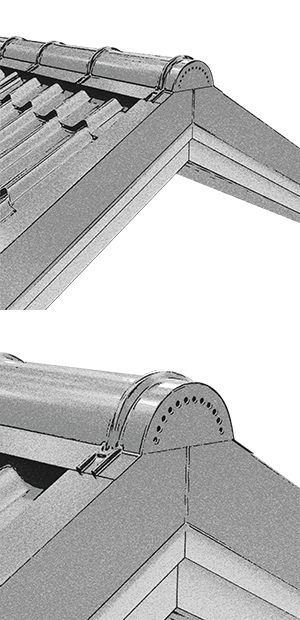
Used to close the round finned ridge. Pre-drilled to ensure efficient ventilation.
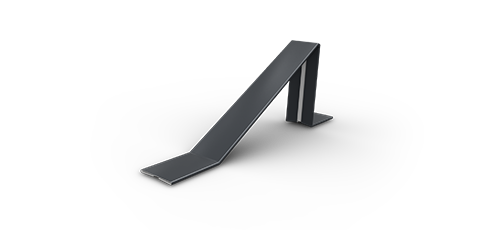 SNOW GUARD
SNOW GUARD
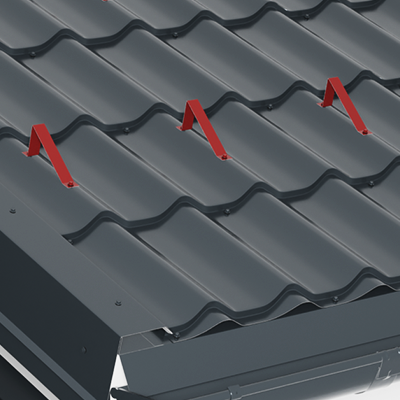
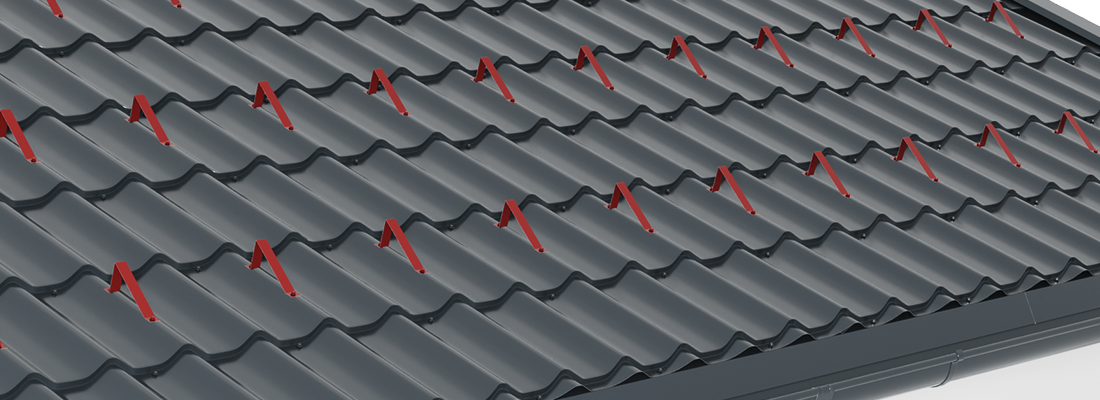
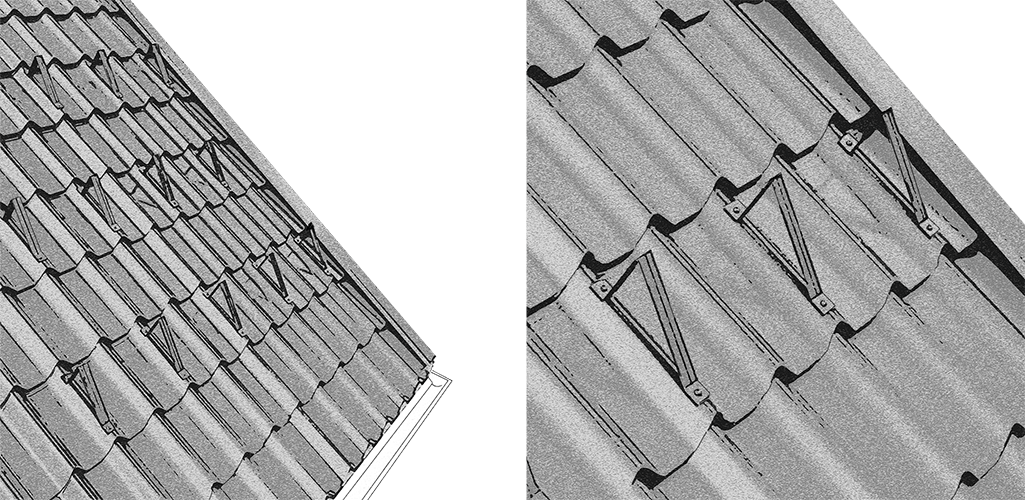
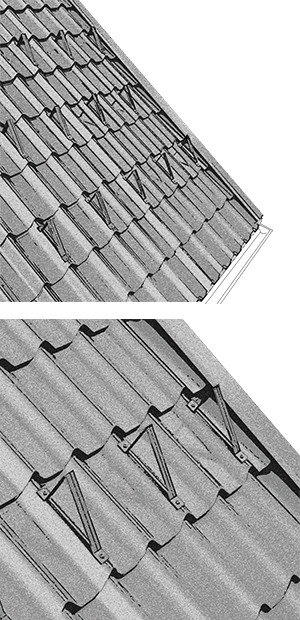
It is used for low-slope roofing. It is mounted in a triangular pattern to gradually break the snow mass sliding off the roof.
 SNOW STOPPER
SNOW STOPPER
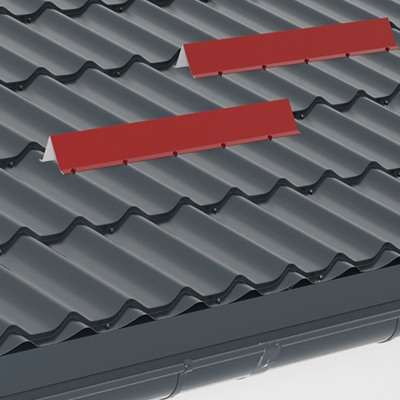
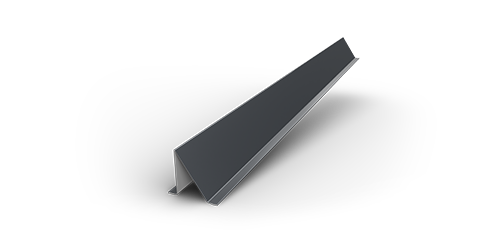
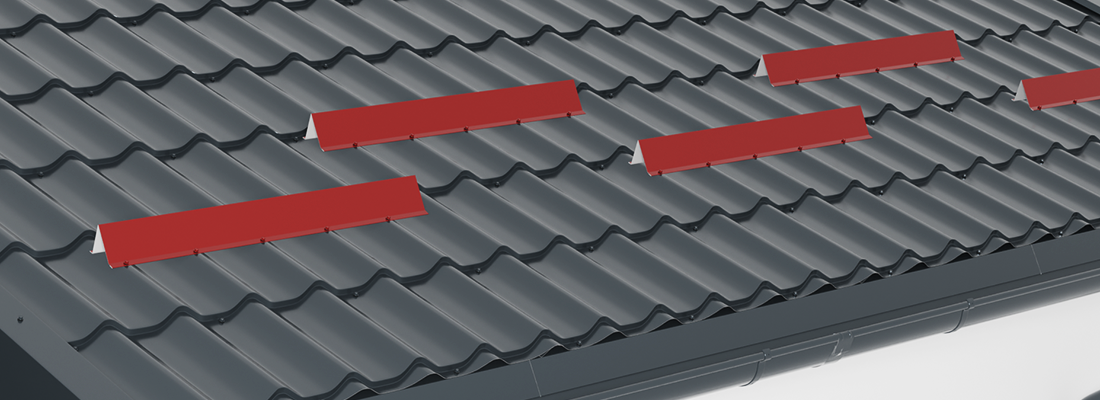
Designed for steep-slope roofing, it prevents snow from sliding off the roof surface. It is installed alternately, with overlaps, to ensure complete coverage of the slope, and positioned so that the building structure can safely withstand the weight of accumulated snow.
SMART INSTALLATION PRINCIPLES
Roof length shall be calculated between the eaves line and the ridge line, the metal tile panels being calculated as multiple of the length of a module (35 cm).
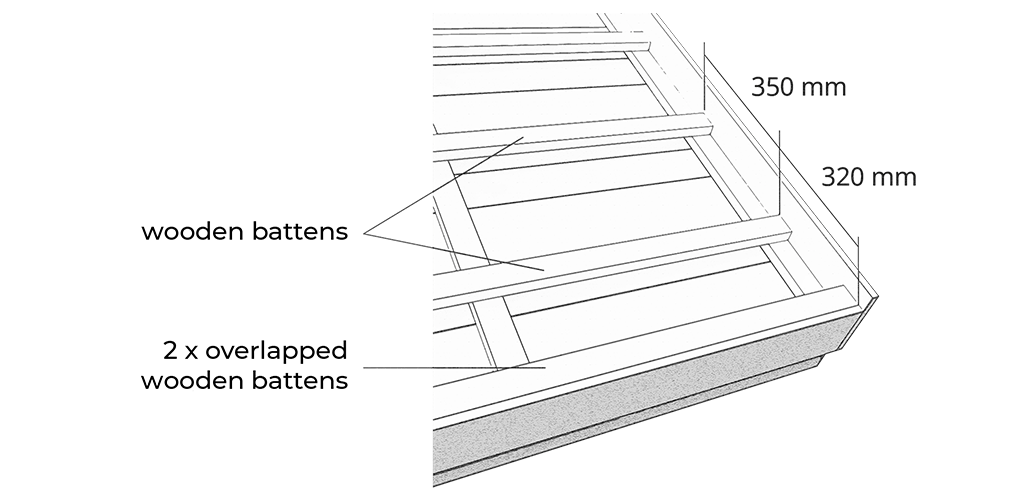
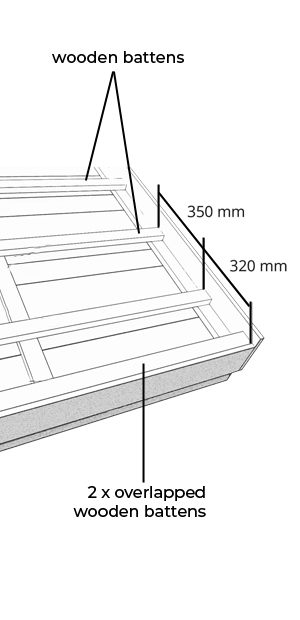
Shall be mounted on the batten for the rainwater collection system, after installing the latter, but before installing the anti-condensation foil. For installation, a 5 cm overlay with the gutter shall be used.
Shall be fastened with clamps, without drilling any holes. The valley flashing shall be installed at the intersection between 2 slopes of the roof.
The border bar grade is used to collect rainwater from the sides of the roof.
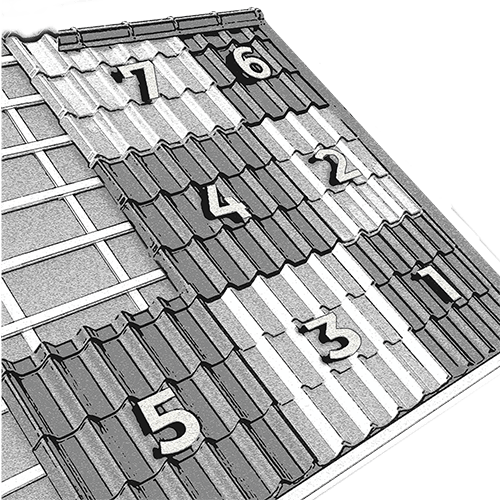
The panels are placed from right to left, from the bottom. Before starting installation, we need to determine the angle between the eaves and the gable. Depending on the result obtained, the panels will be cut for perpendicular positioning on the eaves.
The border bar shall be installed over the metal tiles and the plank bordering the roof (fascia) and shall be set with self-drilling screws every 70 to 70 cm.
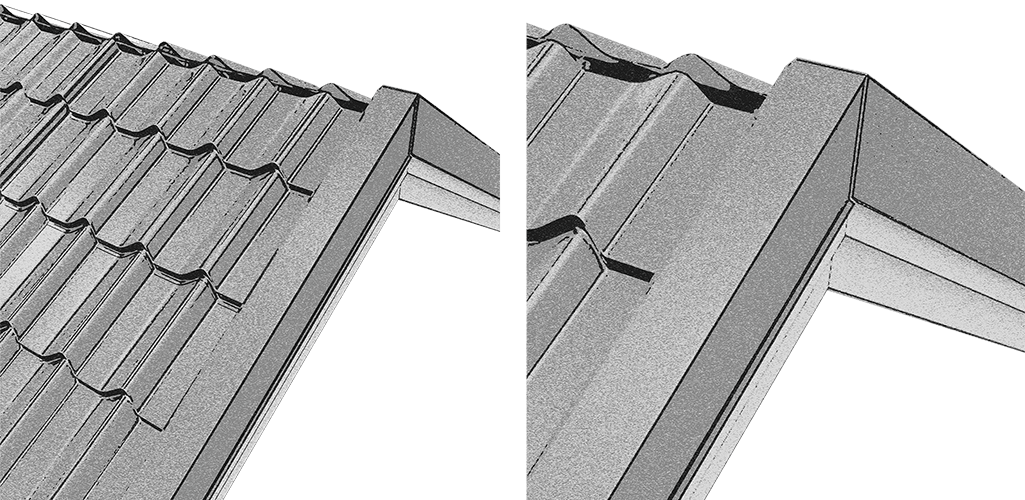
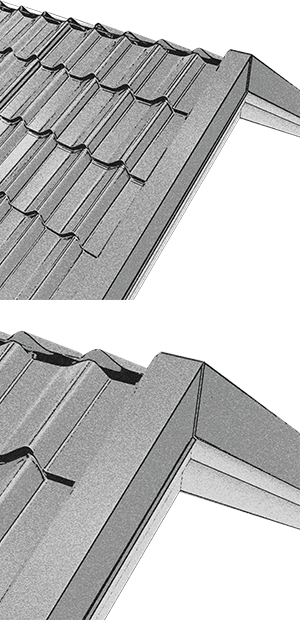
The ridges shall be set with self-drilling screws in the tangential spots of the metal tiles.
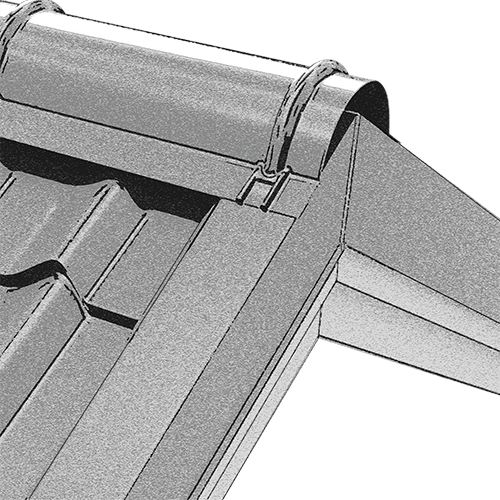
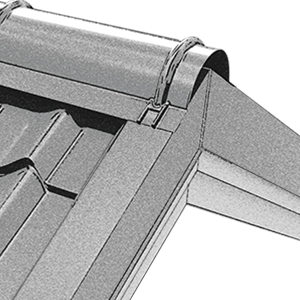
Shall be used for closing ribbed ridge tiles. It has holes to ensure proper ventilation of the entire roofing system.
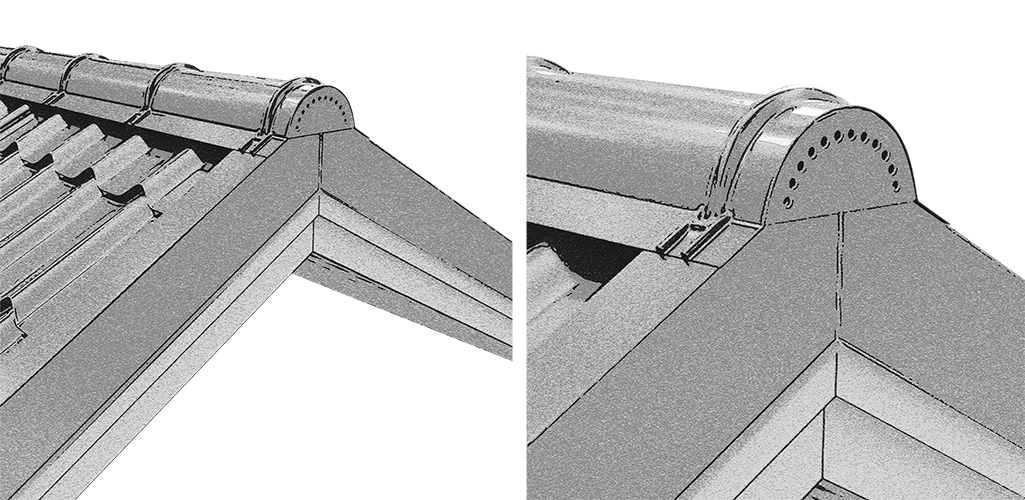
Shall be installed in roofs with higher pitches, 70 cm from the lower edge of the roof.
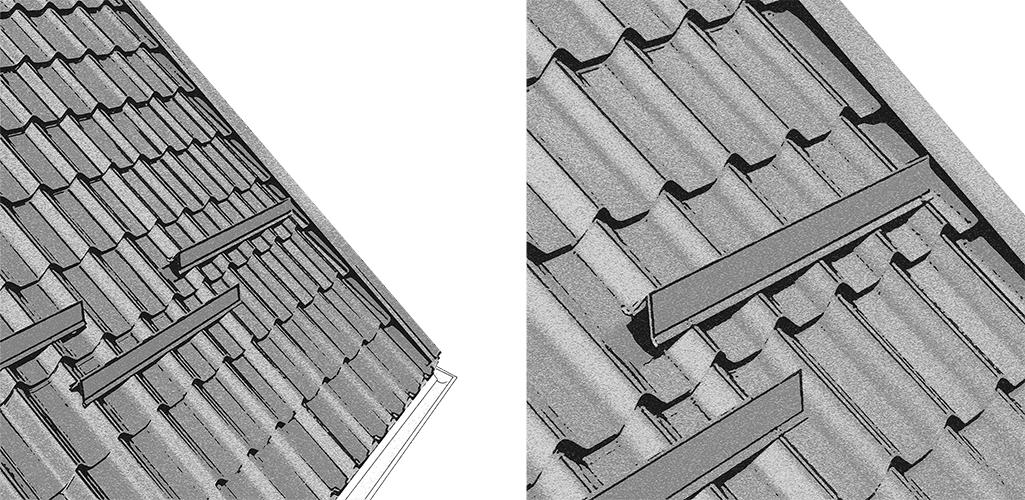
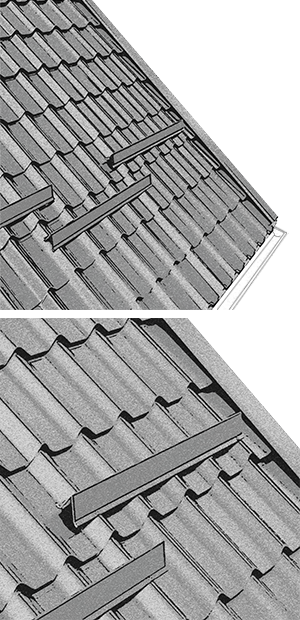
They shall be installed in a triangle shape, in order to cut the mass of snow sliding from the roof, step by step.
SMART VIDEO INSTALLATION GUIDE