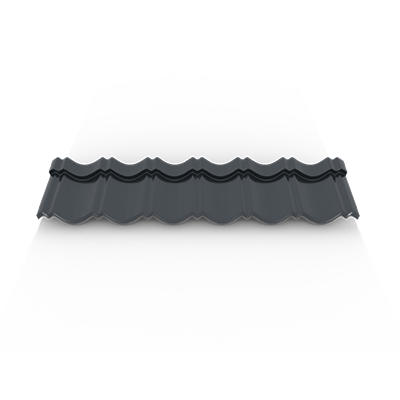
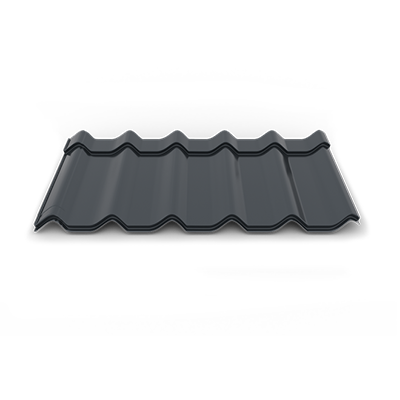
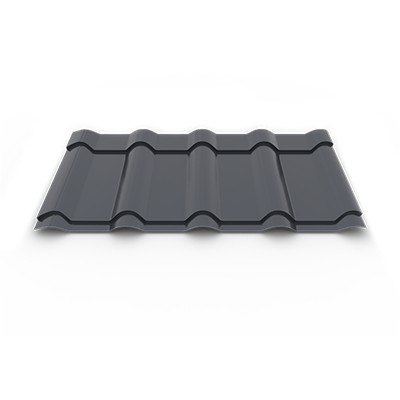
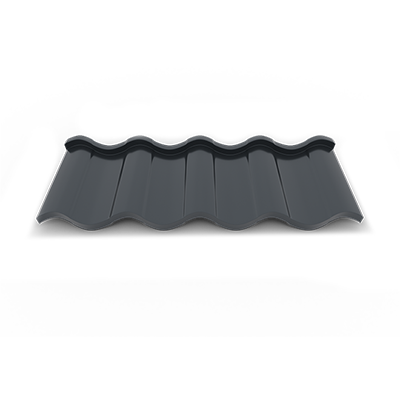
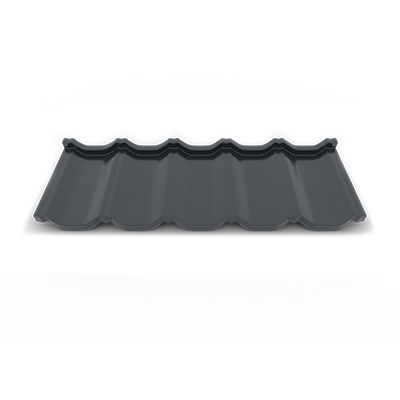
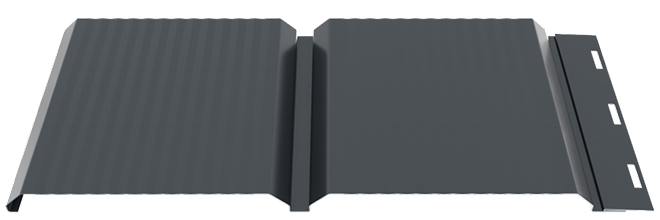
SNAP LOCK METAL
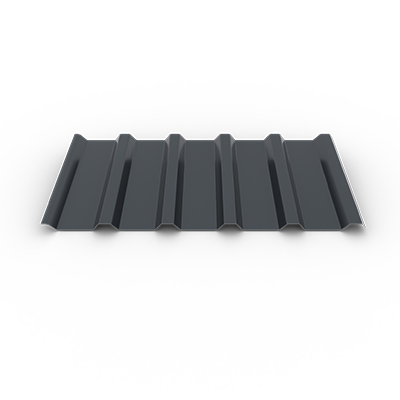
Click is the fast and easy to install alternative to the traditional metal roofs. Can be used to cover buildings with high slopes, special buildings without affecting the aesthetics, for renovations or restorations
SMART BENEFITS
The Snap Lock Metal joining system allows fast and secure installation of panels, without visible fastening elements. The perforated side edge used for fixing is pressed and positioned under the overlapping panel, protecting the screws and maintaining the clean appearance of the roof surface.
The seams are designed with a height difference that allows the correct overlapping of the panels and the integration of vertical joints, while the lower edge of the panel is pre-cut and bent in the factory, reducing installation time and ensuring a uniform finish.
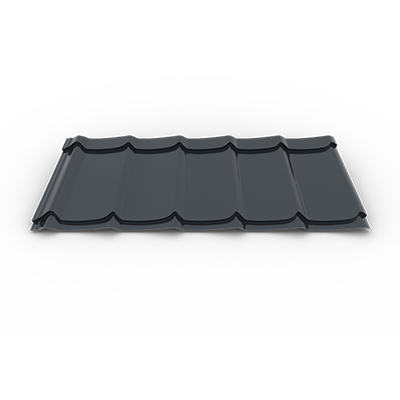
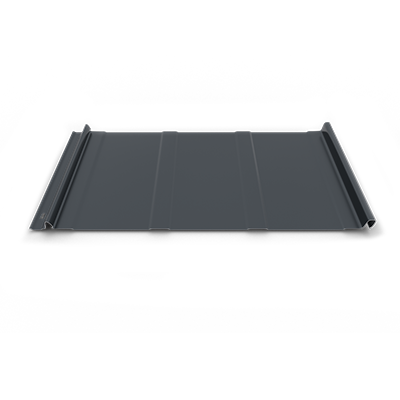
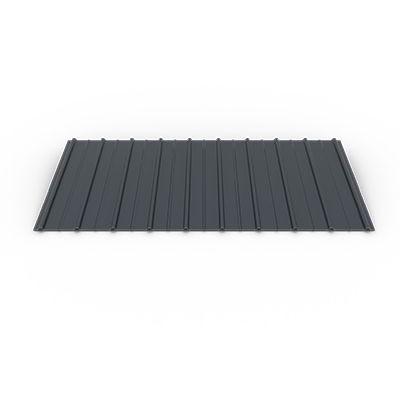
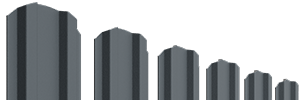
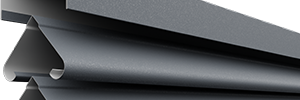
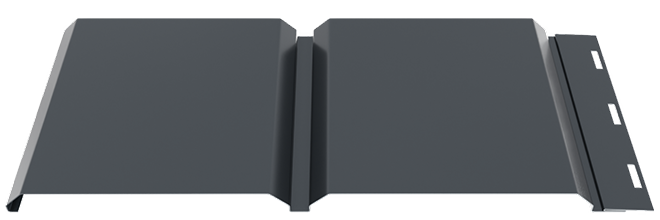
SMART Click Flat is a modern standing seam roofing system characterized by a minimalist design and clean surface lines. The flat surface profile offers a contemporary appearance for pre-finished metal roofs, making it particularly suitable for modern architectural projects or constructions with urban design.
The Flat profile does not include additional stiffeners in the middle area, maintaining a smooth and uniform surface. This configuration is especially suitable for roofs in urban areas or regions with lower wind exposure, where the main focus is a minimalist architectural appearance.
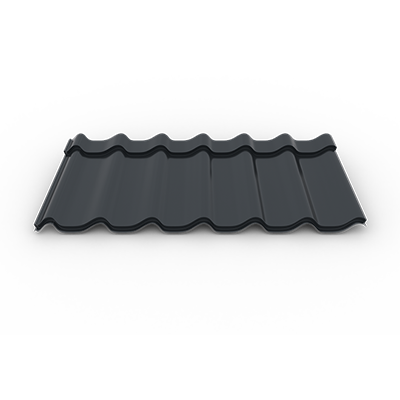
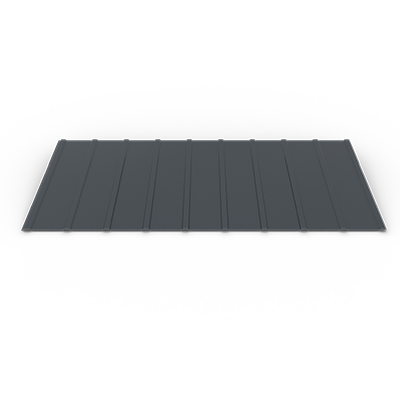
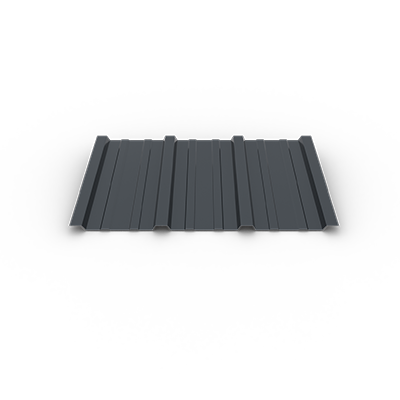
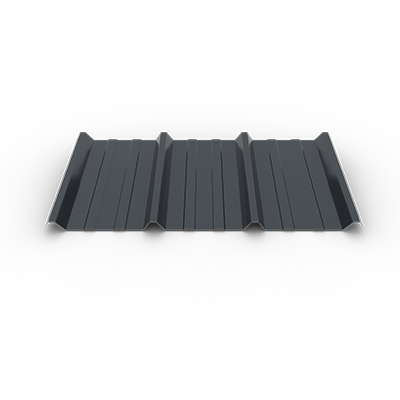
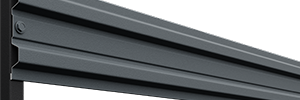
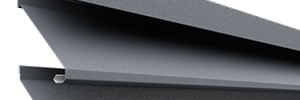
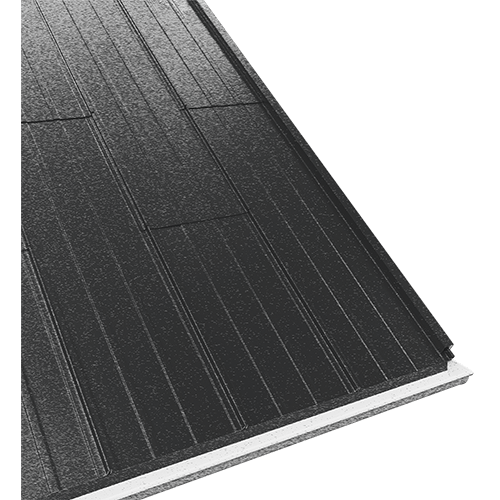
SMART Click Stripes is a standing seam roofing system that combines the modern aesthetics of standing seam roofs with increased structural rigidity. The profile preserves the elegant lines of the surface, making it suitable for contemporary roofs and modern residential projects.
The Stripes profile includes two longitudinal stiffeners in the middle area of the panel, increasing stability and resistance to deformation. This configuration provides an optimal balance between aesthetics and structural performance, making it suitable for roofs exposed to moderate wind conditions.
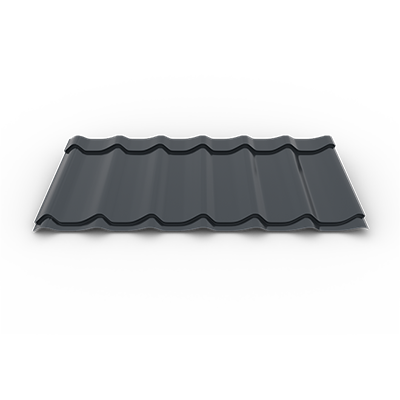
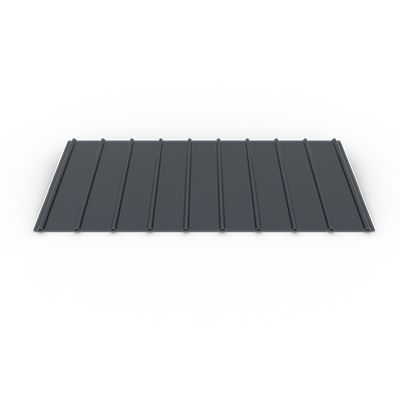
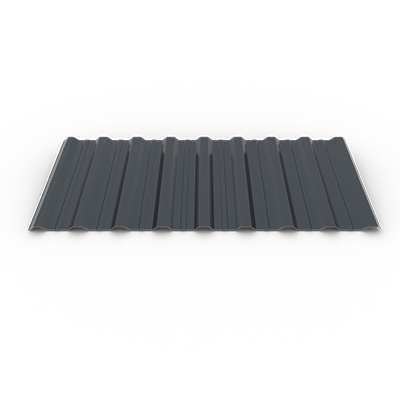
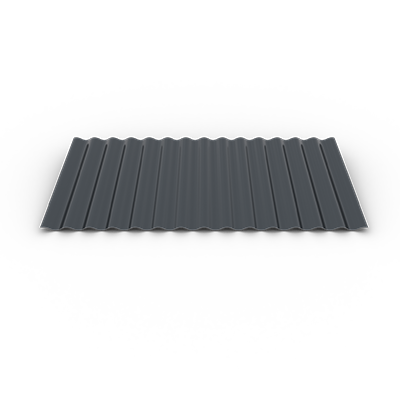
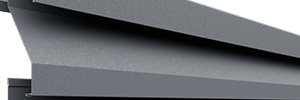
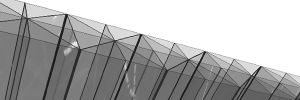
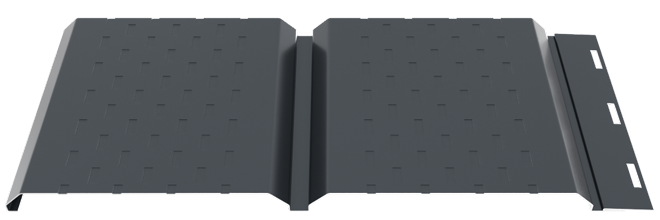
SMART Click Waves is a high-performance standing seam roofing system designed for projects requiring high structural rigidity and resistance in demanding climatic conditions. The profile maintains the modern aesthetics of standing seam metal roofs, while including additional surface stiffening.
The Waves profile includes a micro-sinusoidal stiffening of the panel surface, significantly increasing rigidity and resistance to deformation. This structure makes the profile suitable for roofs exposed to strong winds or for large roof surfaces.
 Successfully blends into most architectural styles
  Minimum maintenance (no regular interventions: painting, varnishing, treatments against insects, sun or humidity)
  Complete range of accessories
  Technical warranty of up to 15 years
  Recyclable product
  Mechanical resistance in harsh weather conditions
 FINISHES & COLORS SNAP LOCK METAL FLAT
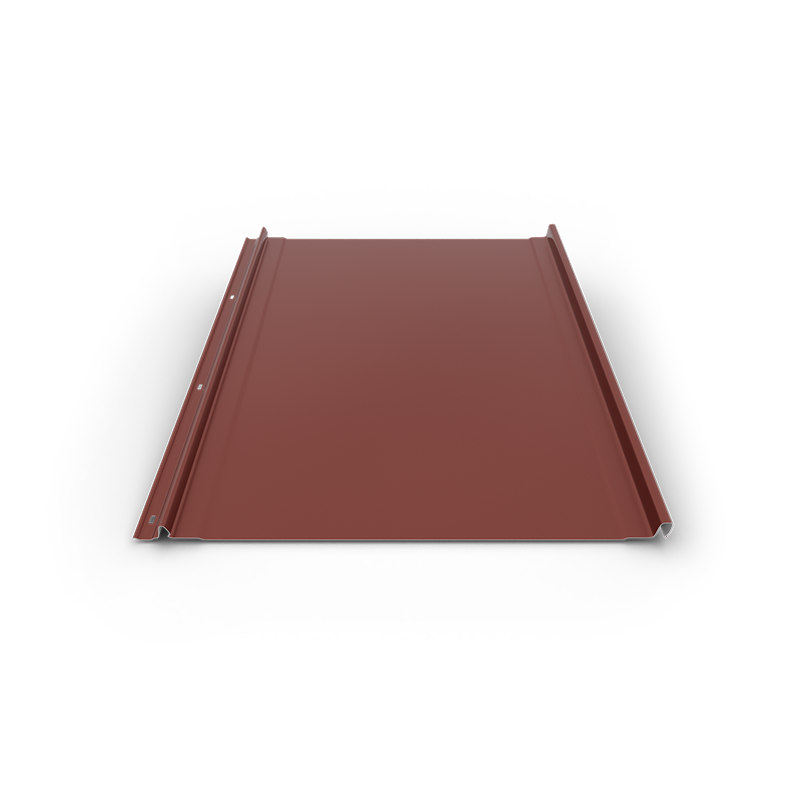
Matt
Metal sheet coated with a matt polyester layer, with low gloss, suitable for roofing and cladding.


Glossy
Metal sheet coated with a glossy polyester layer, with a smooth surface and a brighter appearance, suitable for roofing and cladding.


Displayed product colors could vary from one screen to another, according to the display's settings or filters used. For best accuracy please make sure that you ask a sales representative for a color plate sampler.
TECHNICAL SPECIFICATIONS
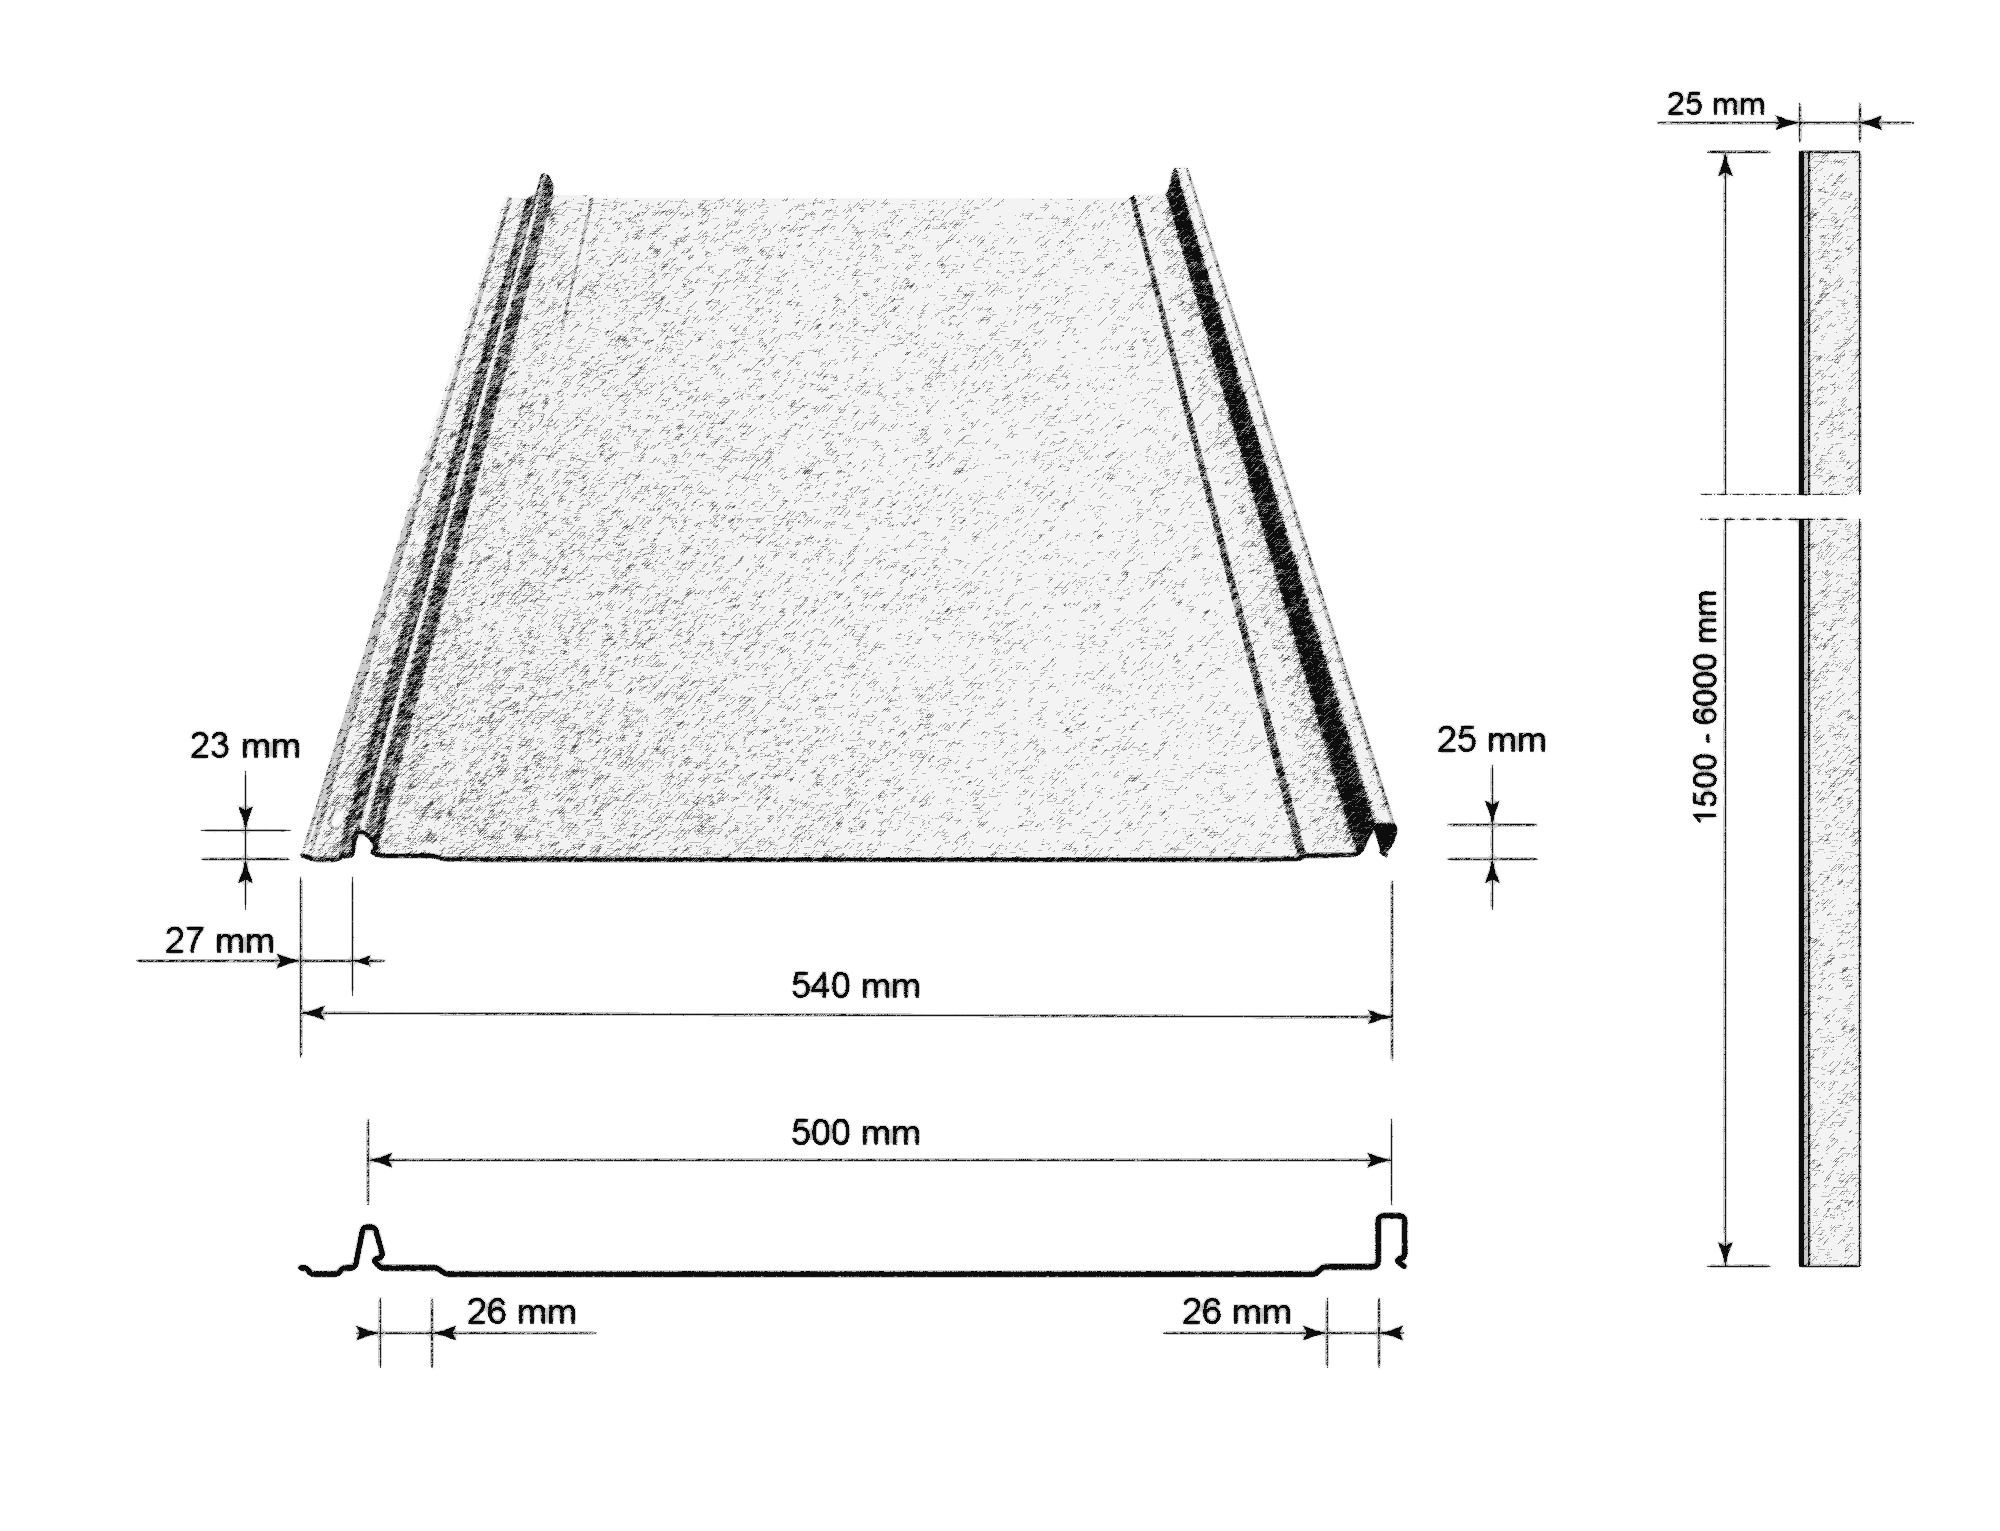
- Total width 540 mm
- Useful width 500 mm
- Profile depth 25 mm
- Battening distance 200 - 250 mm
- Minimum installation slope 8° - 10°
- Weight 4 Kg / m²
- Thickness 0.50 mm
- Length 1500 - 6000 mm
FINISHES & COLORS SNAP LOCK METAL STRIPES
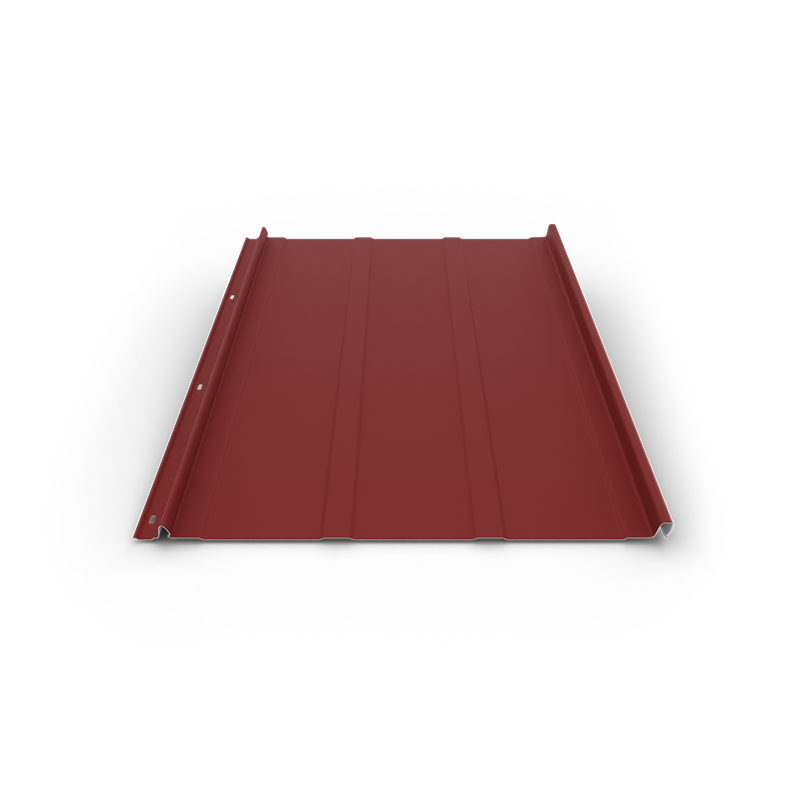
Matt
Metal sheet coated with a matt polyester layer, with low gloss, suitable for roofing and cladding.


Glossy
Metal sheet coated with a glossy polyester layer, with a smooth surface and a brighter appearance, suitable for roofing and cladding.


Displayed product colors could vary from one screen to another, according to the display's settings or filters used. For best accuracy please make sure that you ask a sales representative for a color plate sampler.
TECHNICAL SPECIFICATIONS
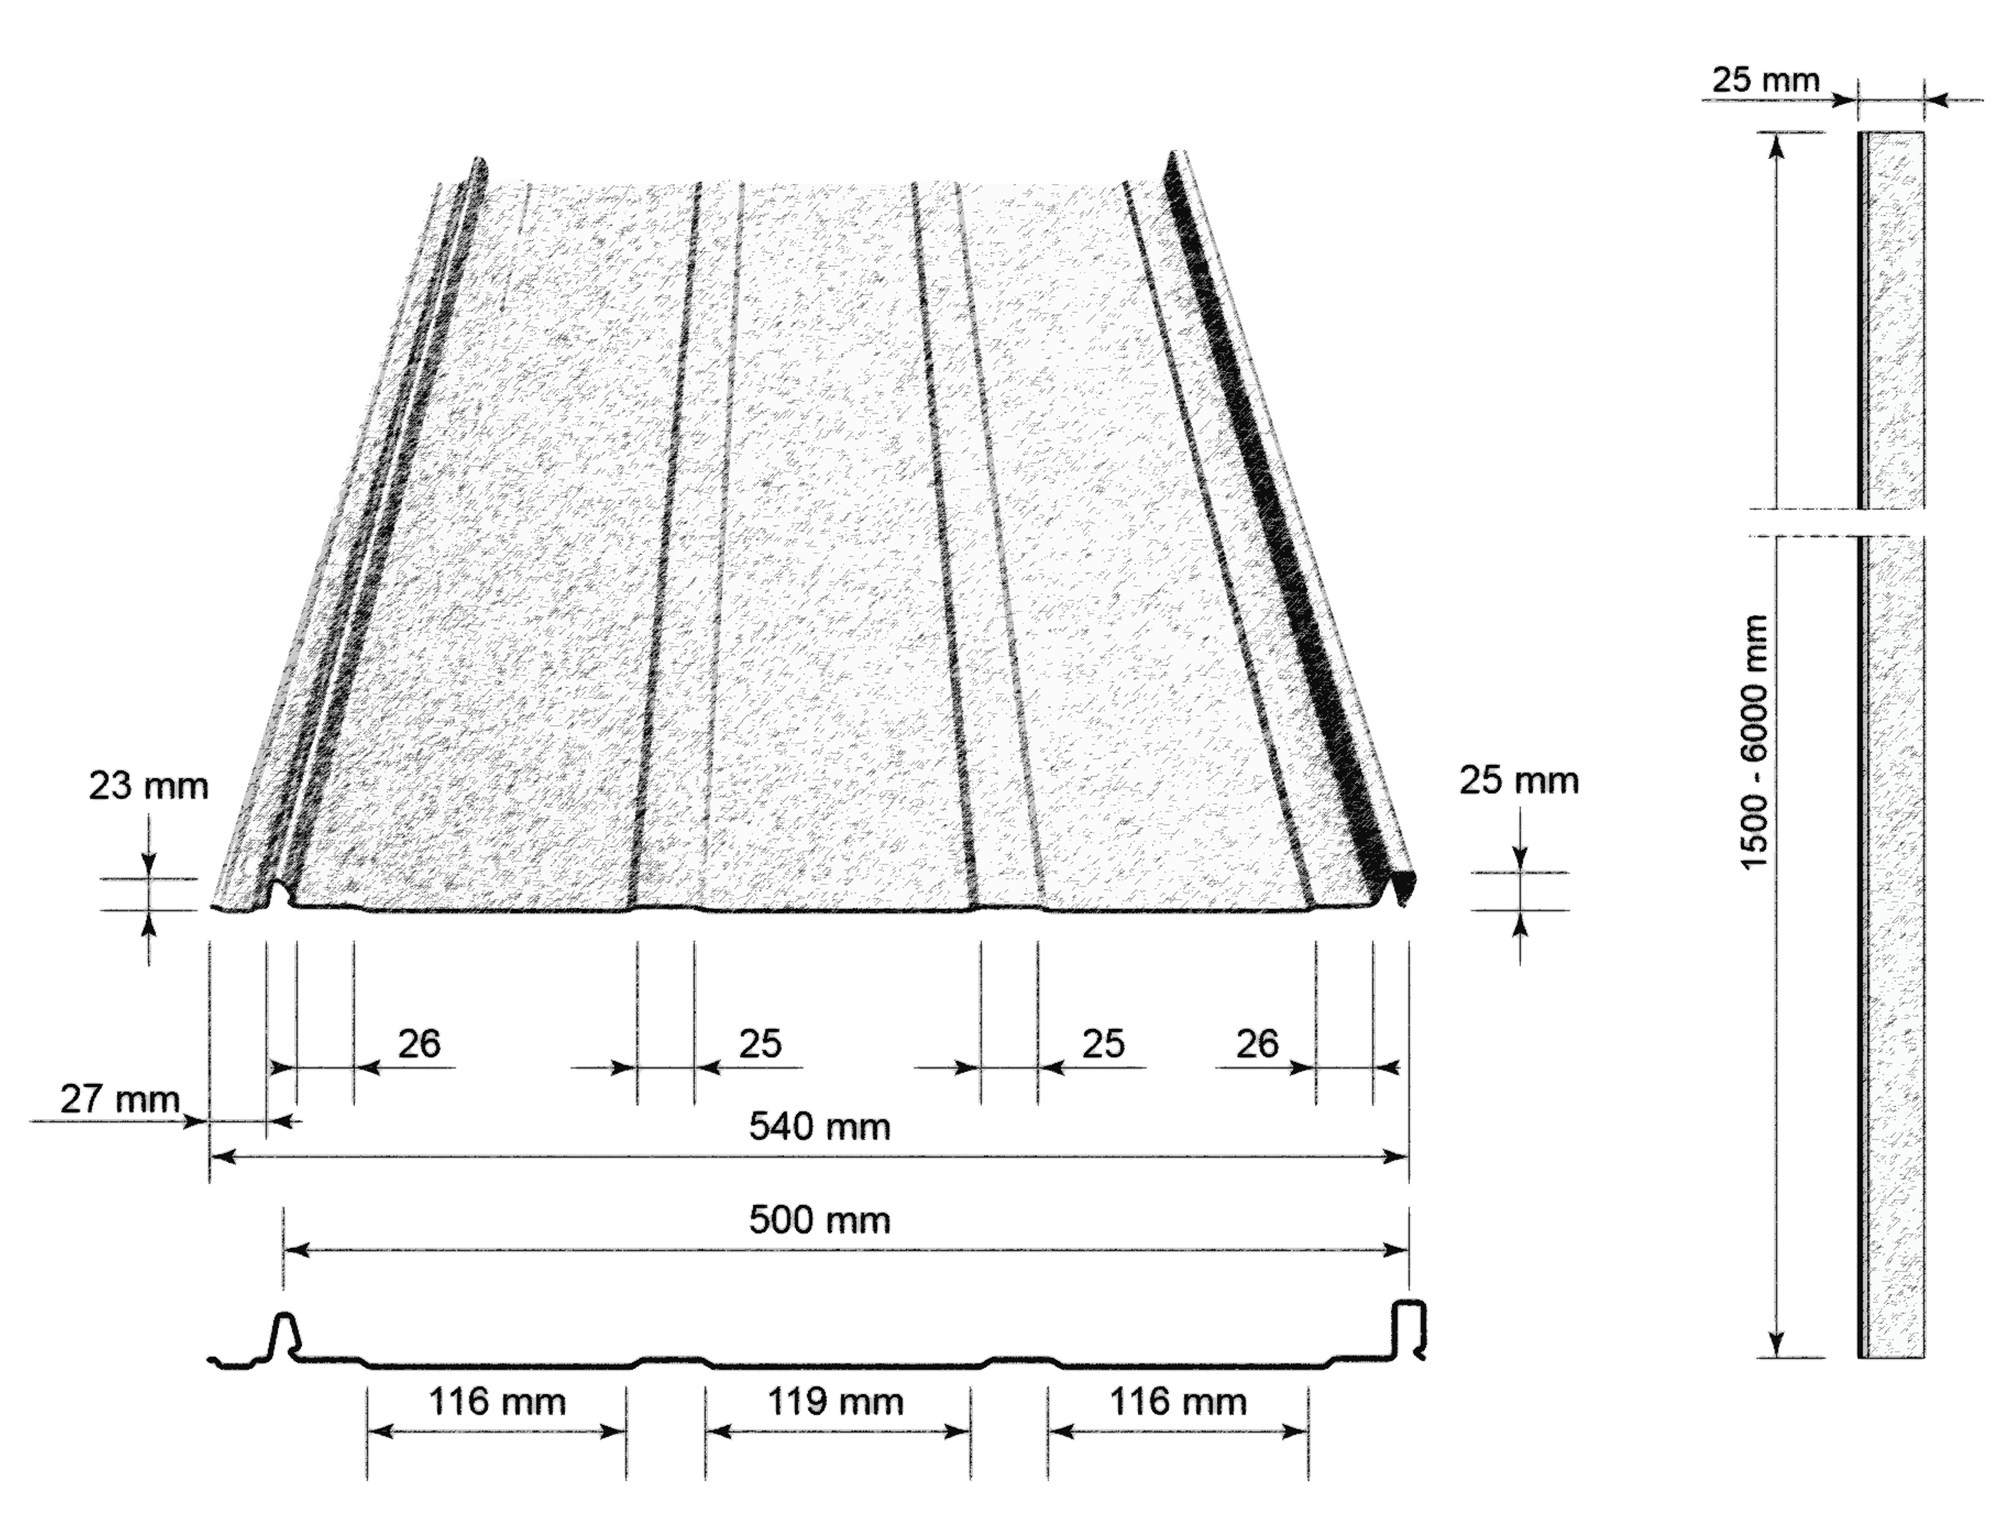
- Total width 540 mm
- Useful width 500 mm
- Profile depth 25 mm
- Battening distance 200 - 250 mm
- Minimum installation slope 8° - 10°
- Weight 4 Kg / m²
- Thickness 0.50 mm
- Length 1500 - 6000 mm
FINISHES & COLORS SNAP LOCK METAL WAVES
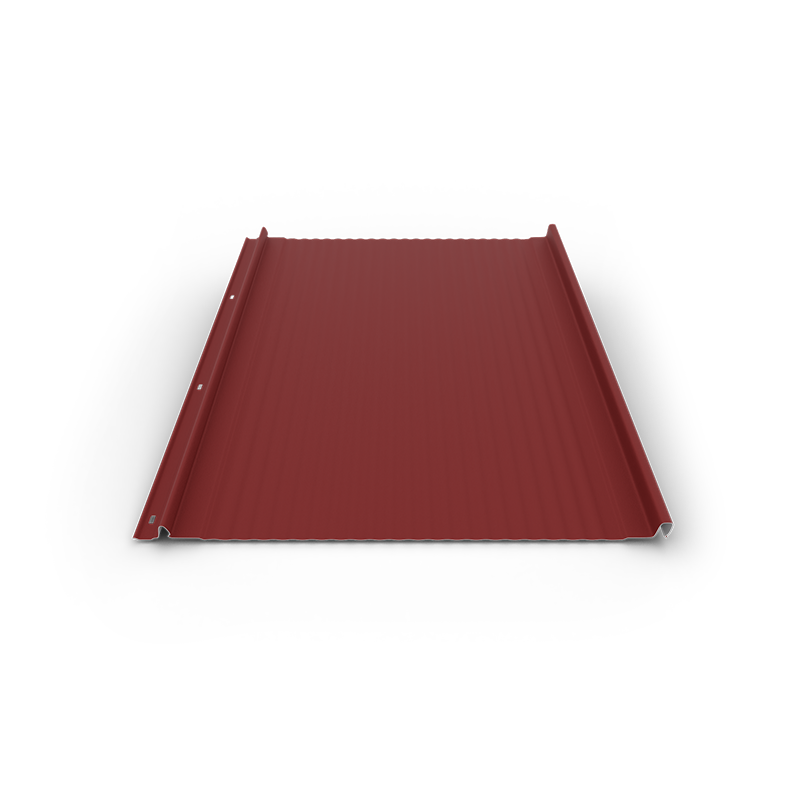
Matt
Metal sheet coated with a matt polyester layer, with low gloss, suitable for roofing and cladding.


Glossy
Metal sheet coated with a glossy polyester layer, with a smooth surface and a brighter appearance, suitable for roofing and cladding.


Displayed product colors could vary from one screen to another, according to the display's settings or filters used. For best accuracy please make sure that you ask a sales representative for a color plate sampler.
TECHNICAL SPECIFICATIONS
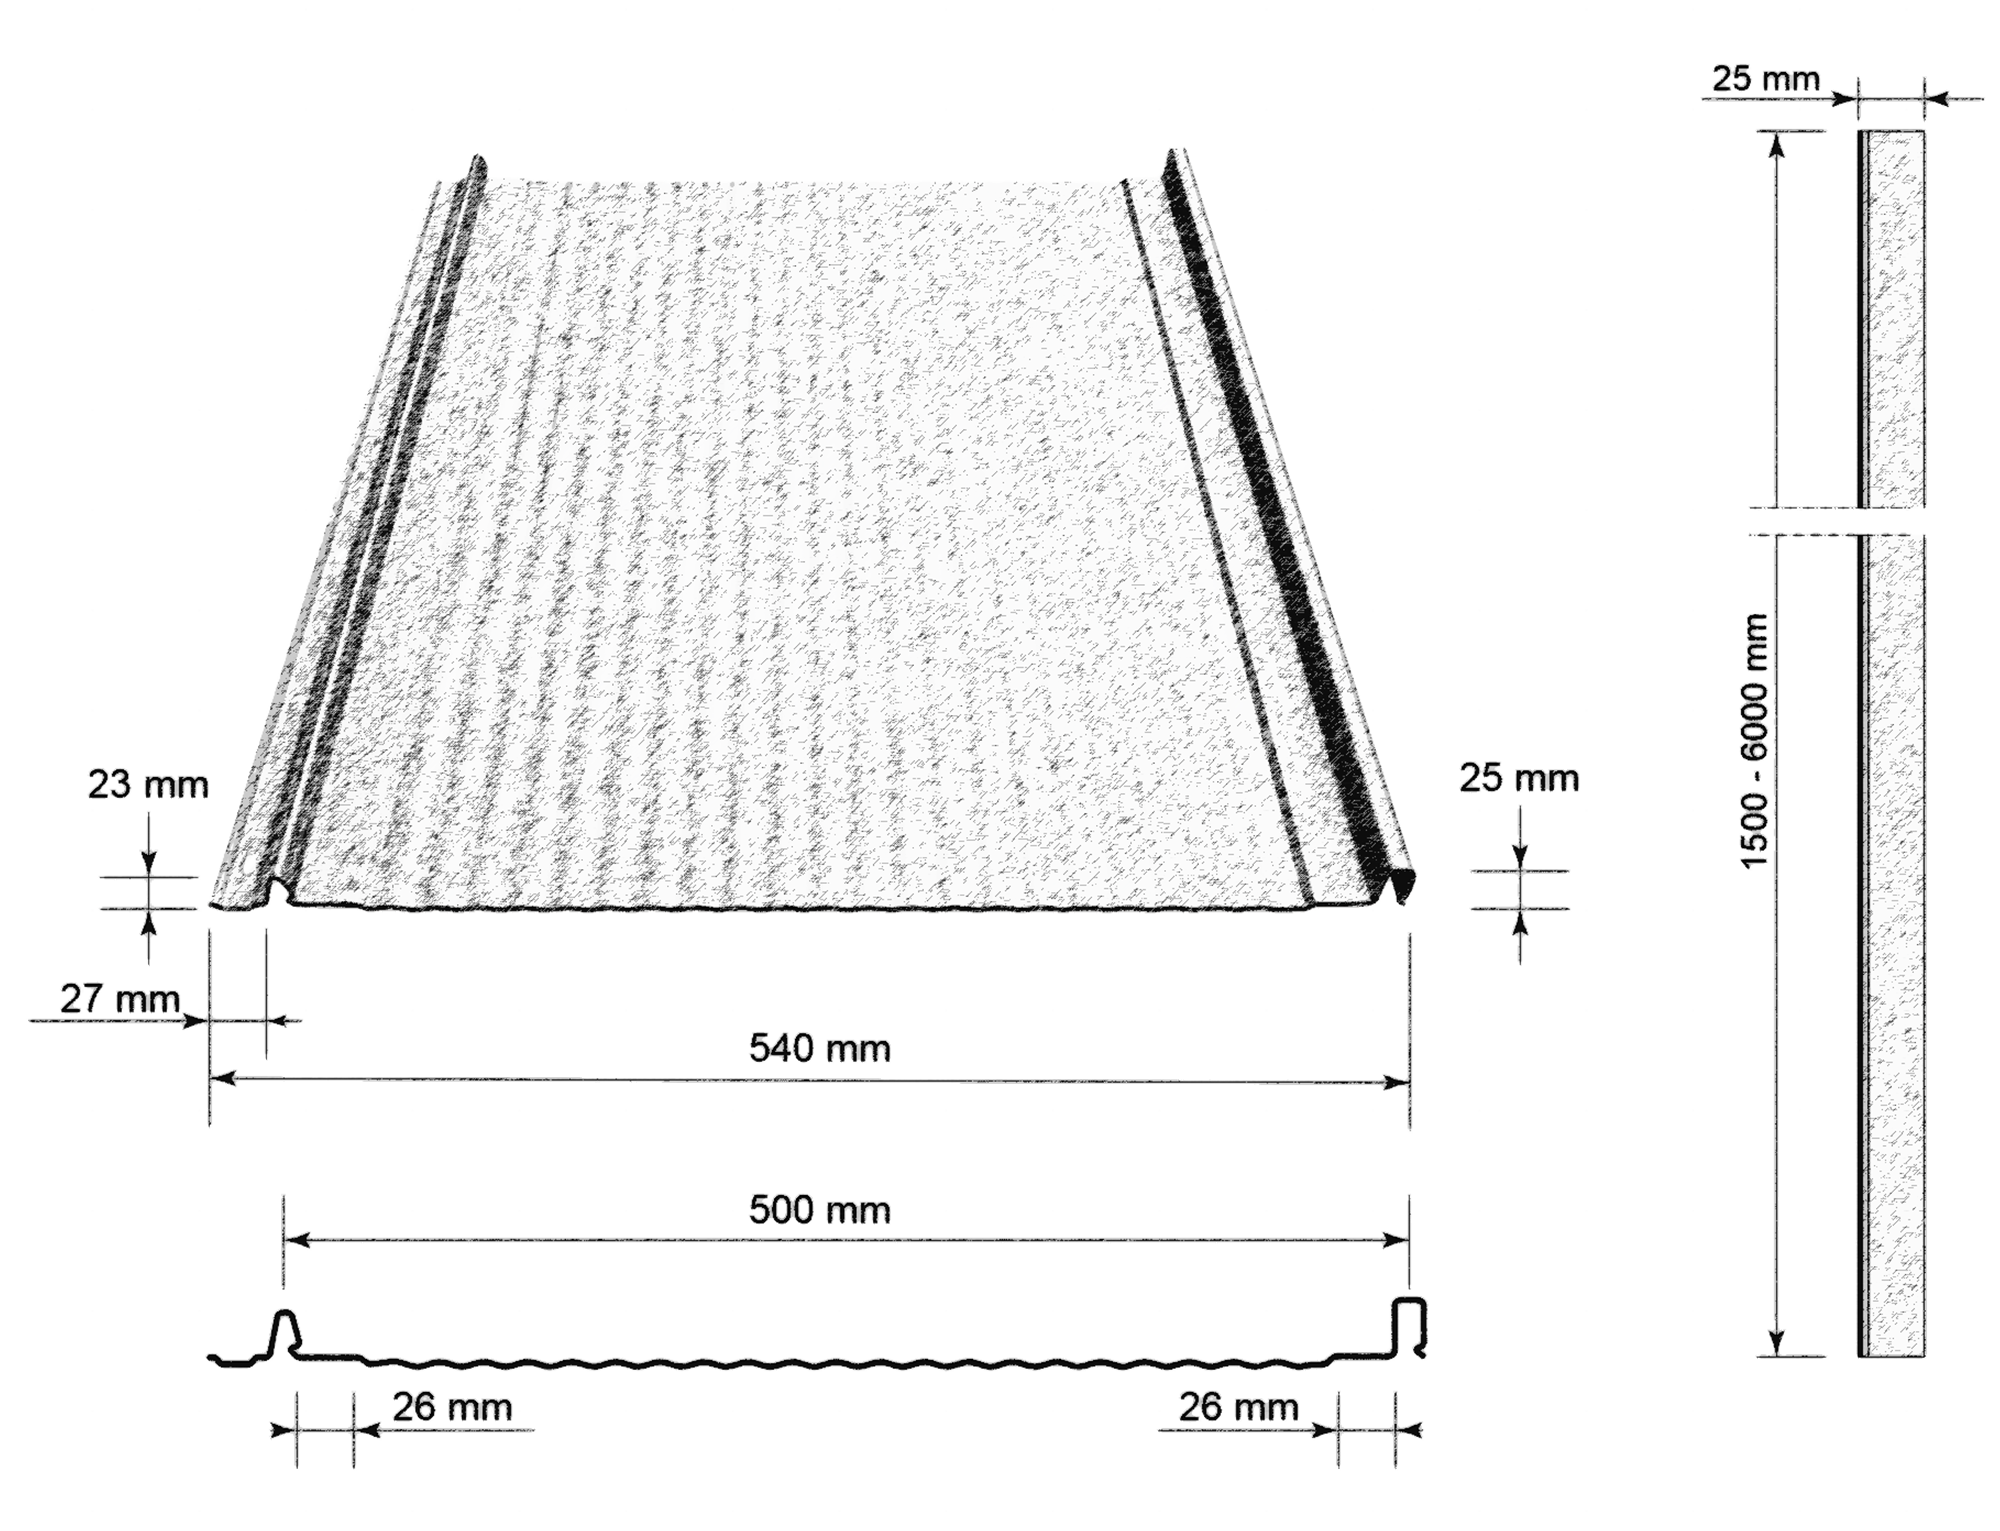
- Total width 540 mm
- Useful width 500 mm
- Profile depth 25 mm
- Battening distance 200 - 250 mm
- Minimum installation slope 8° - 10°
- Weight 4 Kg / m²
- Thickness 0.50 mm
- Length 1500 - 6000 mm
SMART ACCESSORIES
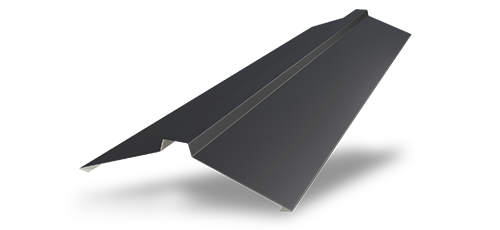 STRAIGHT RIDGE
STRAIGHT RIDGE
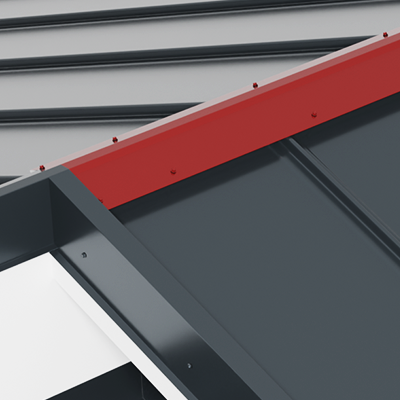
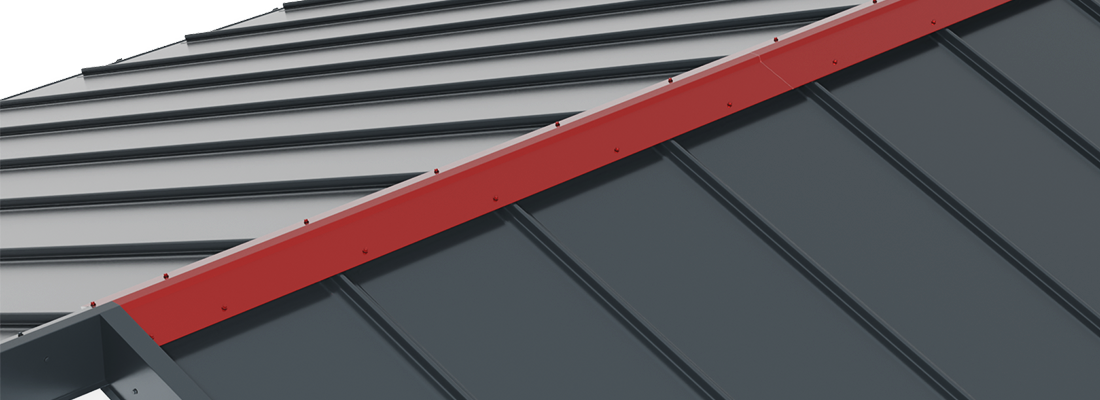
Used to close the intersection between two roof slopes, straight or angle-mounted.
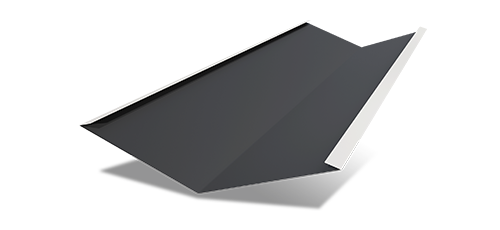 VALLEY
VALLEY
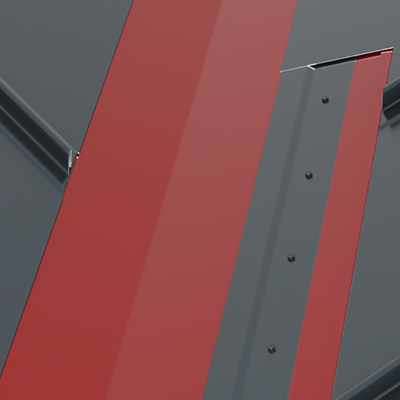
Mounted at the intersection of two roofing slopes. A limit of 70mm is drawn lengthwise the valley axis, on both sides, which will dictate the tile board covering.
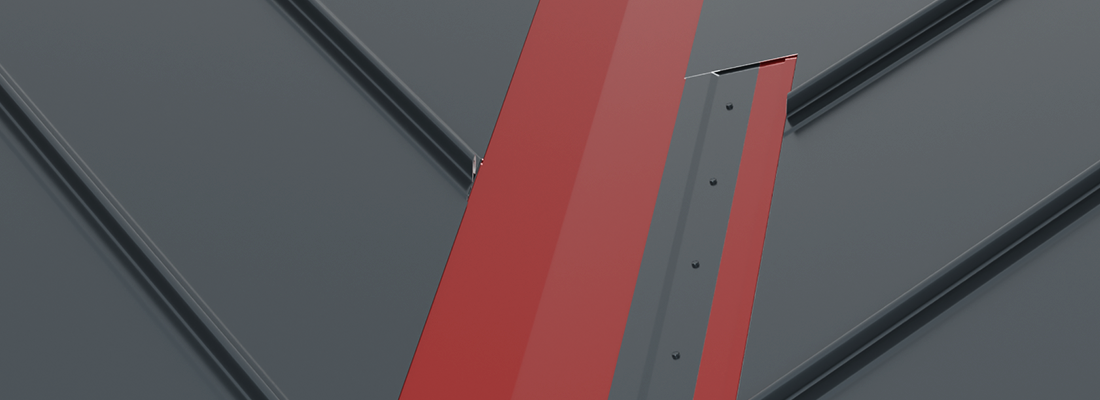
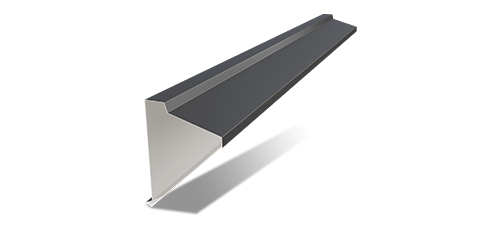 RIDGE ANGLE
RIDGE ANGLE
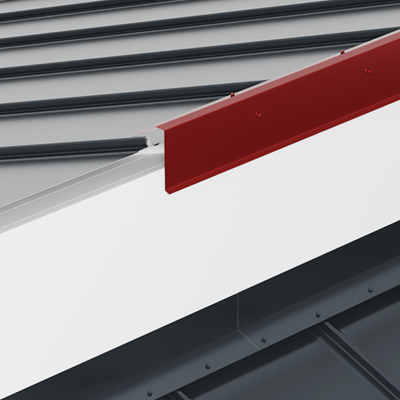
It is used to close the upper ridge area, in case a roof slope intersects one of the vertical building walls.
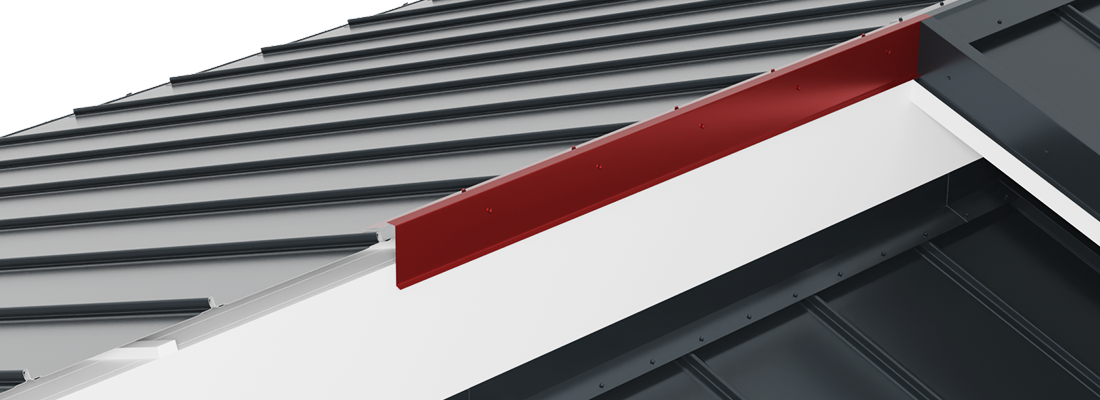
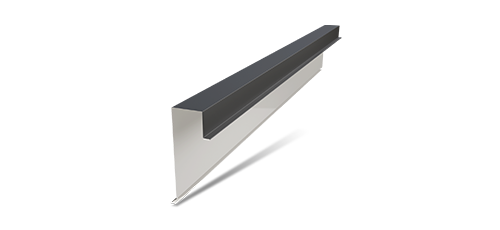 EDGE ANGLE BRACKET
EDGE ANGLE BRACKET
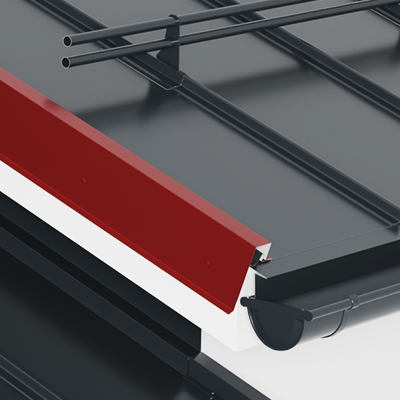
Used together with the corner edge eaves flashing / water deviation eaves flashing at the side closure of the roof.
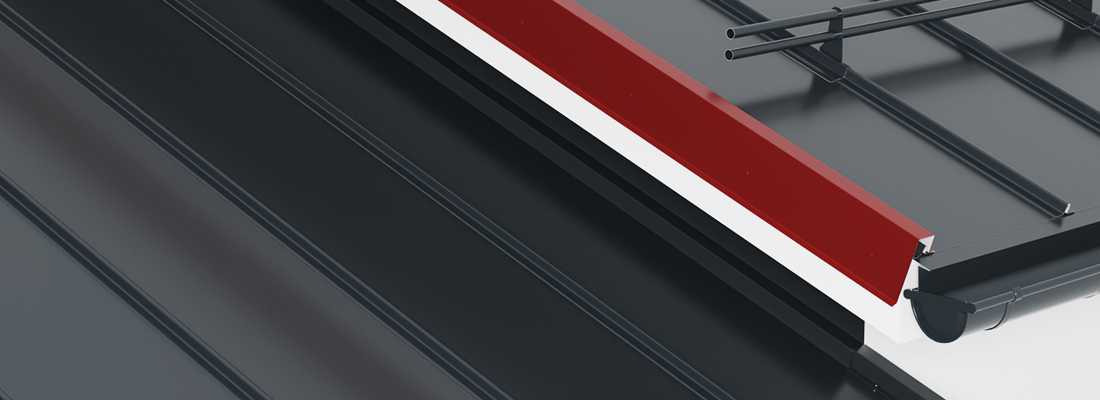
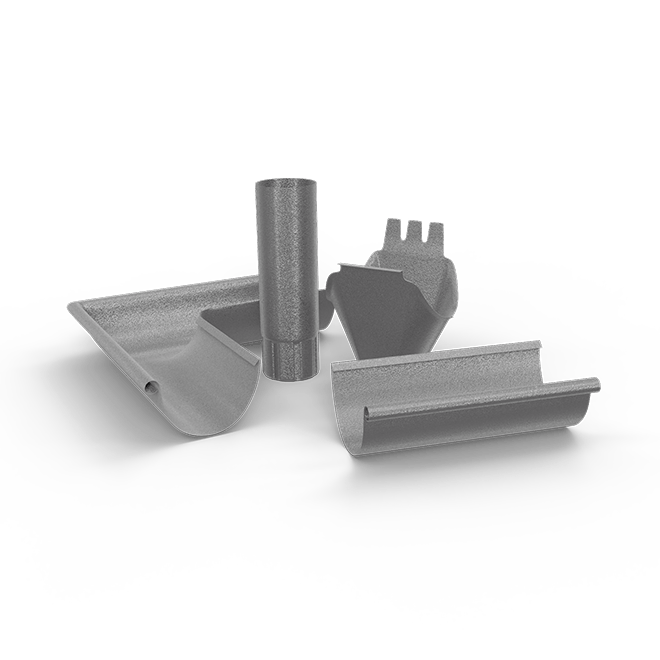
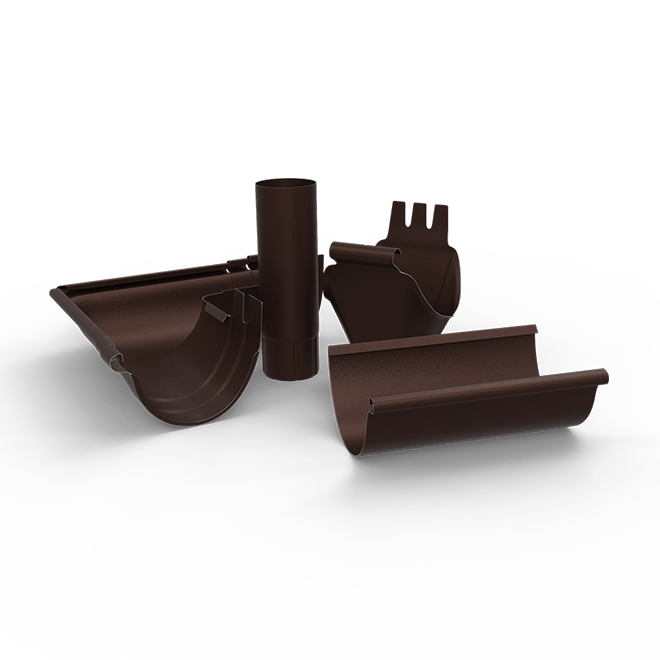
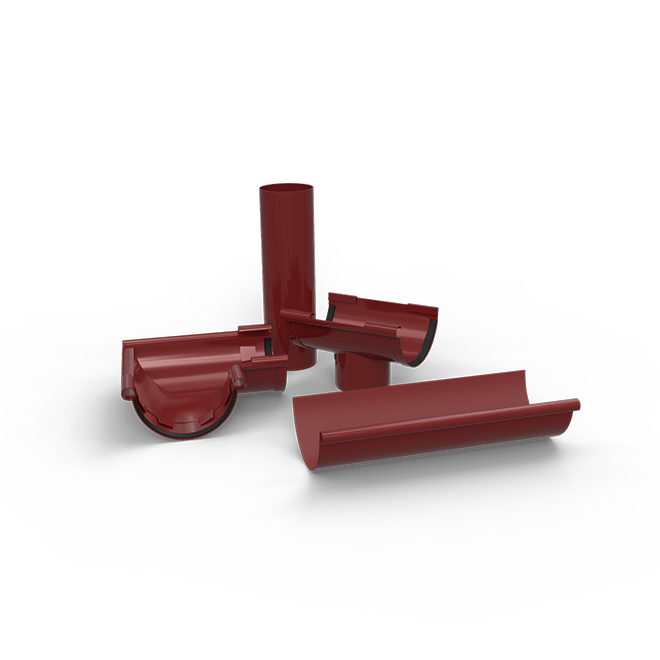
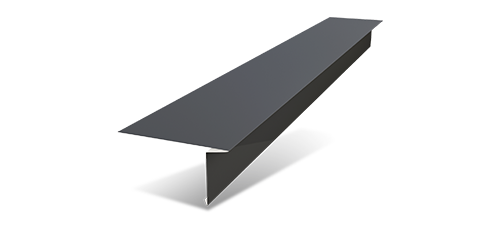 GUTTER GRADE
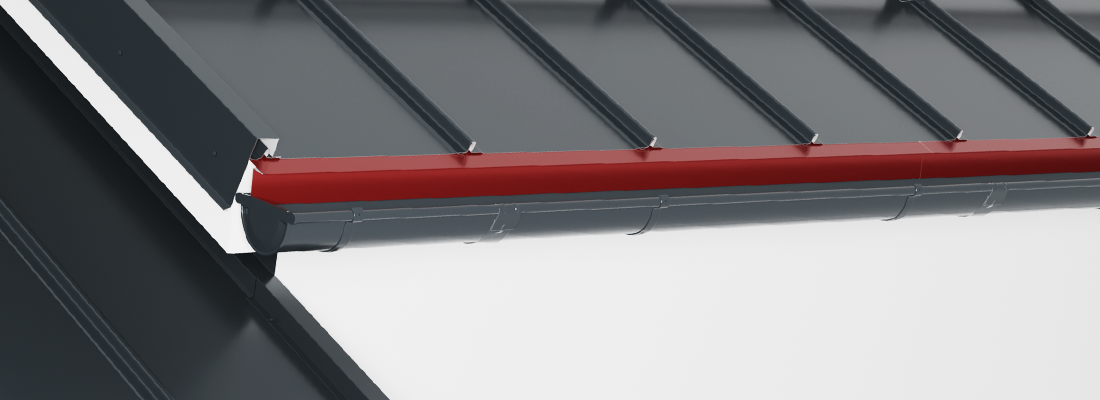
GUTTER GRADE
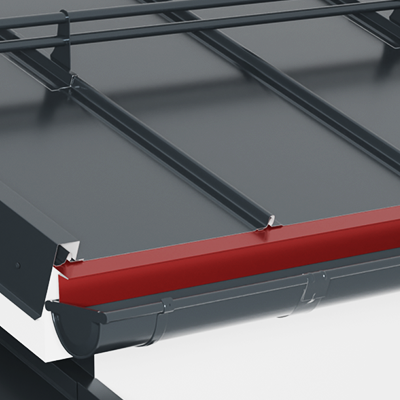
It is mounted on the collection system wooden underlayer, subsequent to the latter, but prior to the anti-condensation sheets. Upon the installation, it overlaps onto the downspout over 5 cm.
 WALL EAVES
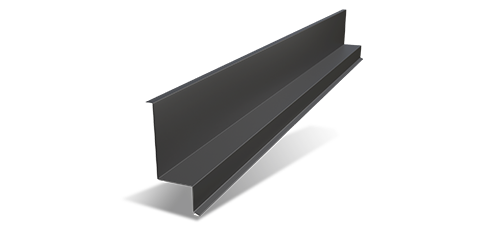
WALL EAVES
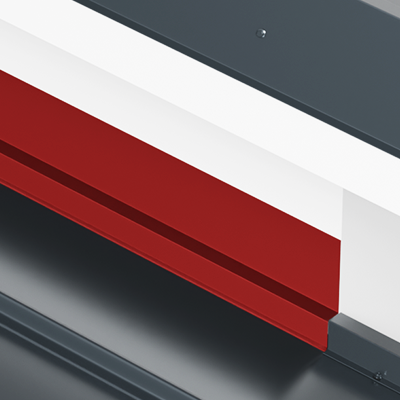
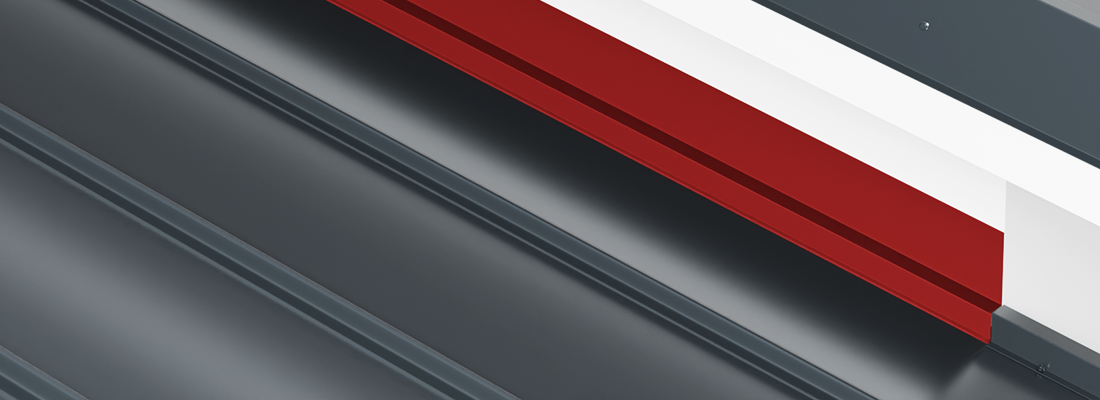
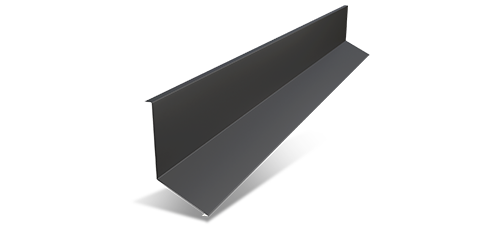
It is mounted at the intersection between a wall or blind wall and a roof slope, at a straight angle. The pitch angle runs along the blind wall. It is fastened onto the wall.
 BLIND WALL ANGLE
BLIND WALL ANGLE
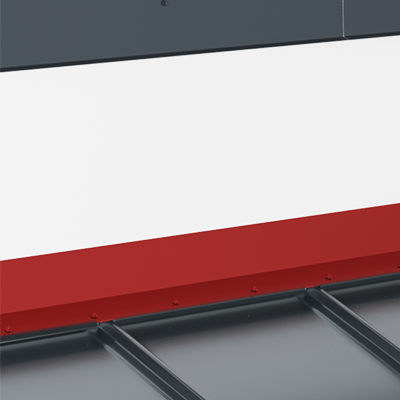
It is used at the intersection between a wall / blind wall and a roof slope, at a blunt angle. The slope angle starts at the intersection with the wall. The blind wall angle is mounted in the wall.
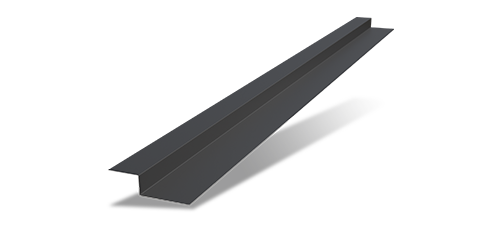
 FLAT HOOKING PROFILE
FLAT HOOKING PROFILE
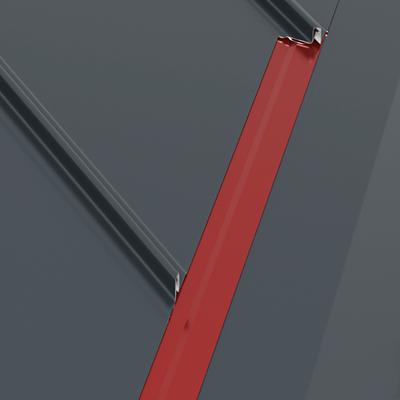
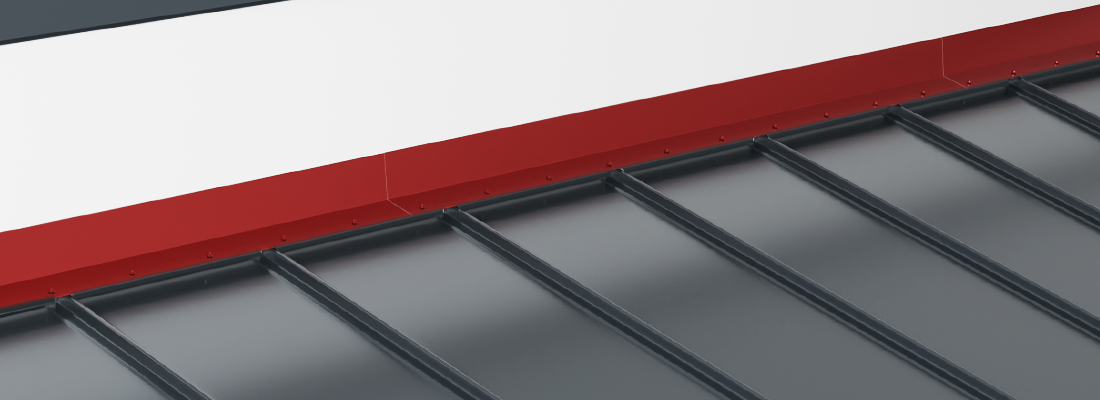
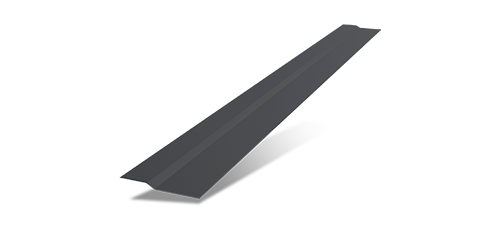
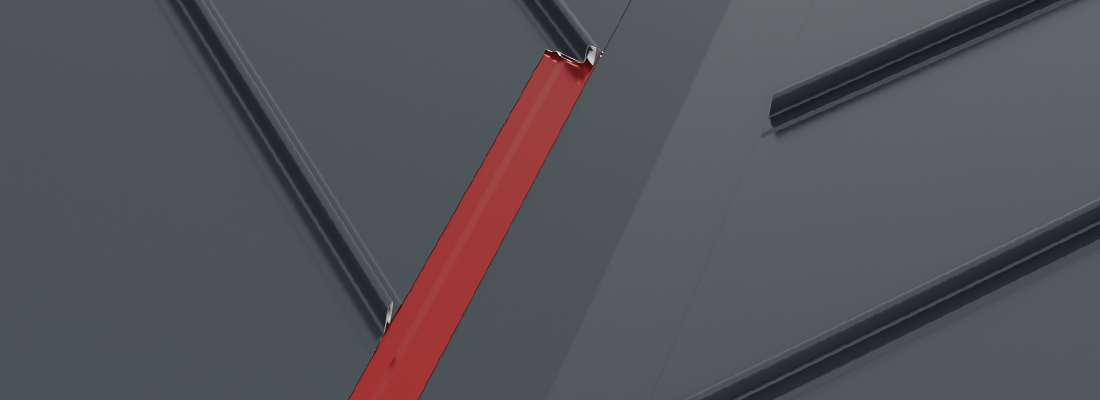
It is used in the valley, on both sides of it, and also when overlapping two panels in the transverse direction. It is installed on the panels/valley using double-sided butyl tape and clamps (in the valley) or pop rivets (on the panel). The panels are mounted with the standing seam inserted into this profile.
 HIGH HOOKING PROFILE
HIGH HOOKING PROFILE
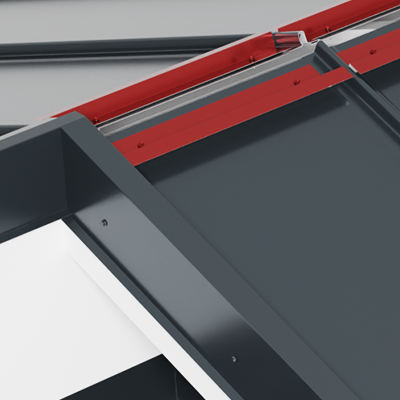
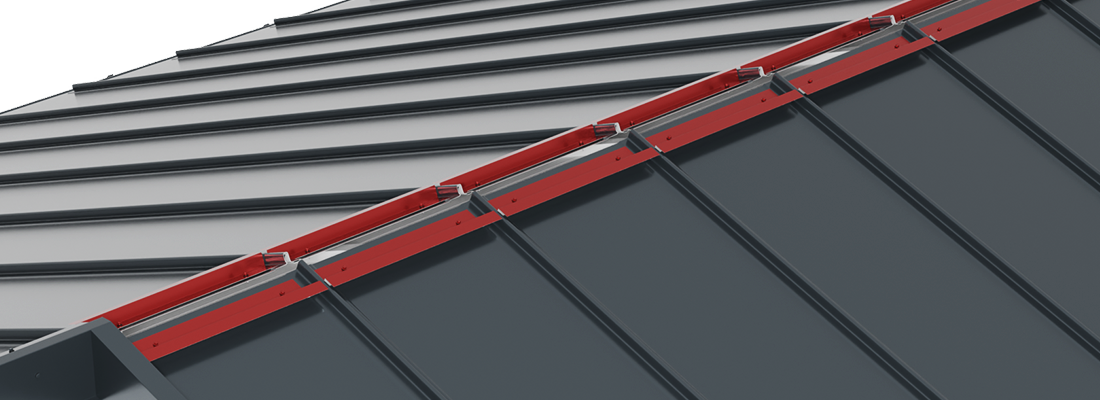
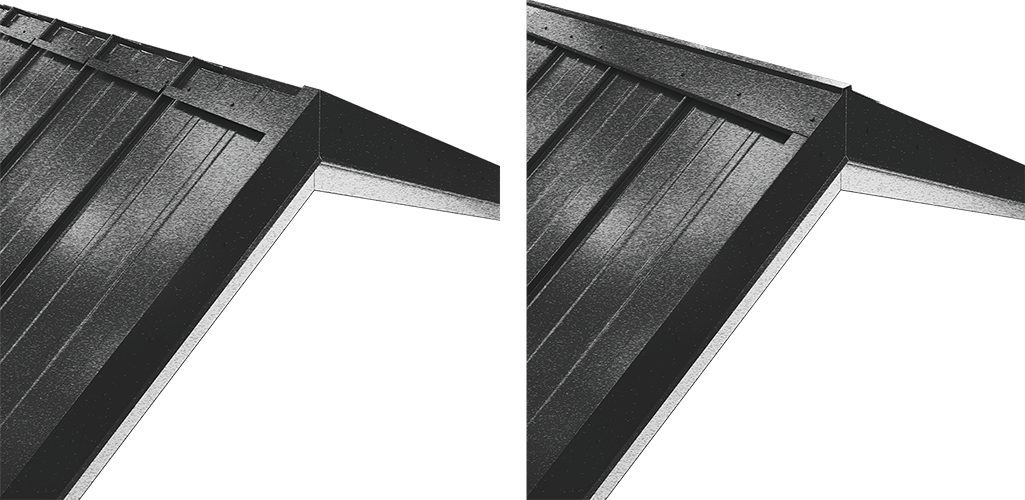
It is used for mounting the ridge, on both sides of it. It is installed on the panels using double-sided butyl tape, which acts as both a gasket and a sealing element, together with mechanical fastening using pop rivets. The ridge will be fixed into this profile without penetrating the panel directly. It is also used as a support in the case of a gable wall (firewall) or as a hooking profile for interior and exterior slope transitions.
 SNOW STOPPER
SNOW STOPPER
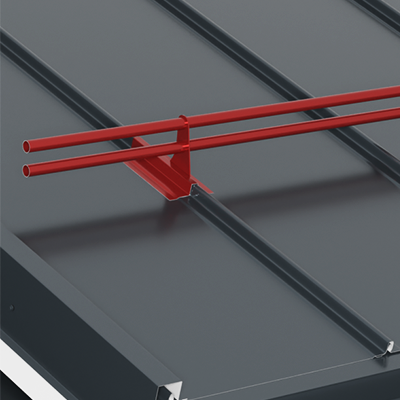
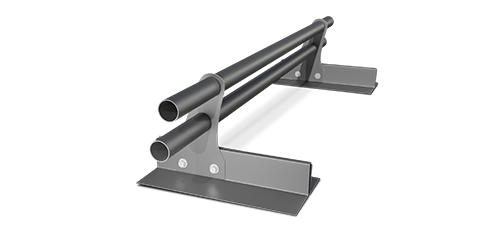
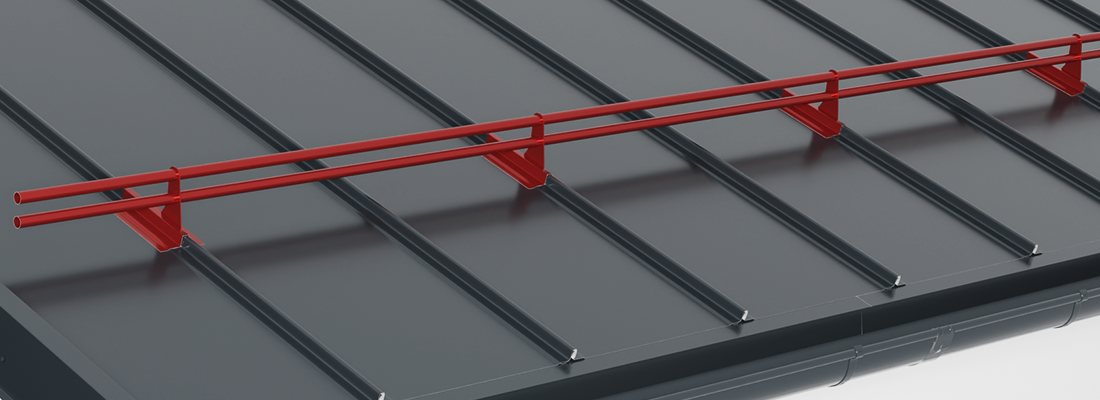
The snow guard system is specifically designed so that it does not require drilling into the roofing sheet. The brackets are mounted on the profile recesses and secured with screws. After the brackets are fastened, the bar or bars used to prevent snow sliding are inserted through the bracket openings. The self-tapping screws for the click-to-fit roofing sheet secure the roofing sheets to the structure.
SMART INSTALLATION PRINCIPLES
Install the drip edge on the roof lath, so that the dripper does not exceed the inside margin of the gutter.
Align the sections with the eaves. Fasten the border with zig-zag wood screws, every 300 mm. Install the anti-condensation foil over the drip edge, at max. 10 mm from its edge.
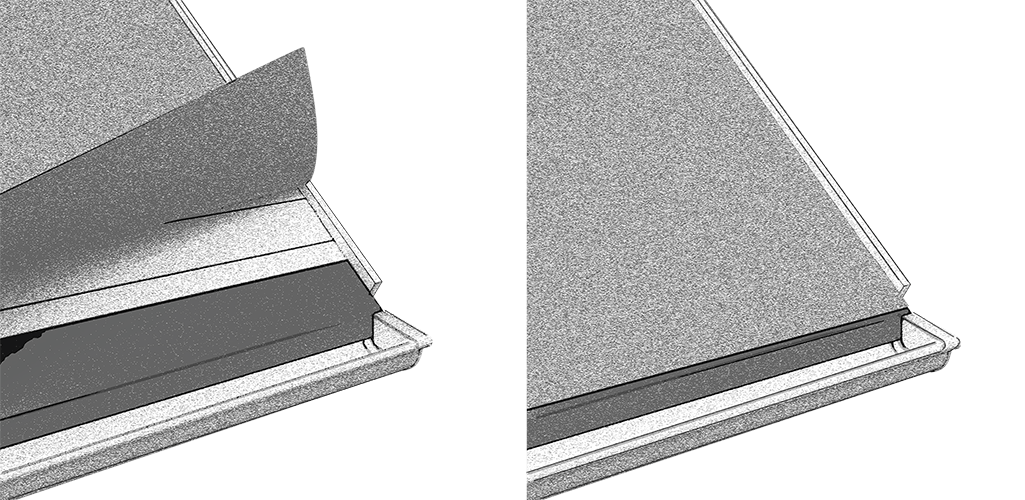
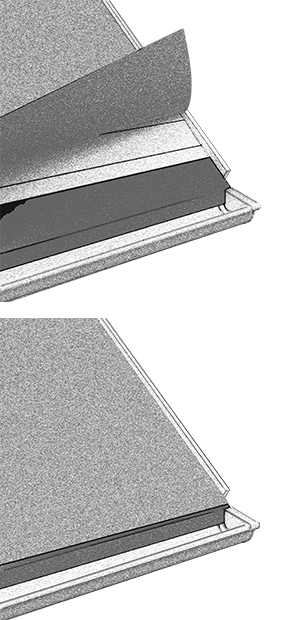
In the case of ventilated system, a drip edge shall be installed on the eaves, in the first stage, and the diffusion membrane shall be applied later, based on the outermost edge of the drip edge. The vertical batten should then be mounted (they should be fastened with 10 cm long nails on the trusses). The horizontal supports shall be fitted later (the plank size 30x80mm), every 300 to 300 mm.
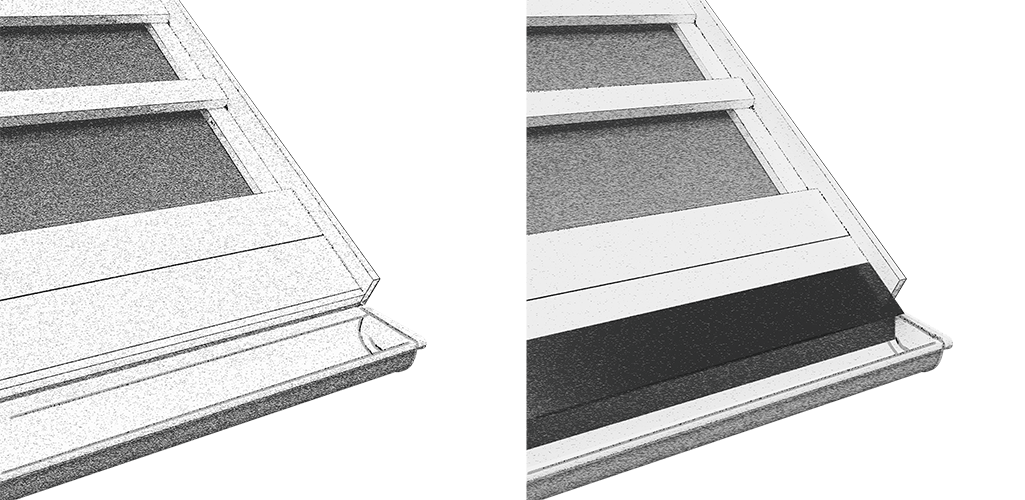
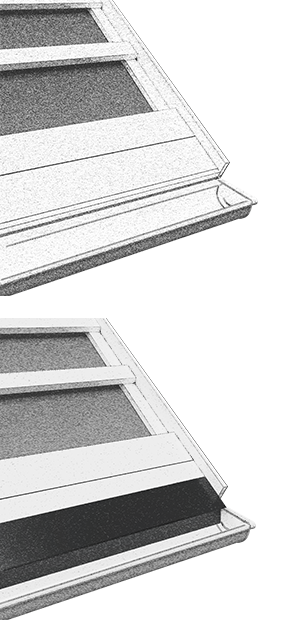
It starts on the right side of the slope. The first panel will align with the eaves edge and the edge pediment.
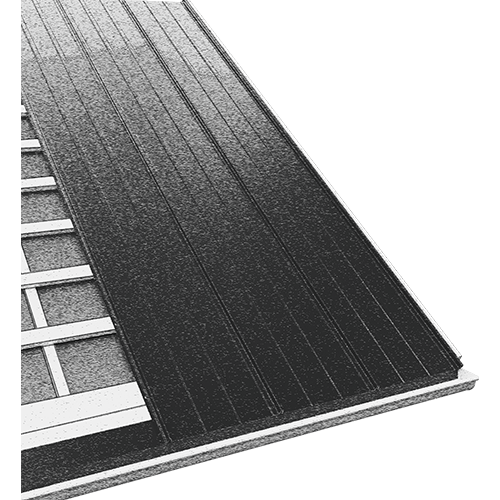
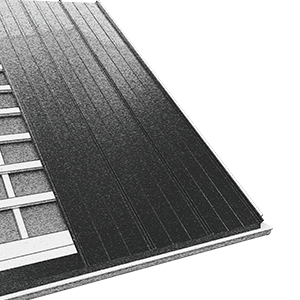
If the length of the slope is longer than the length of the panels, longitudinal overlaps are required.
These overlaps will not be linear but will ensure a gap of at least 500 mm between the adjacent panels.
It is fixed with clamps, drilling is forbidden. It is mounted at the intersection of two slopes.
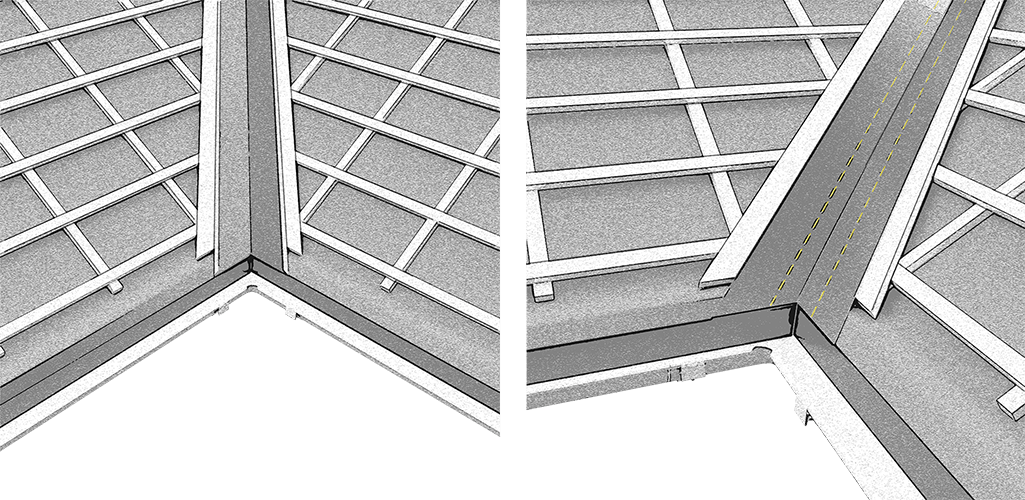
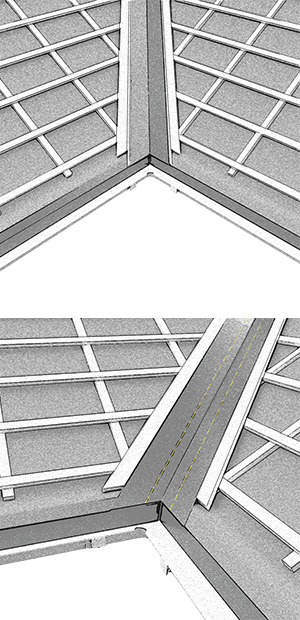
The edge bracket is mounted using a wooden side guard that rises 25 mm above the level of the horizontal supports. Its fixing will be done using self-drilling wooden screws 4.8x35 mm.
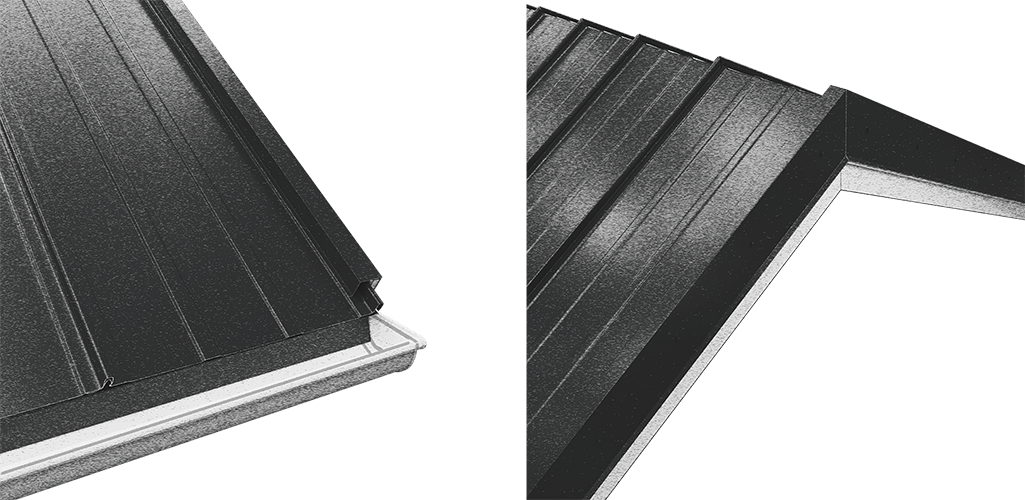
For its mounting, the high joint profile is used, which is mounted 50 mm from the ridge shaft on both sides. The ridge is mounted over the high joint profile.
SMART VIDEO INSTALLATION GUIDE