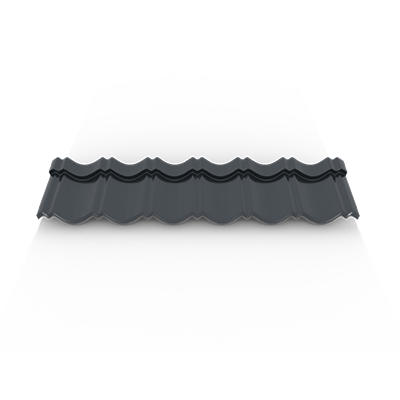
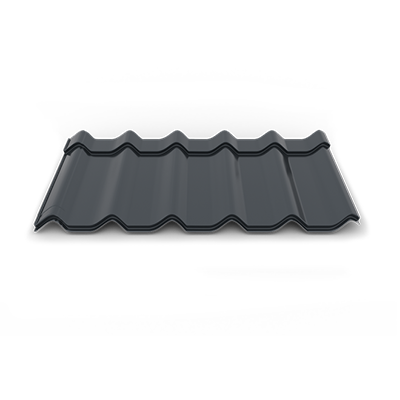
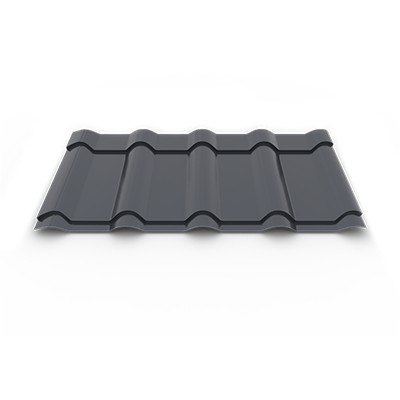
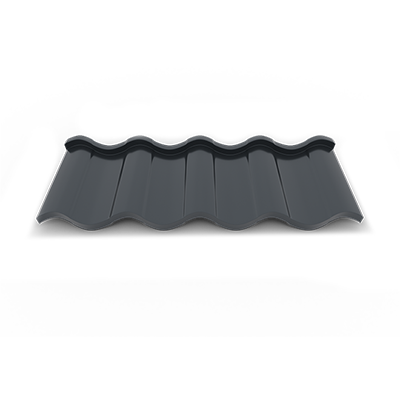
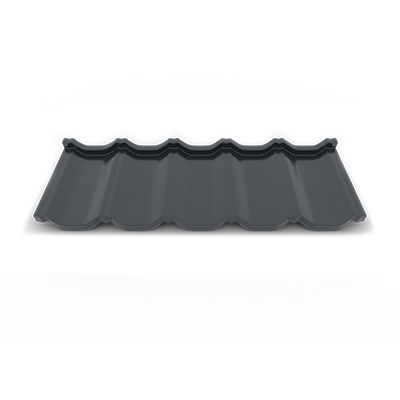
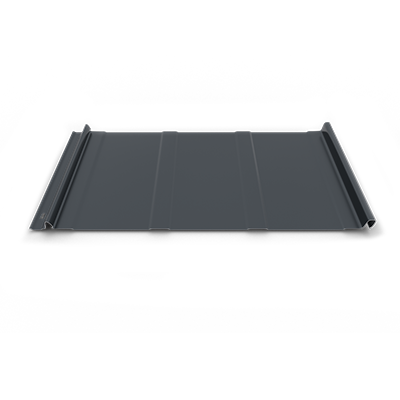
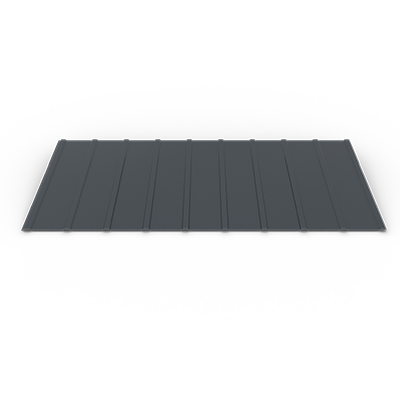
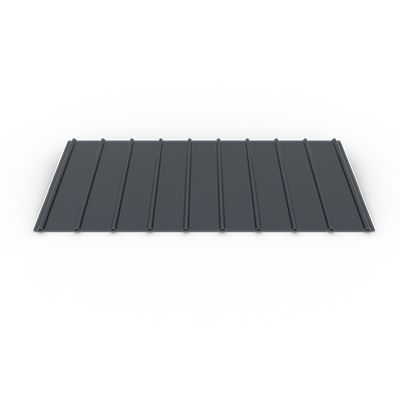
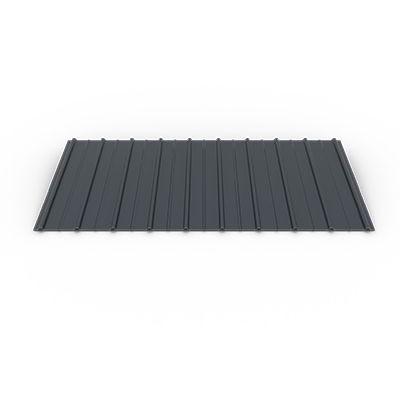
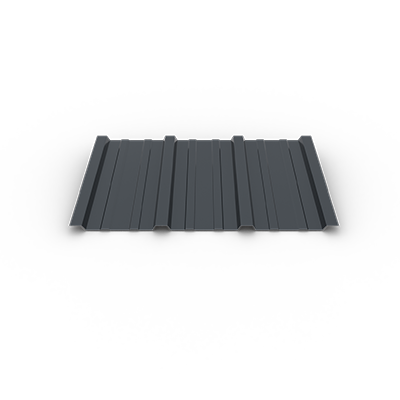
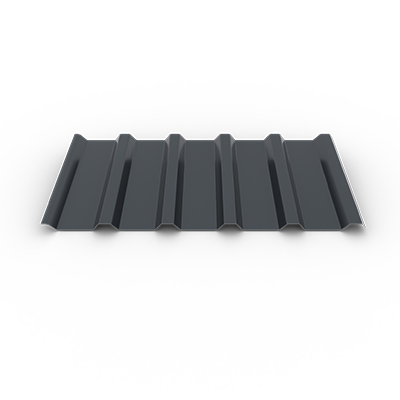
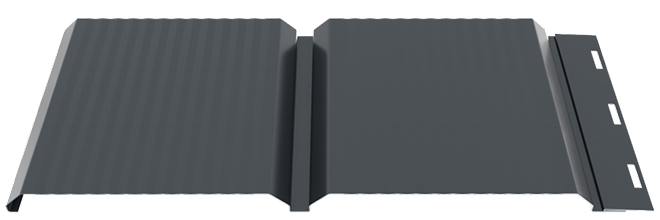
TR45
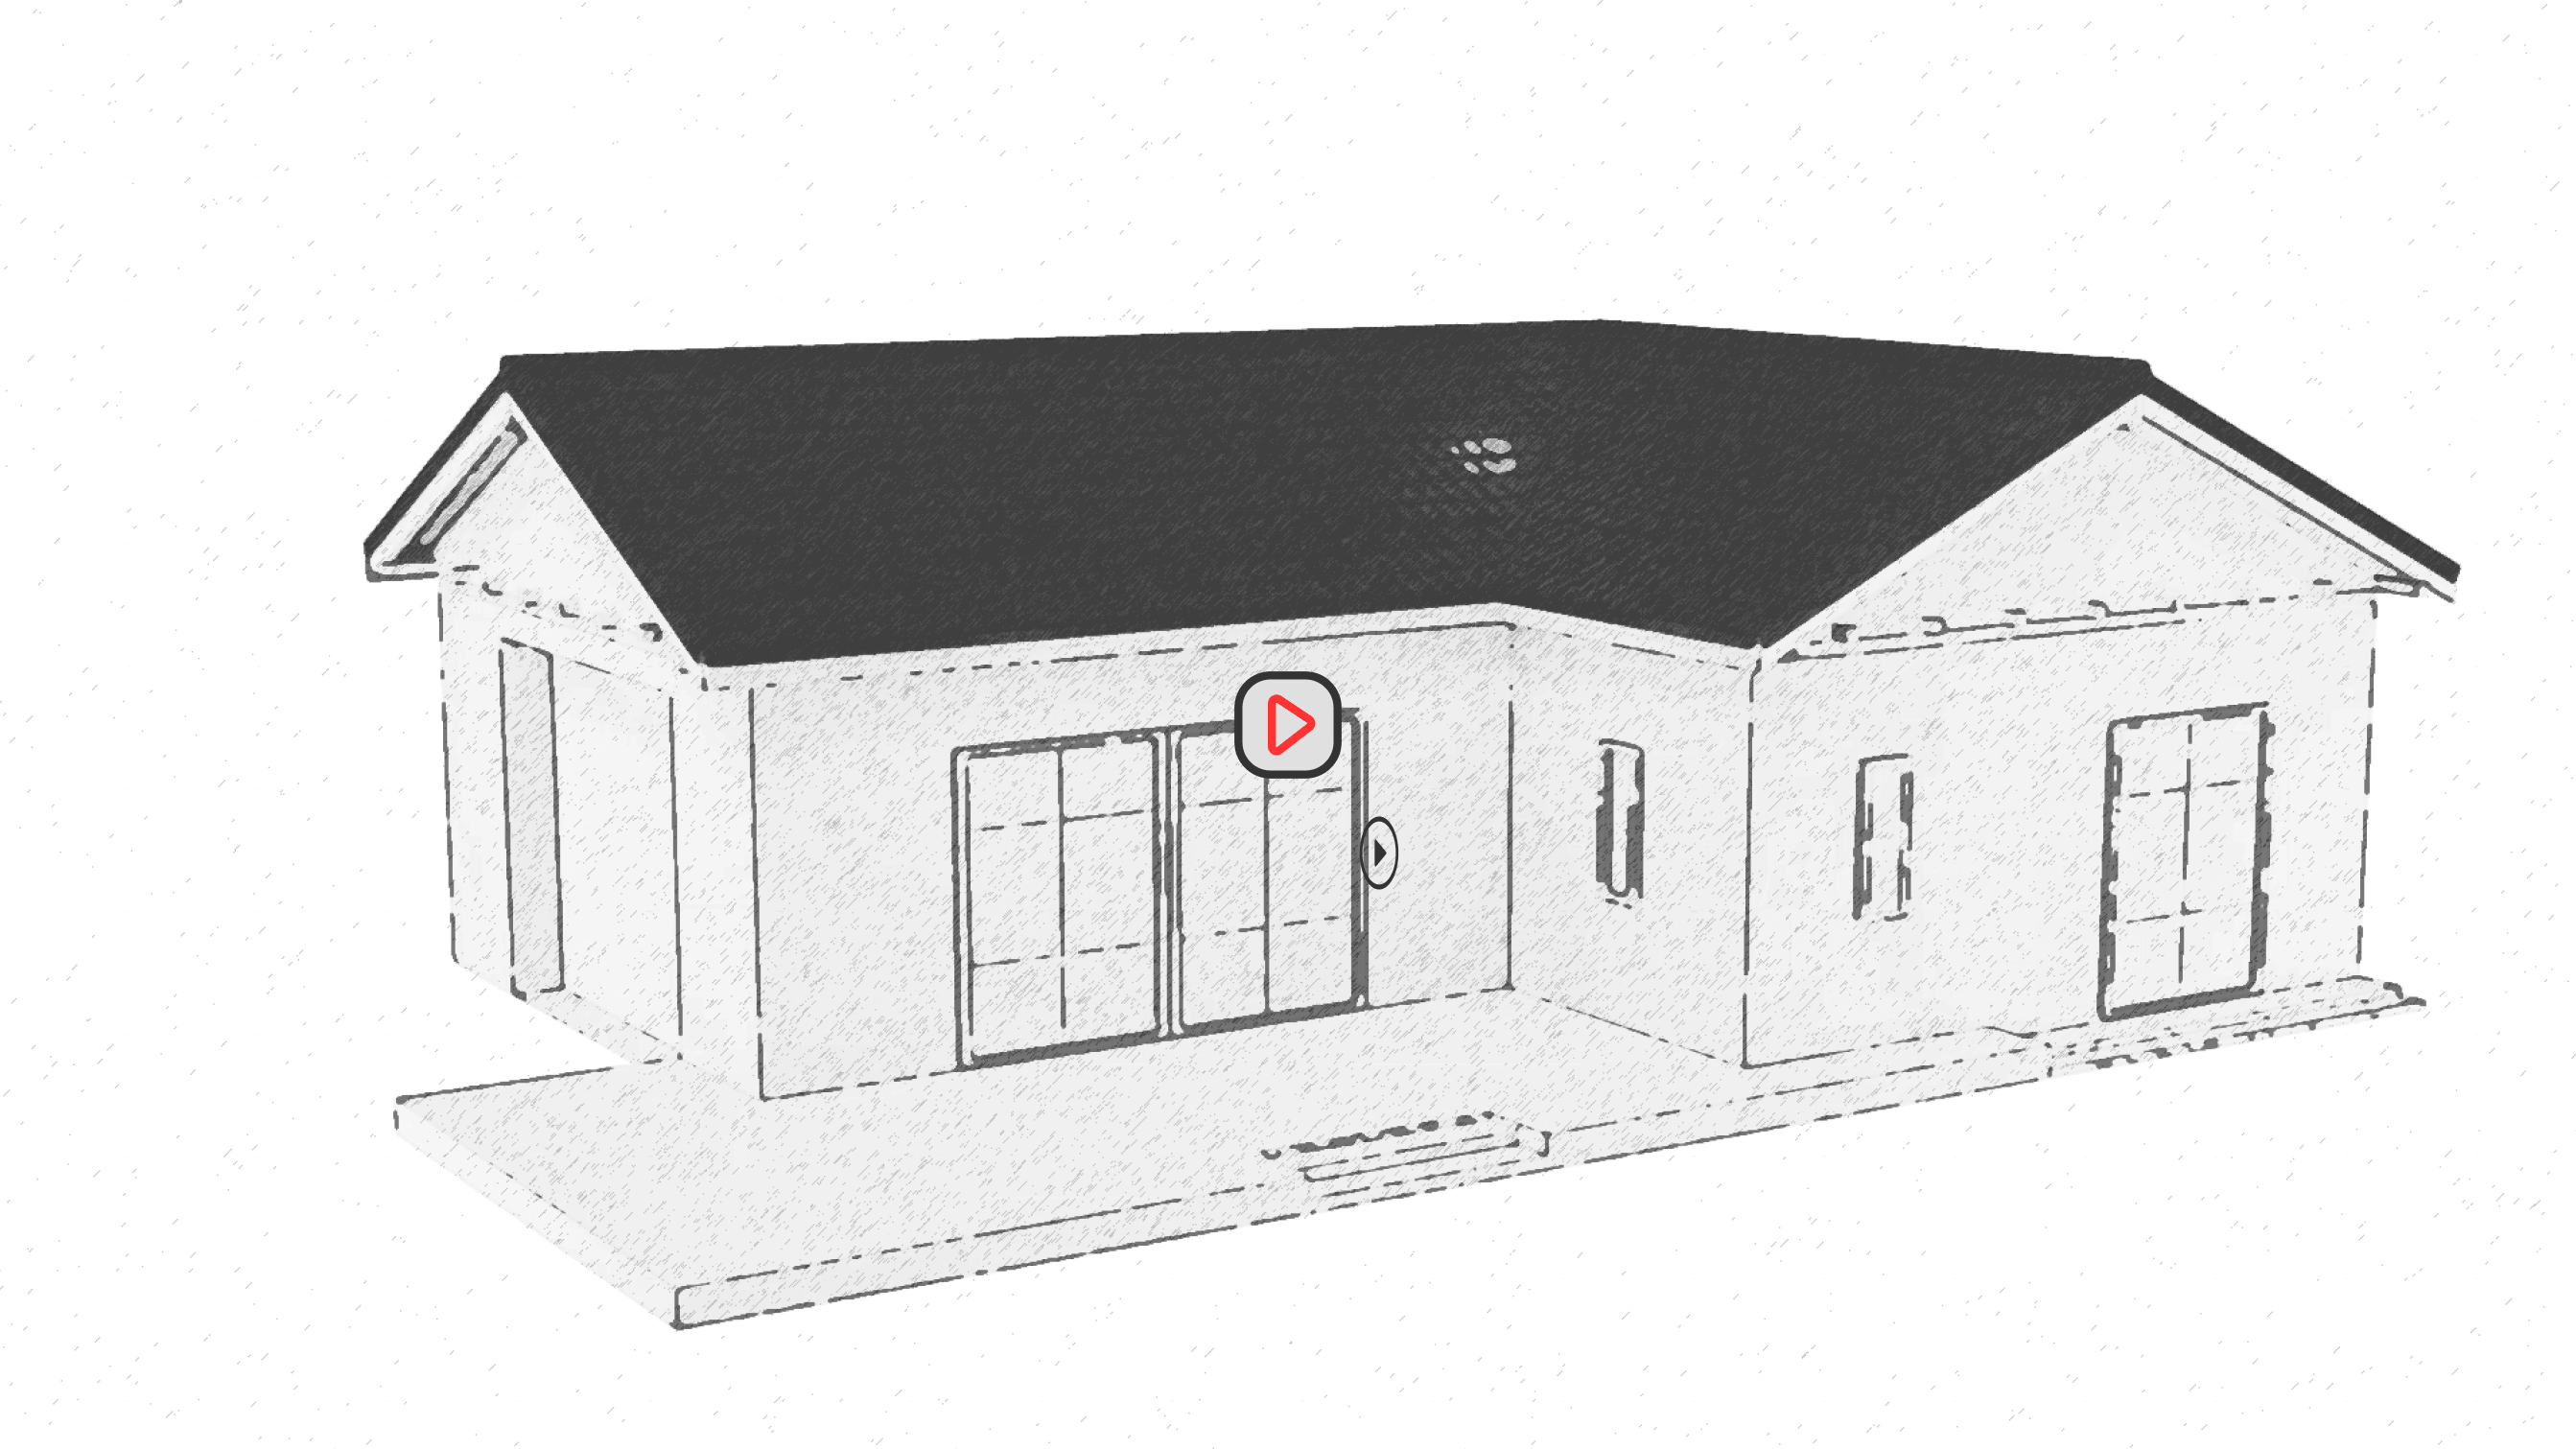
The optimal solution for industrial usage, such as shopping or sports centers, warehouses, silos, production facilities, farms
SMART BENEFITS
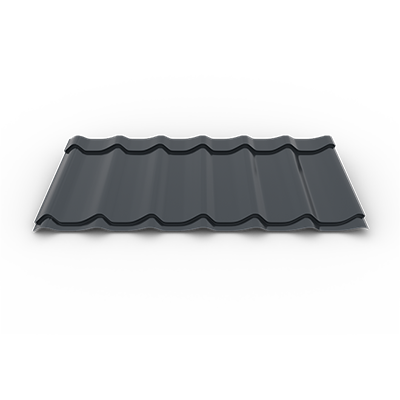
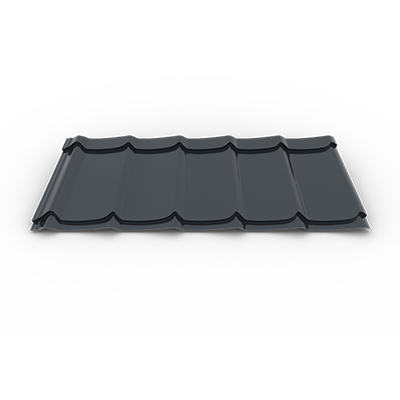
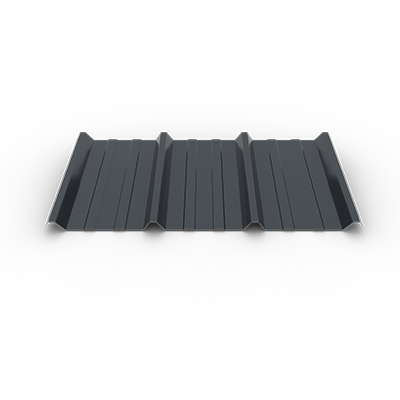
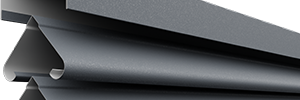
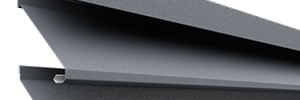
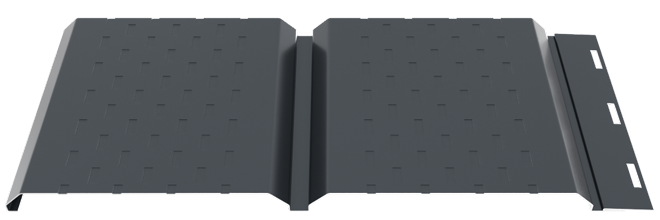
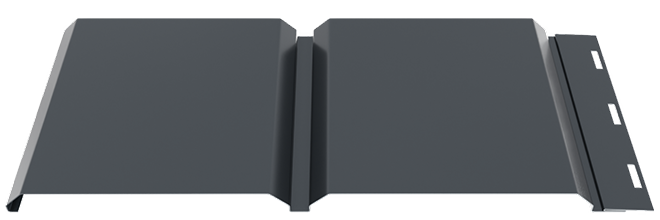
SMART TR45 Trapezoidal Sheet is an industrial sheet metal profile designed for roofing and facades, characterized by a 45 mm rib height, which provides a very high load-bearing capacity and superior structural rigidity.
Due to its deep trapezoidal profile and robust geometry, the TR45 trapezoidal sheet is mainly used for large-scale industrial projects, where the panels must ensure stability and durability under intensive operating conditions.
This type of profile is frequently used for commercial or sports centers, industrial halls, logistics warehouses, silos, production facilities, or agricultural buildings. In practice, the profile is often selected as trapezoidal sheet for industrial halls or trapezoidal sheet for warehouses, thanks to its high load-bearing capacity and structural stability over large surfaces.
The panels can be installed vertically or horizontally when used as trapezoidal sheet for facades, offering flexibility in the execution of cladding systems for industrial or commercial buildings.
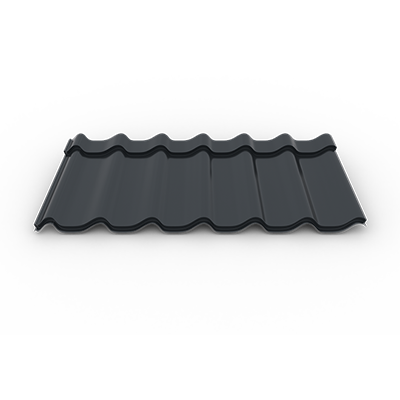
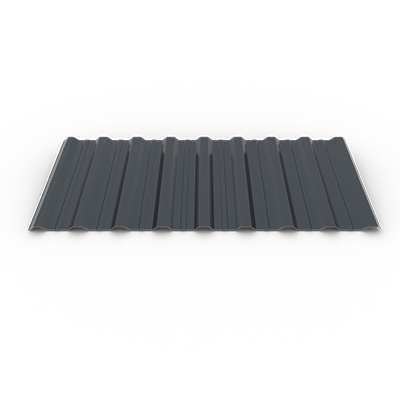
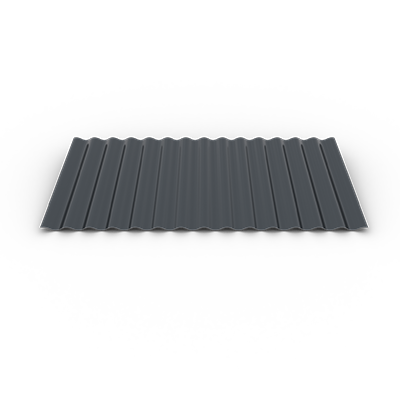
The product is also available in a negative corrugation version, frequently used for vertical cladding or for finishing the area under the eaves (soffit).
SMART TR45 trapezoidal sheet is manufactured from pre-painted galvanized steel sheet and is available in 0.5 mm thickness, in glossy polyester and matt polyester finishes, suitable for most roofing or cladding applications. For projects requiring greater structural resistance, the profile is also available in 0.63 mm thickness with glossy polyester finish, a configuration specific to the industrial profile segment.
Through the combination of the deep trapezoidal profile, high load-bearing capacity, and versatile use, SMART TR45 trapezoidal sheet represents a durable solution for industrial roofing or cladding systems made from trapezoidal sheet metal.
 Quick and easy assembly which can be carried out by the customer without the help of a professional
  Rigidity adapted to the profile type
  Minimum maintenance (no regular interventions: painting, varnishing, treatments against insects, sun or humidity)
  Possibility of customization (sizes / colors)
  Complete range of accessories
 FINISHES & COLORS TR45 1050 mm
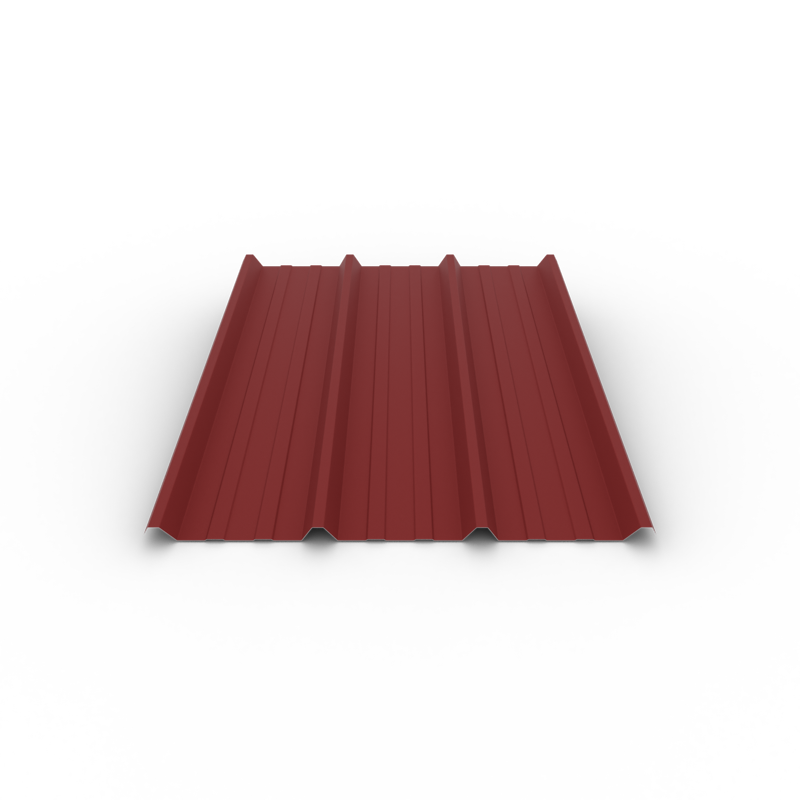
Matt
Metal sheet coated with a matt polyester layer, with low gloss, suitable for roofing and cladding.


Glossy
Metal sheet coated with a glossy polyester layer, with a smooth surface and a brighter appearance, suitable for roofing and cladding.


Displayed product colors could vary from one screen to another, according to the display's settings or filters used. For best accuracy please make sure that you ask a sales representative for a color plate sampler.
TECHNICAL SPECIFICATIONS
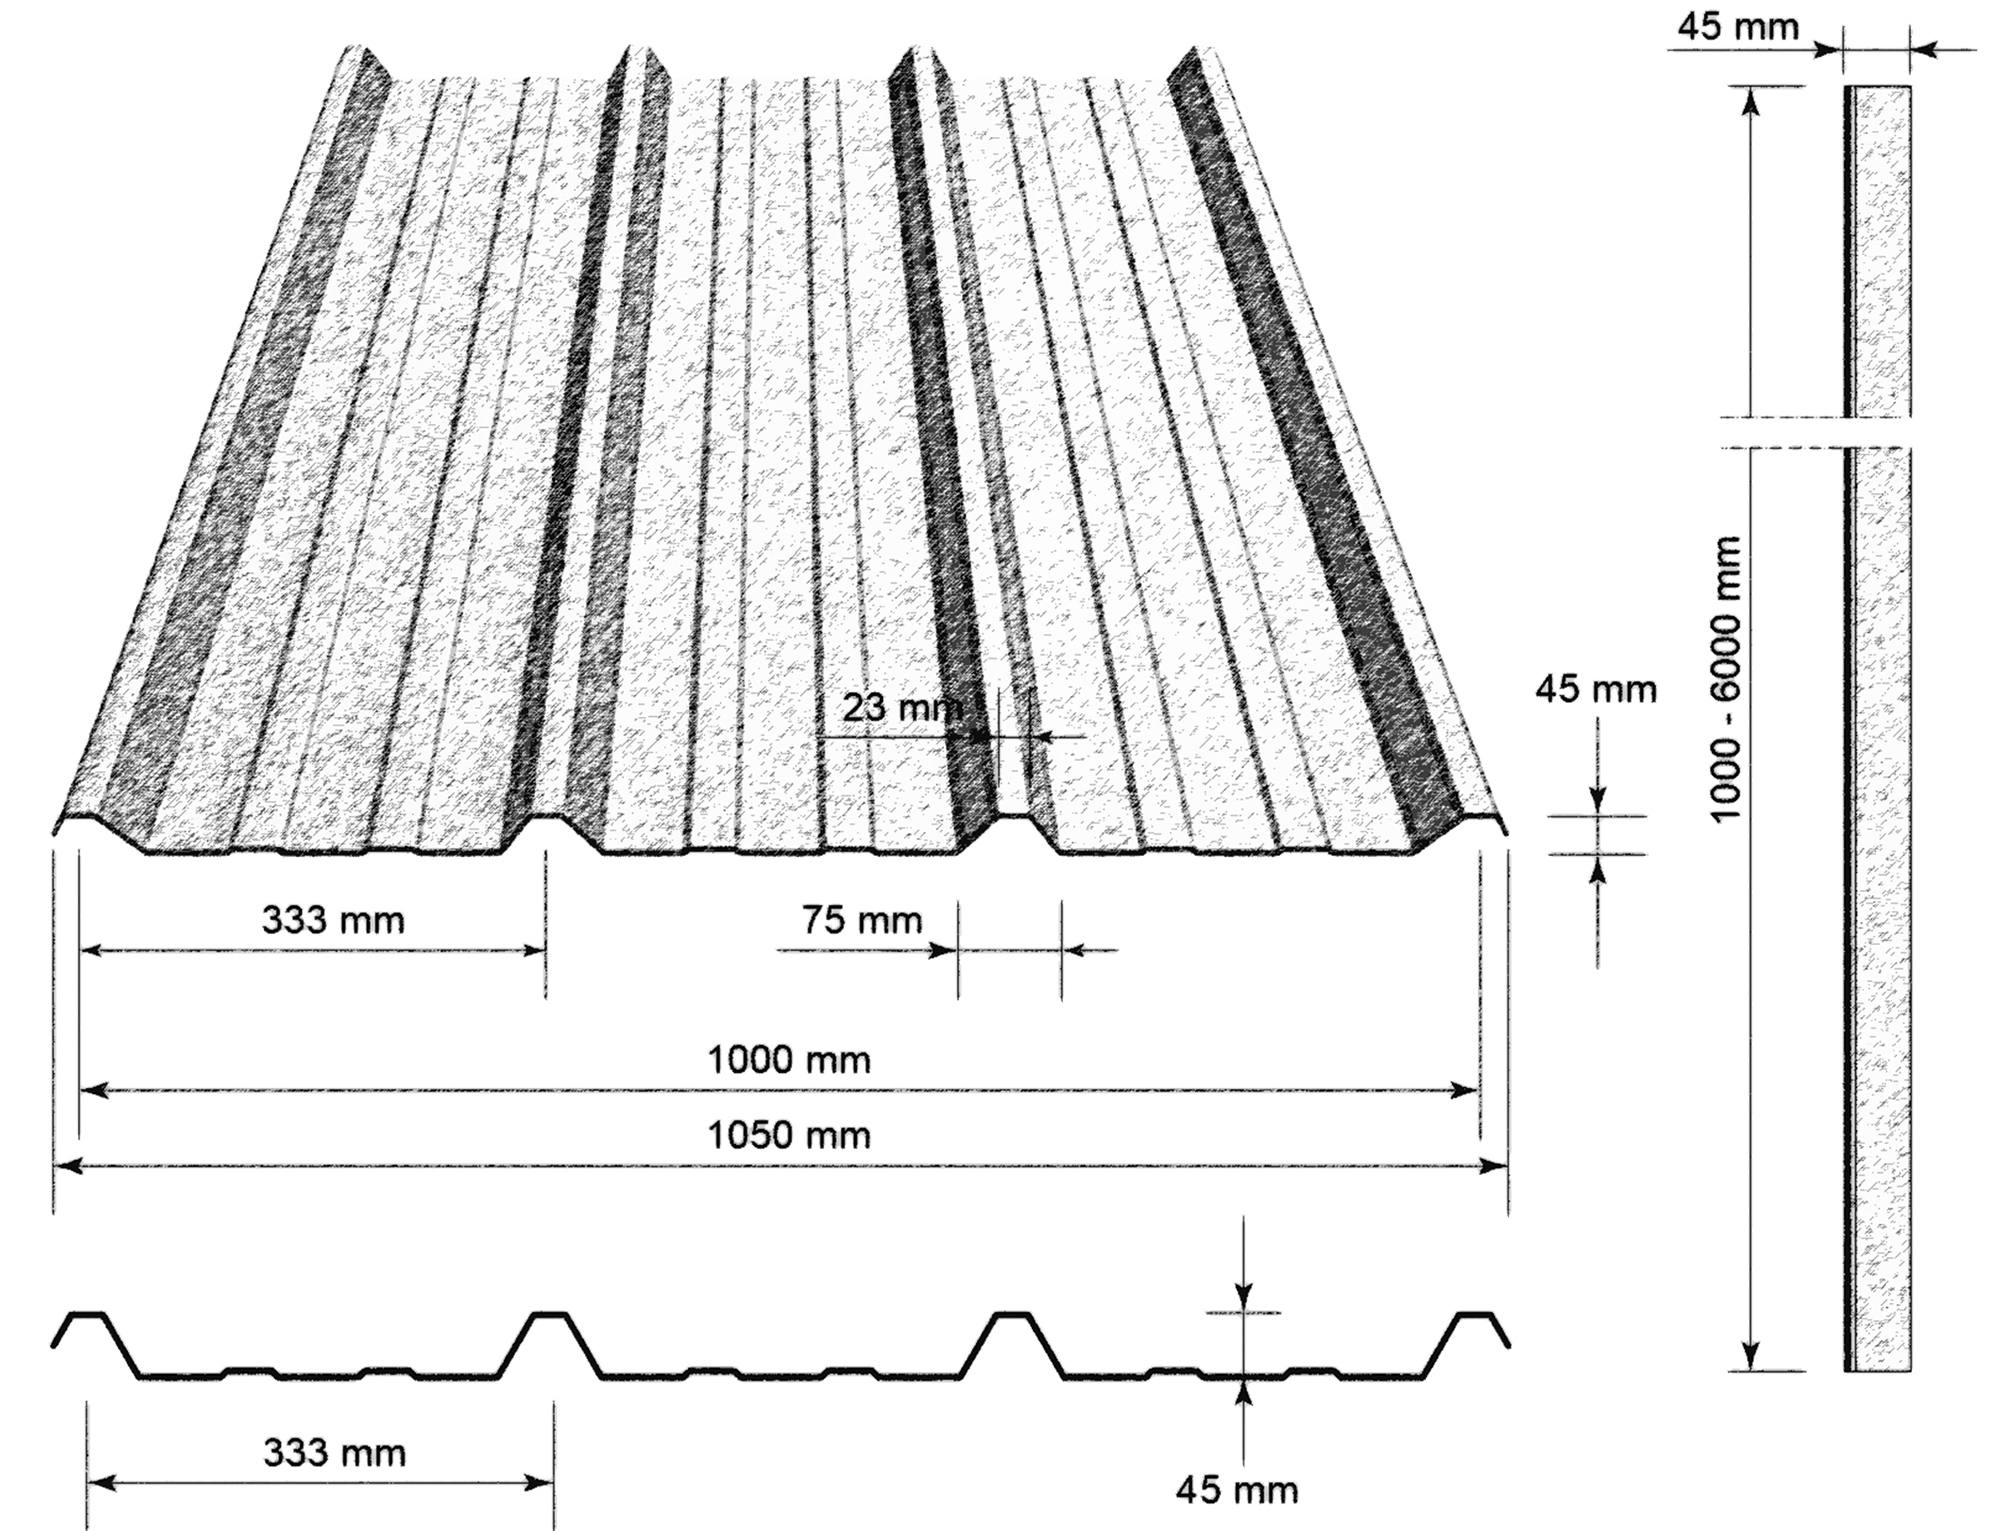
- Total width 1050 mm
- Useful width 1000 mm
- Profile depth 45 mm
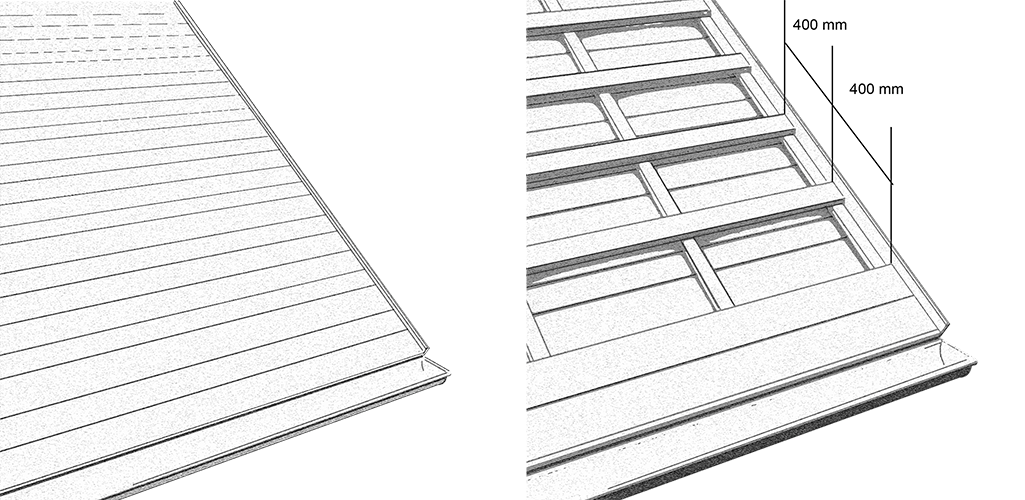
- Battening distance <400 mm
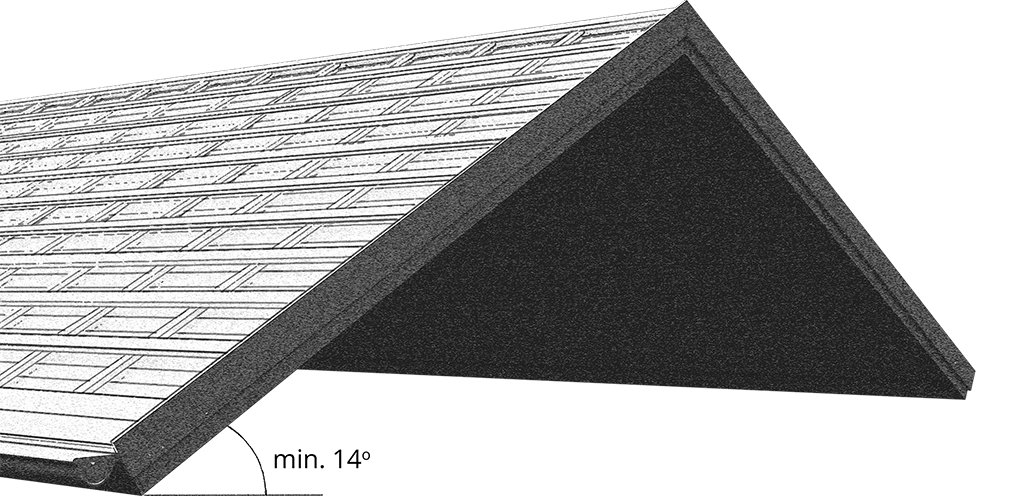
- Minimum installation slope 14°
- Weight 4.0 | 5.3 Kg / m²
- Thickness 0.50 | 0.63 mm
- Length 1000 - 6000 mm
SMART ACCESSORIES
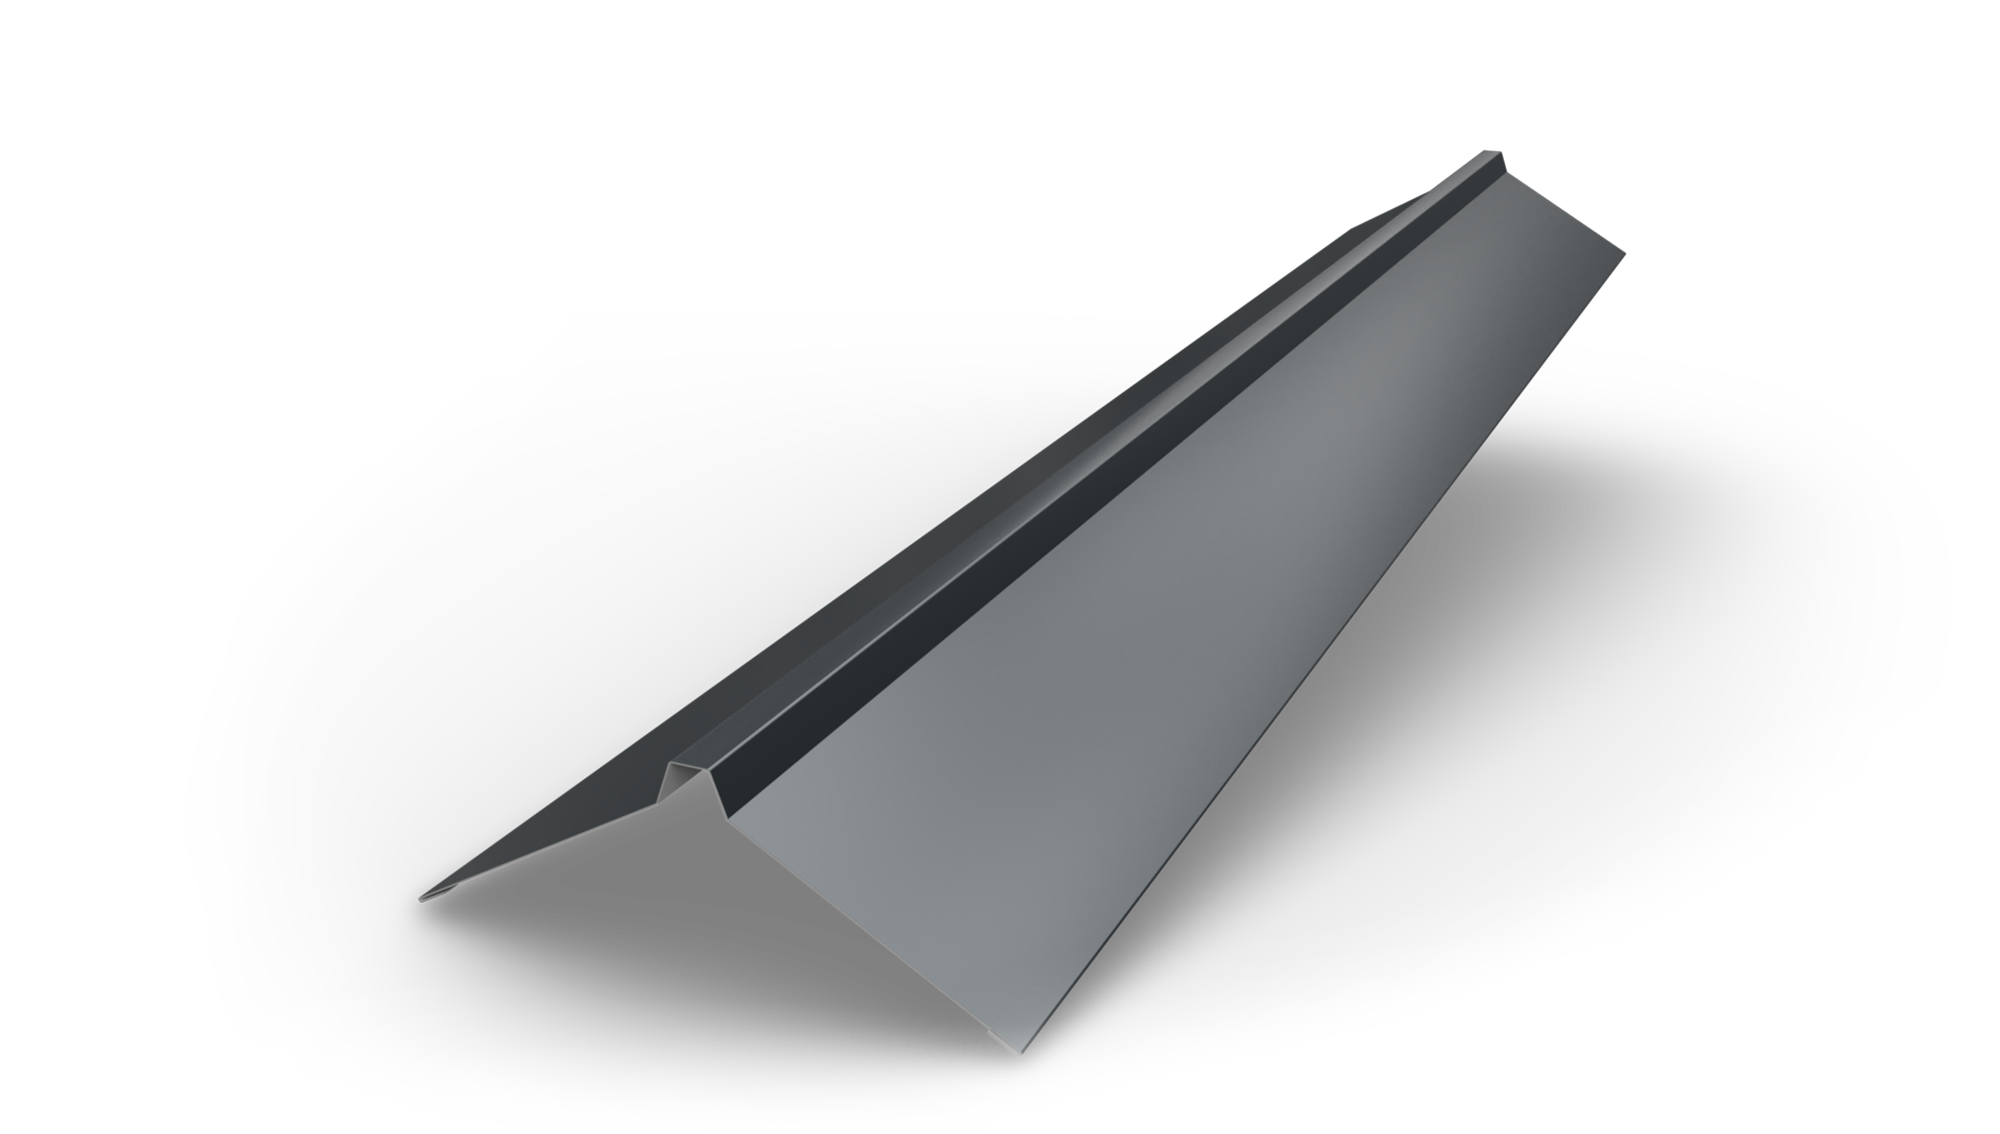 STRAIGHT CREST H12
STRAIGHT CREST H12
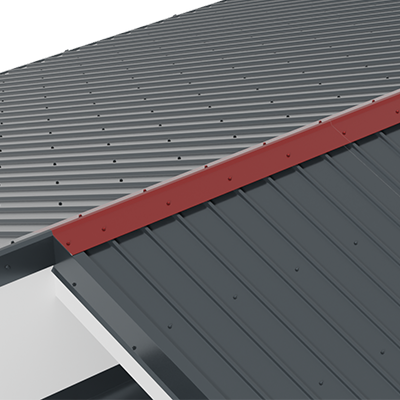
Used to close the intersection between 2 roof slopes, straight or angle-mounted.
 BORDER BAR H12
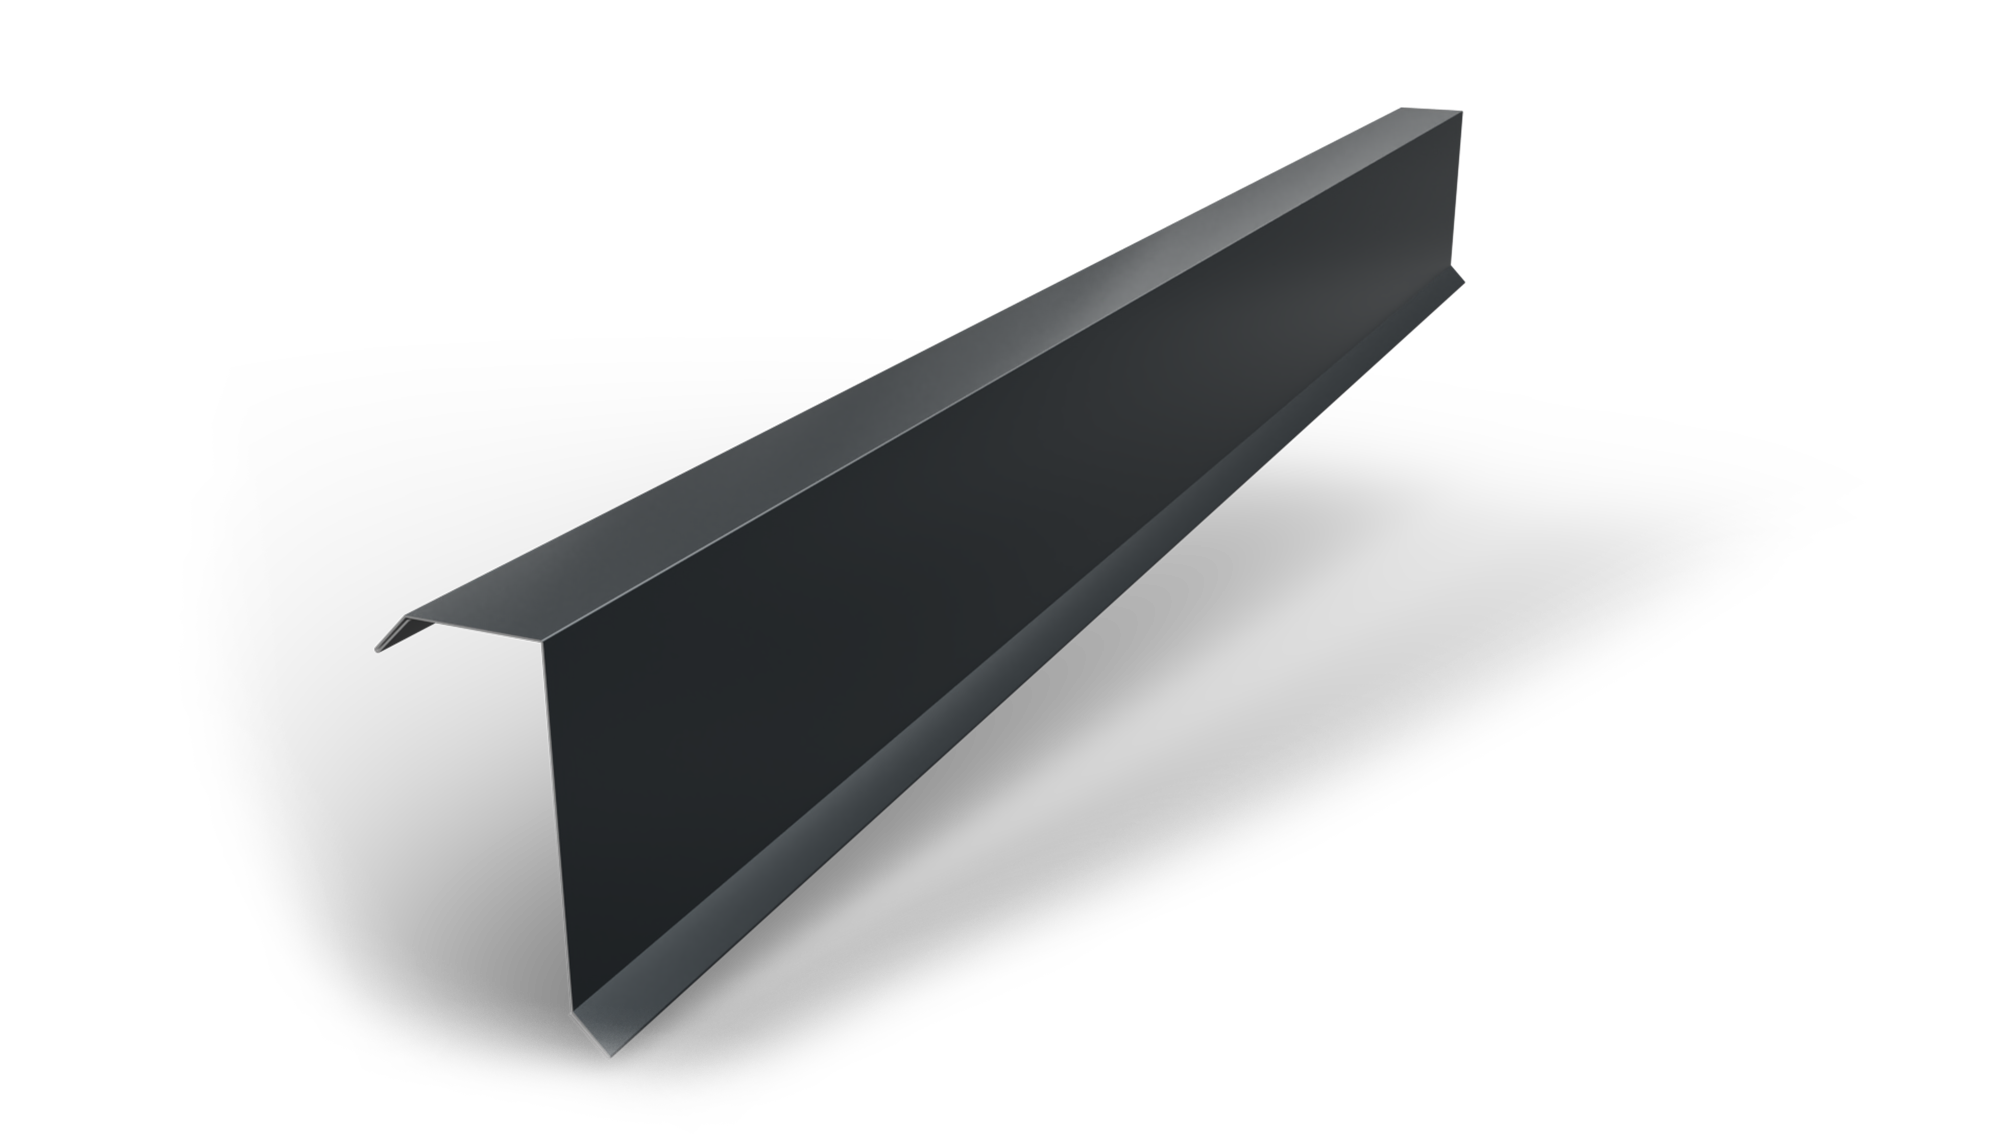
BORDER BAR H12
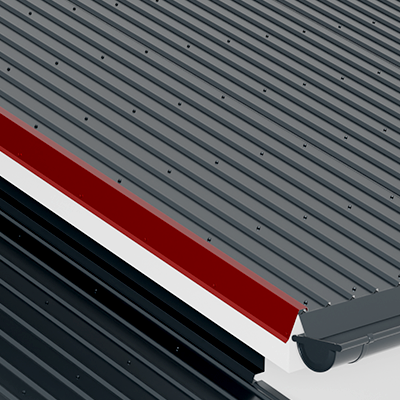
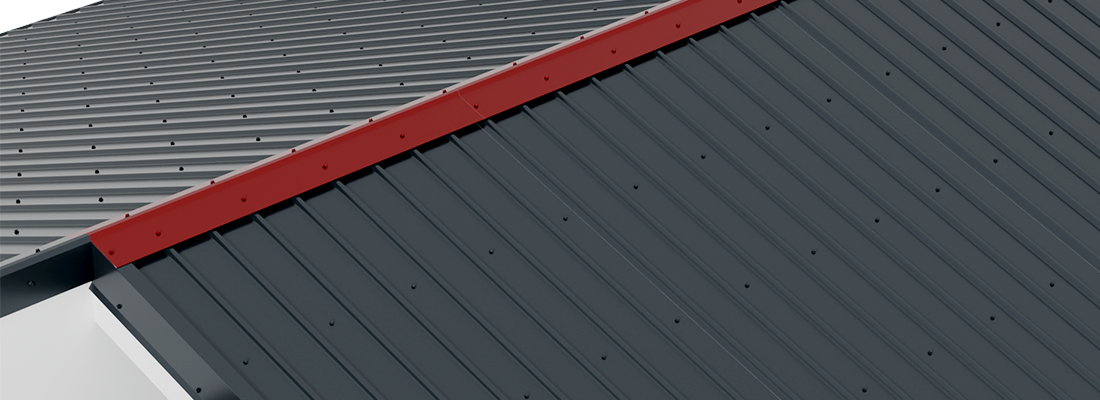
It is used to close the roof on the side. Designed specifically for the H12 and H12Plus, it also works for the H6. In the case of corrugated sheets with a higher crease, it is recommended to use accessories with the same role from the metal tile.
 BORDER BAR GRADE
BORDER BAR GRADE
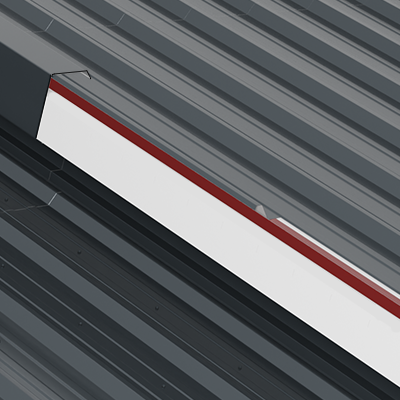
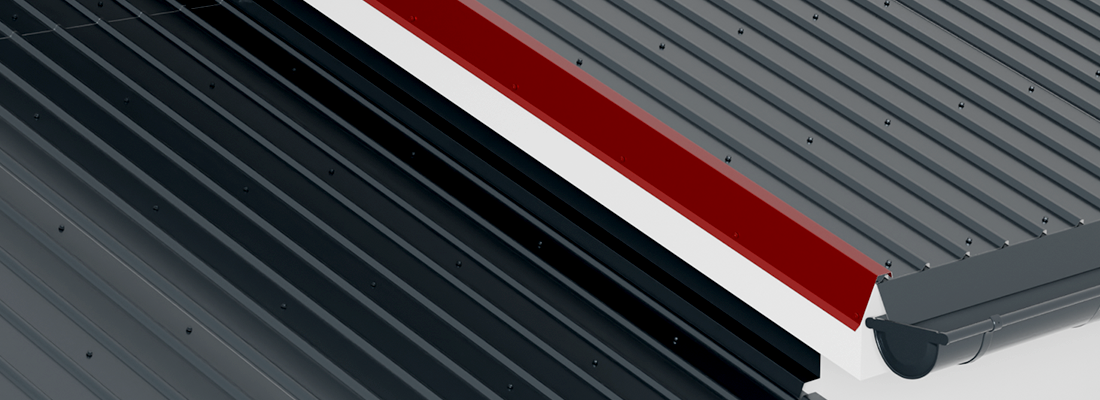
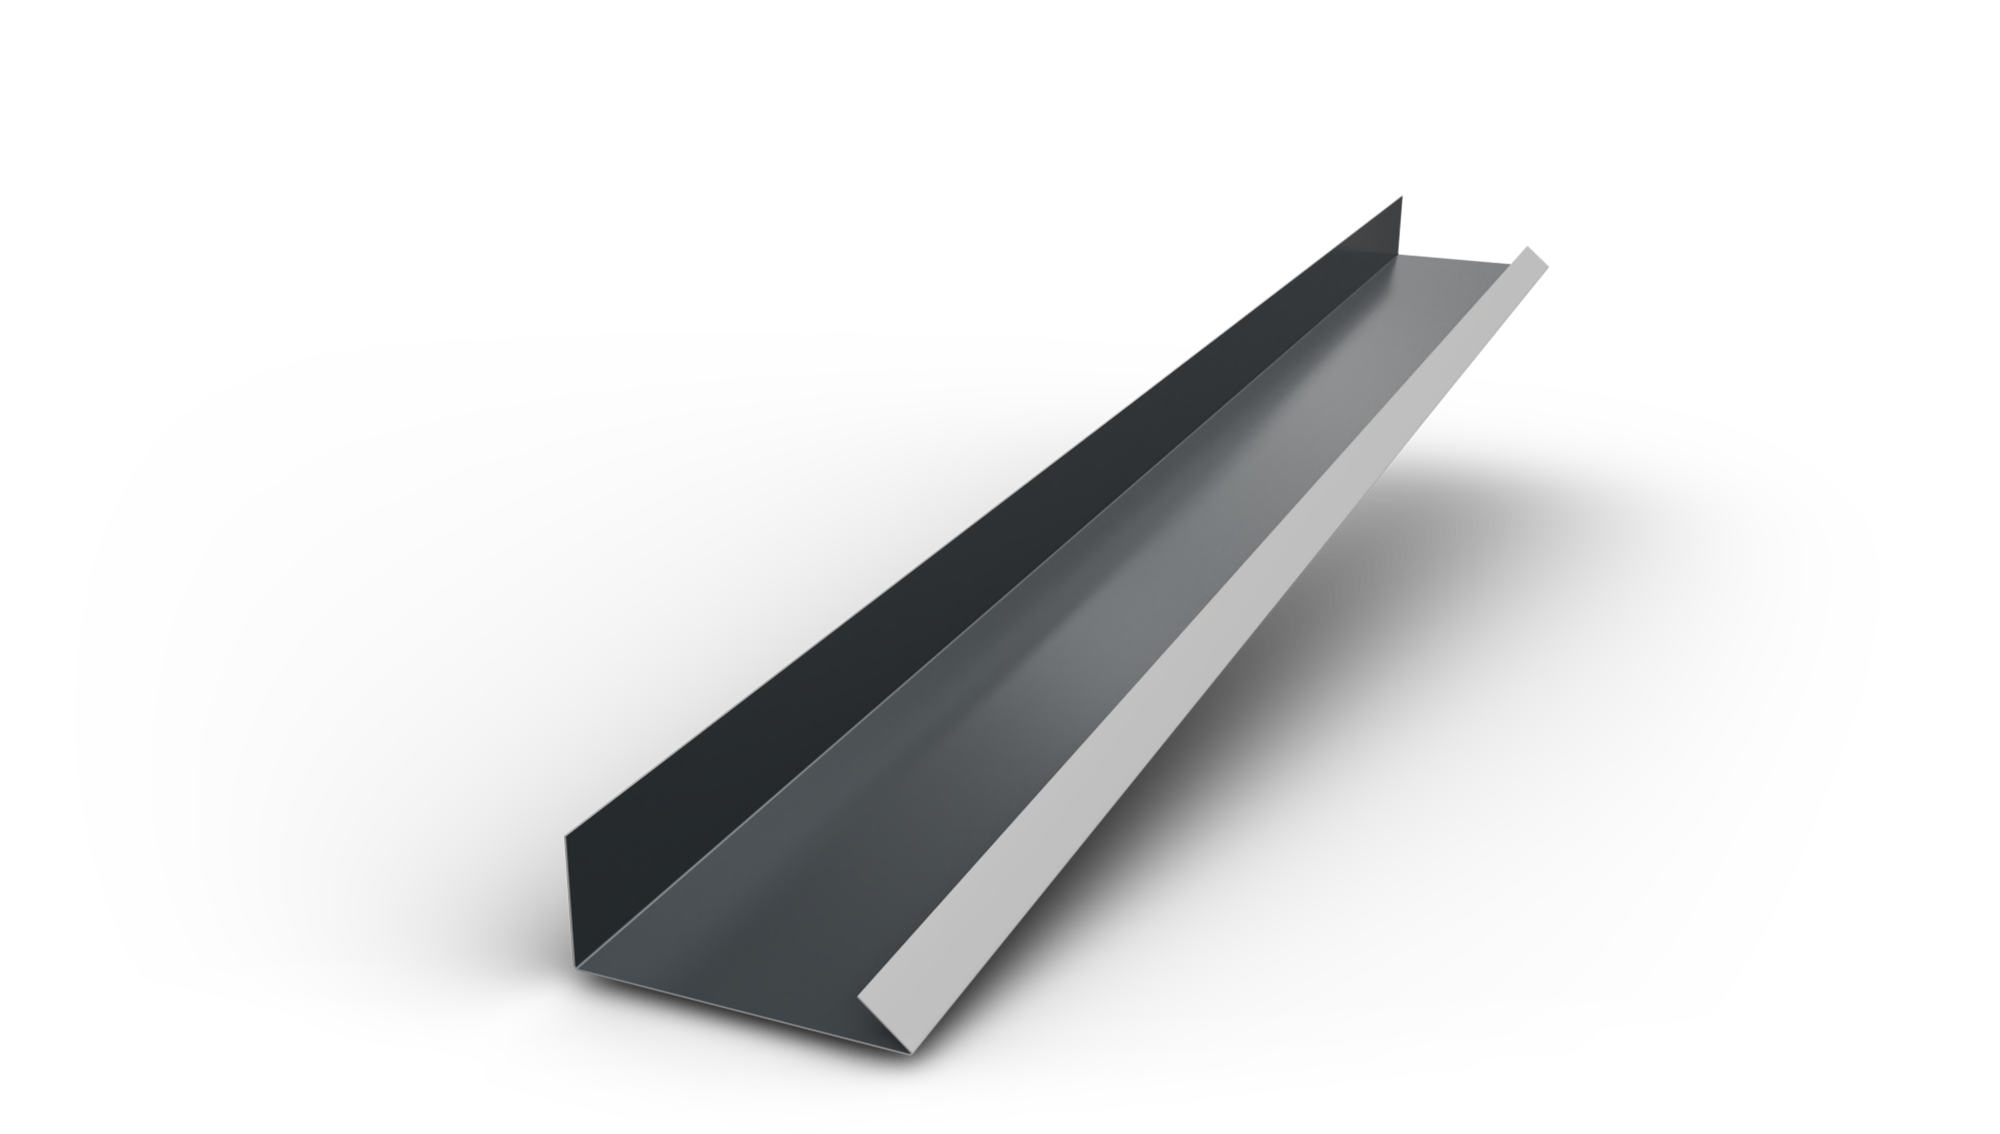
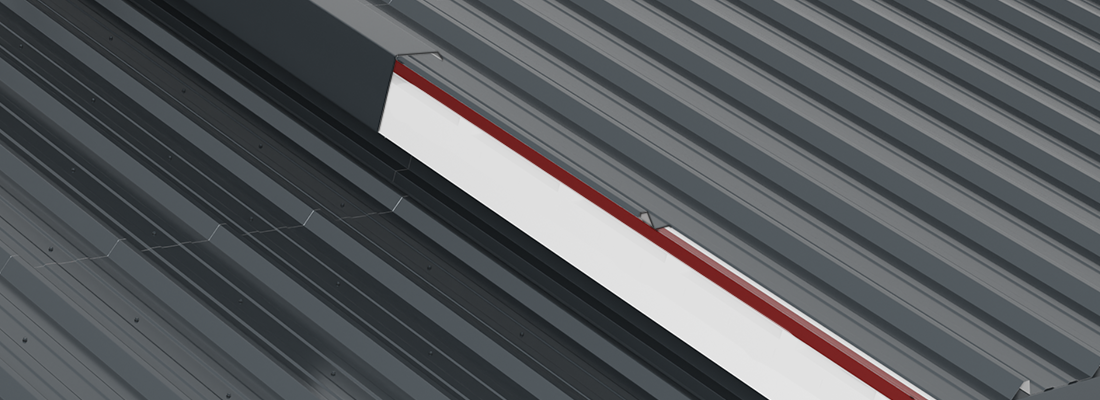
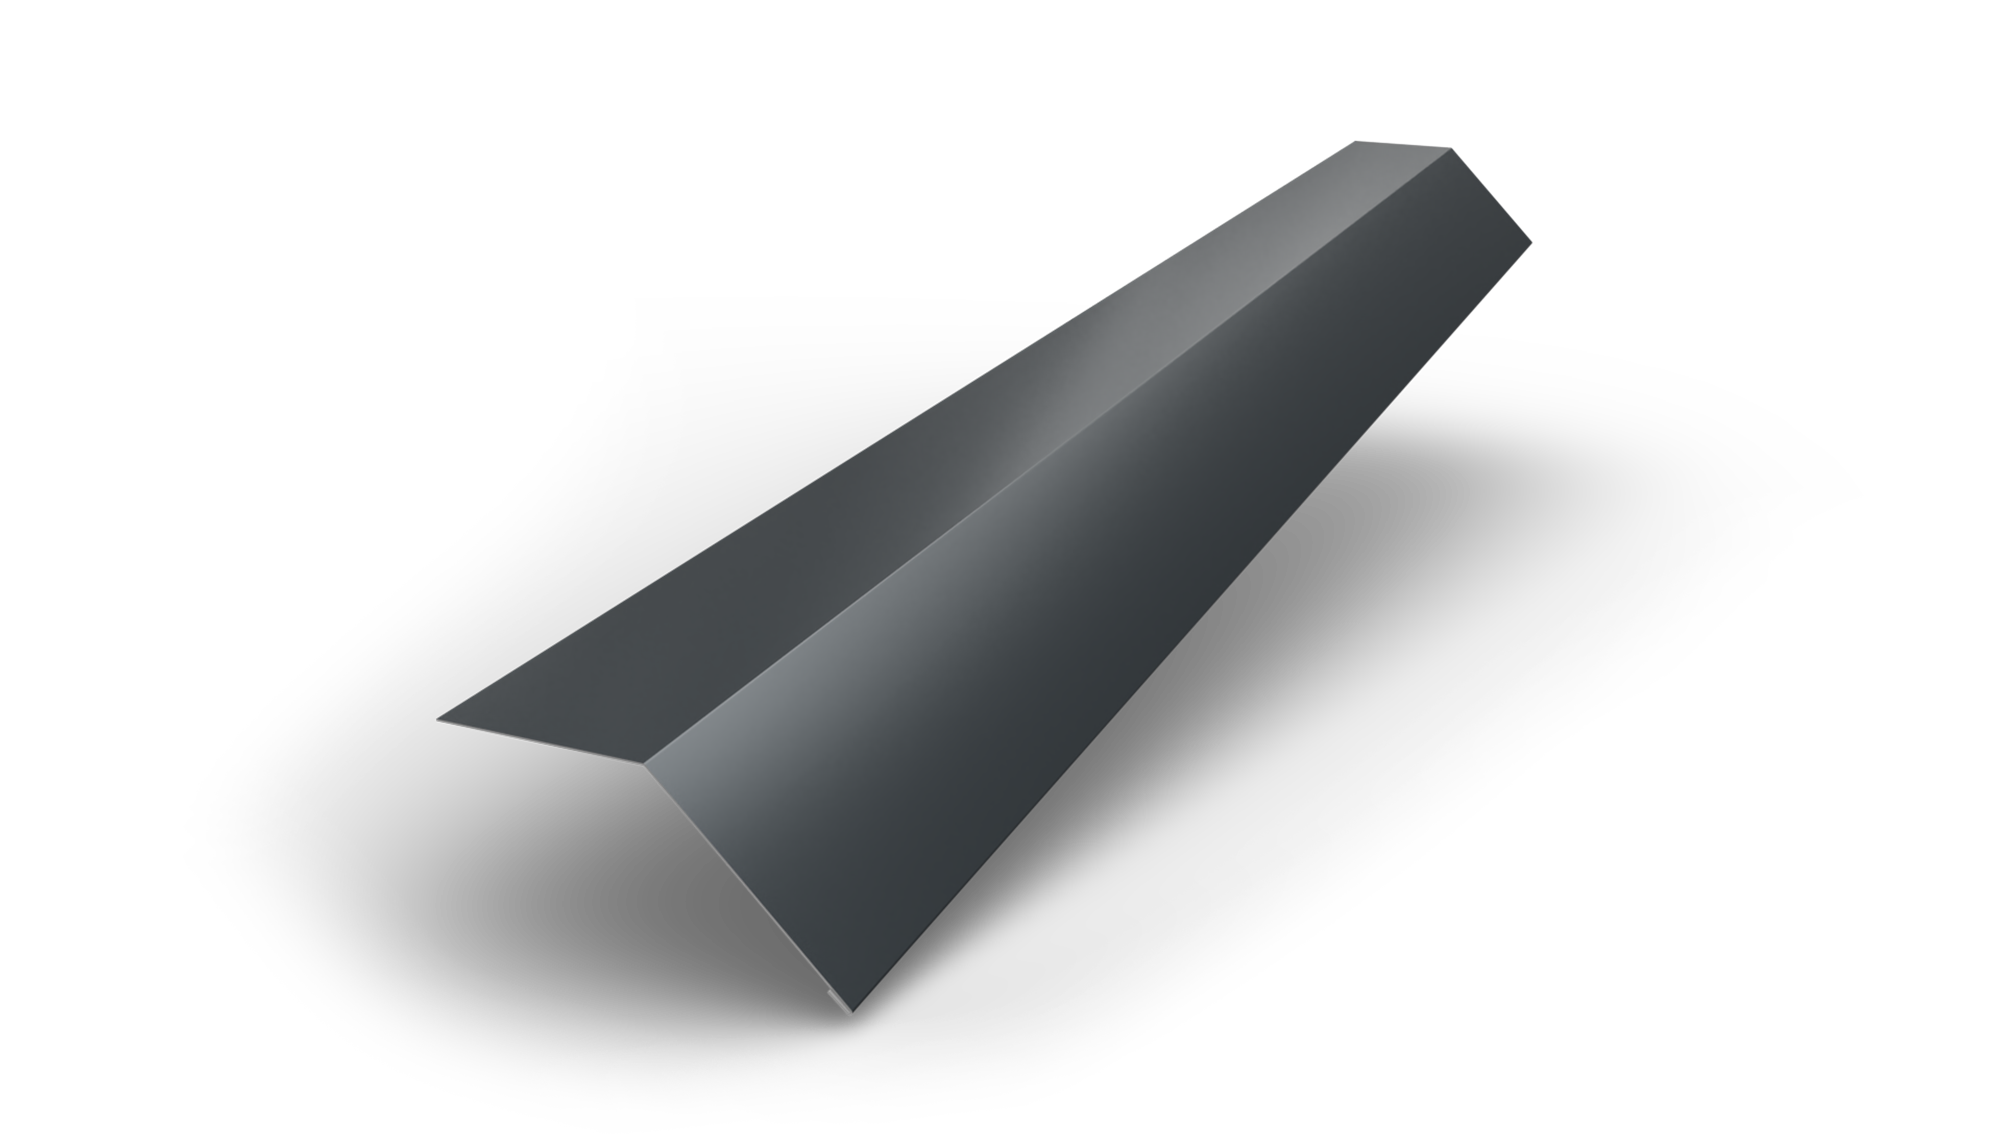
It is installed at the edge of the roof, after installing the gutter grade and before installing the roof tile panels. Its role is to gather water infiltrations that may occur due to lack of perpendicularity between the edge of the roof and the gutter edge.
 GUTTER GRADE H12
GUTTER GRADE H12
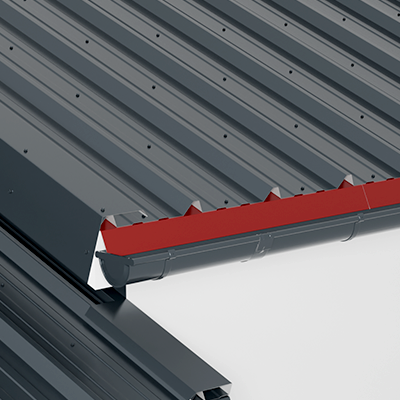
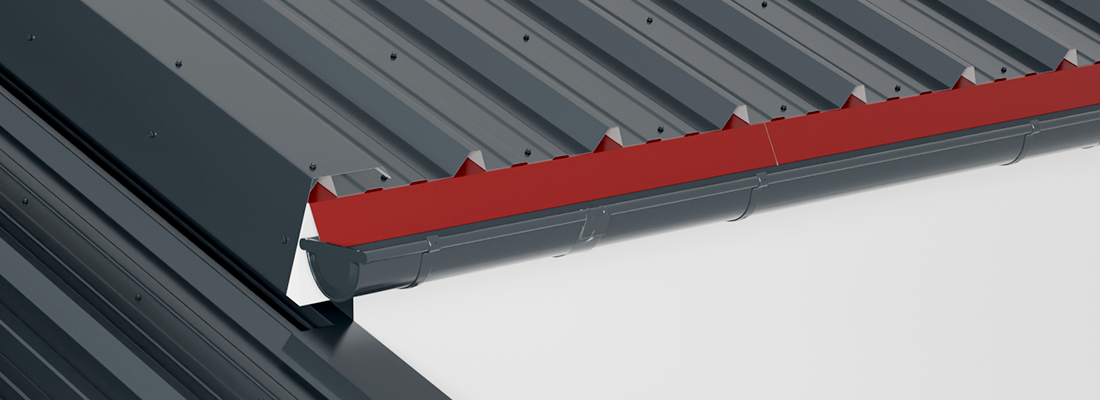
It is installed on the wooden structure intended for fastening the rainwater collection system, after the system has been mounted but before applying the vapor barrier membrane. During installation, a 5 cm overlap must be created over the gutter. The role of the gutter apron is to direct the water flowing from the roof into the gutter and to protect the wooden structure of the roof even when a rainwater drainage system is not installed.
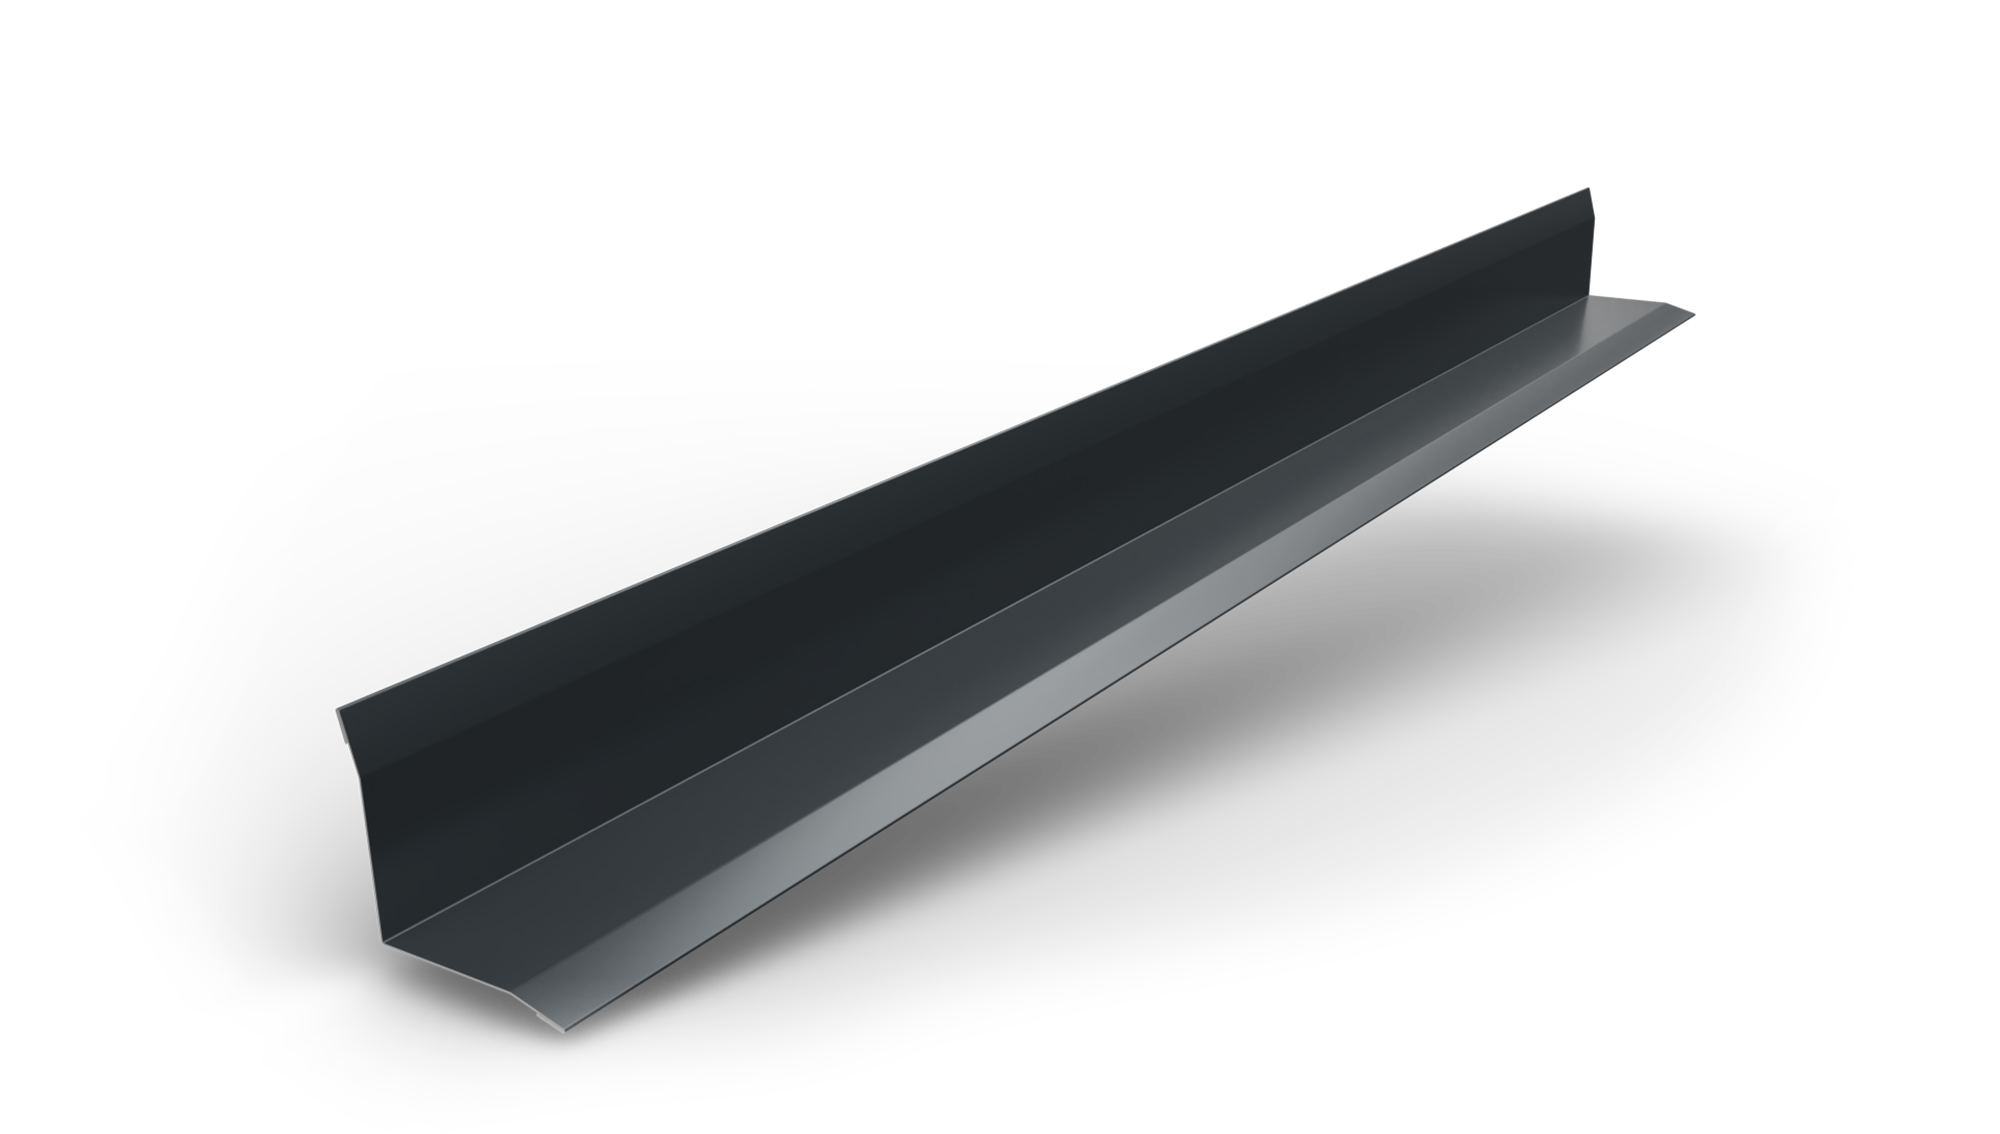 INNER CORNER PROFILE
INNER CORNER PROFILE
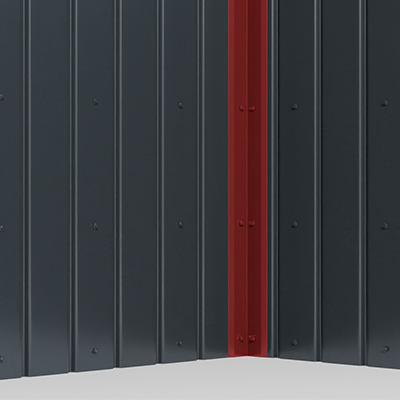
Joins two perpendicular walls on the inside corner.
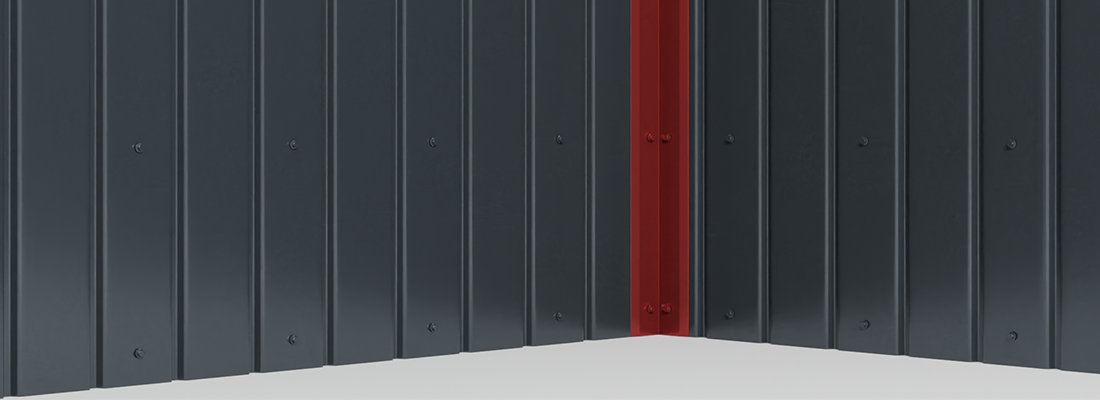
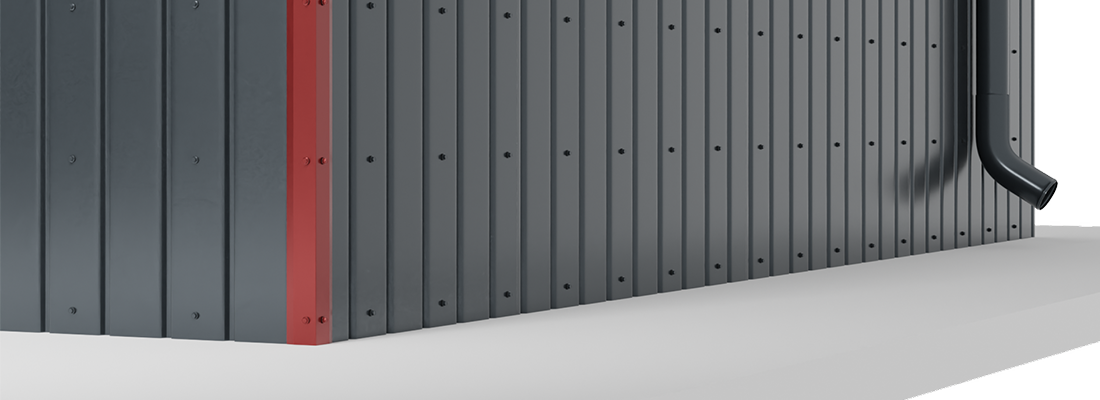
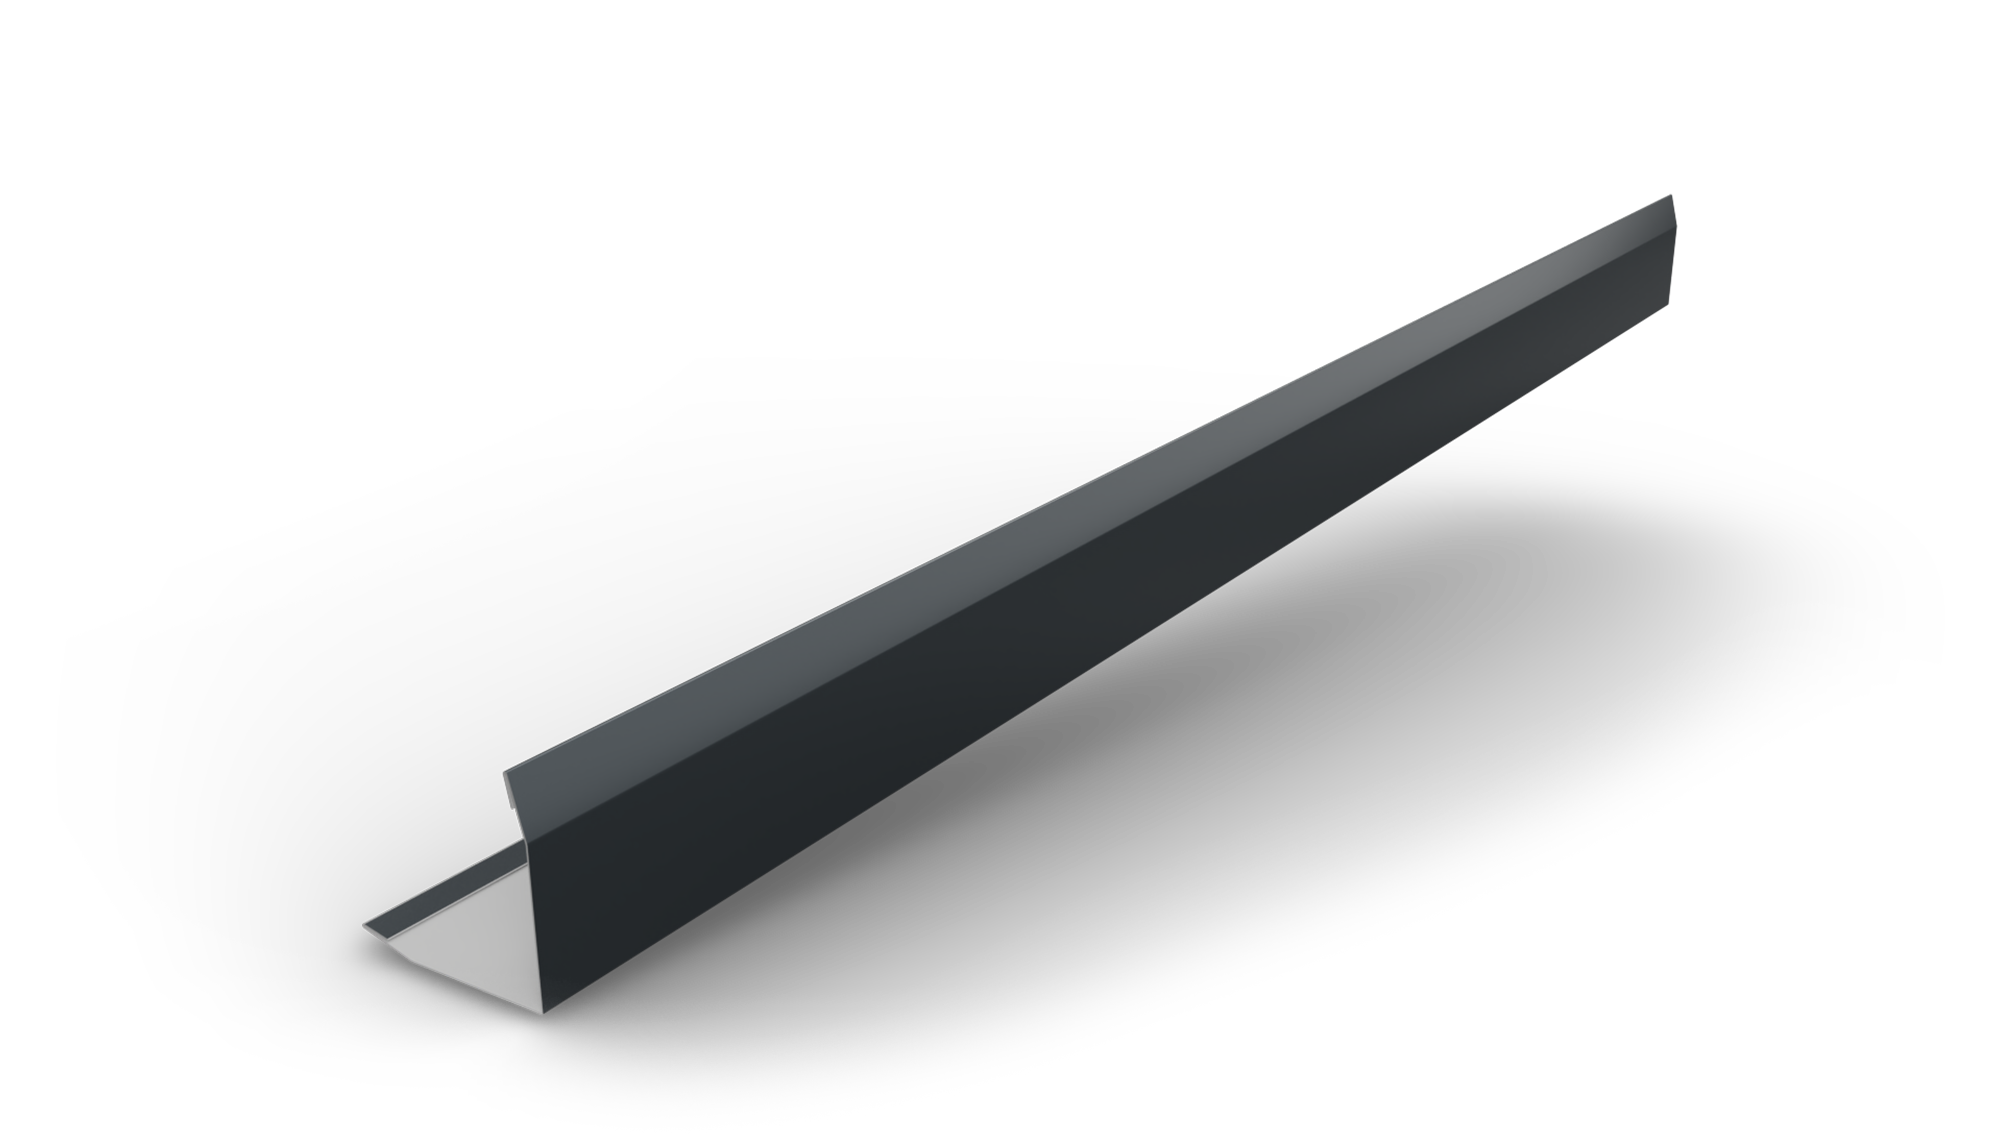 OUTER CORNER PROFILE
OUTER CORNER PROFILE
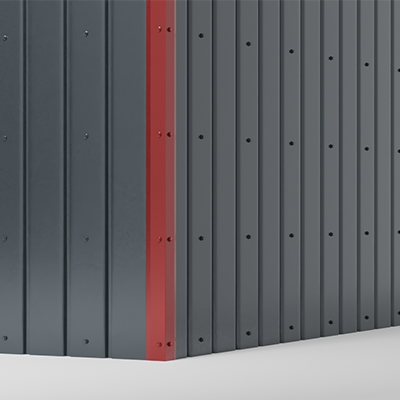
Joins two perpendicular walls in on the outside.
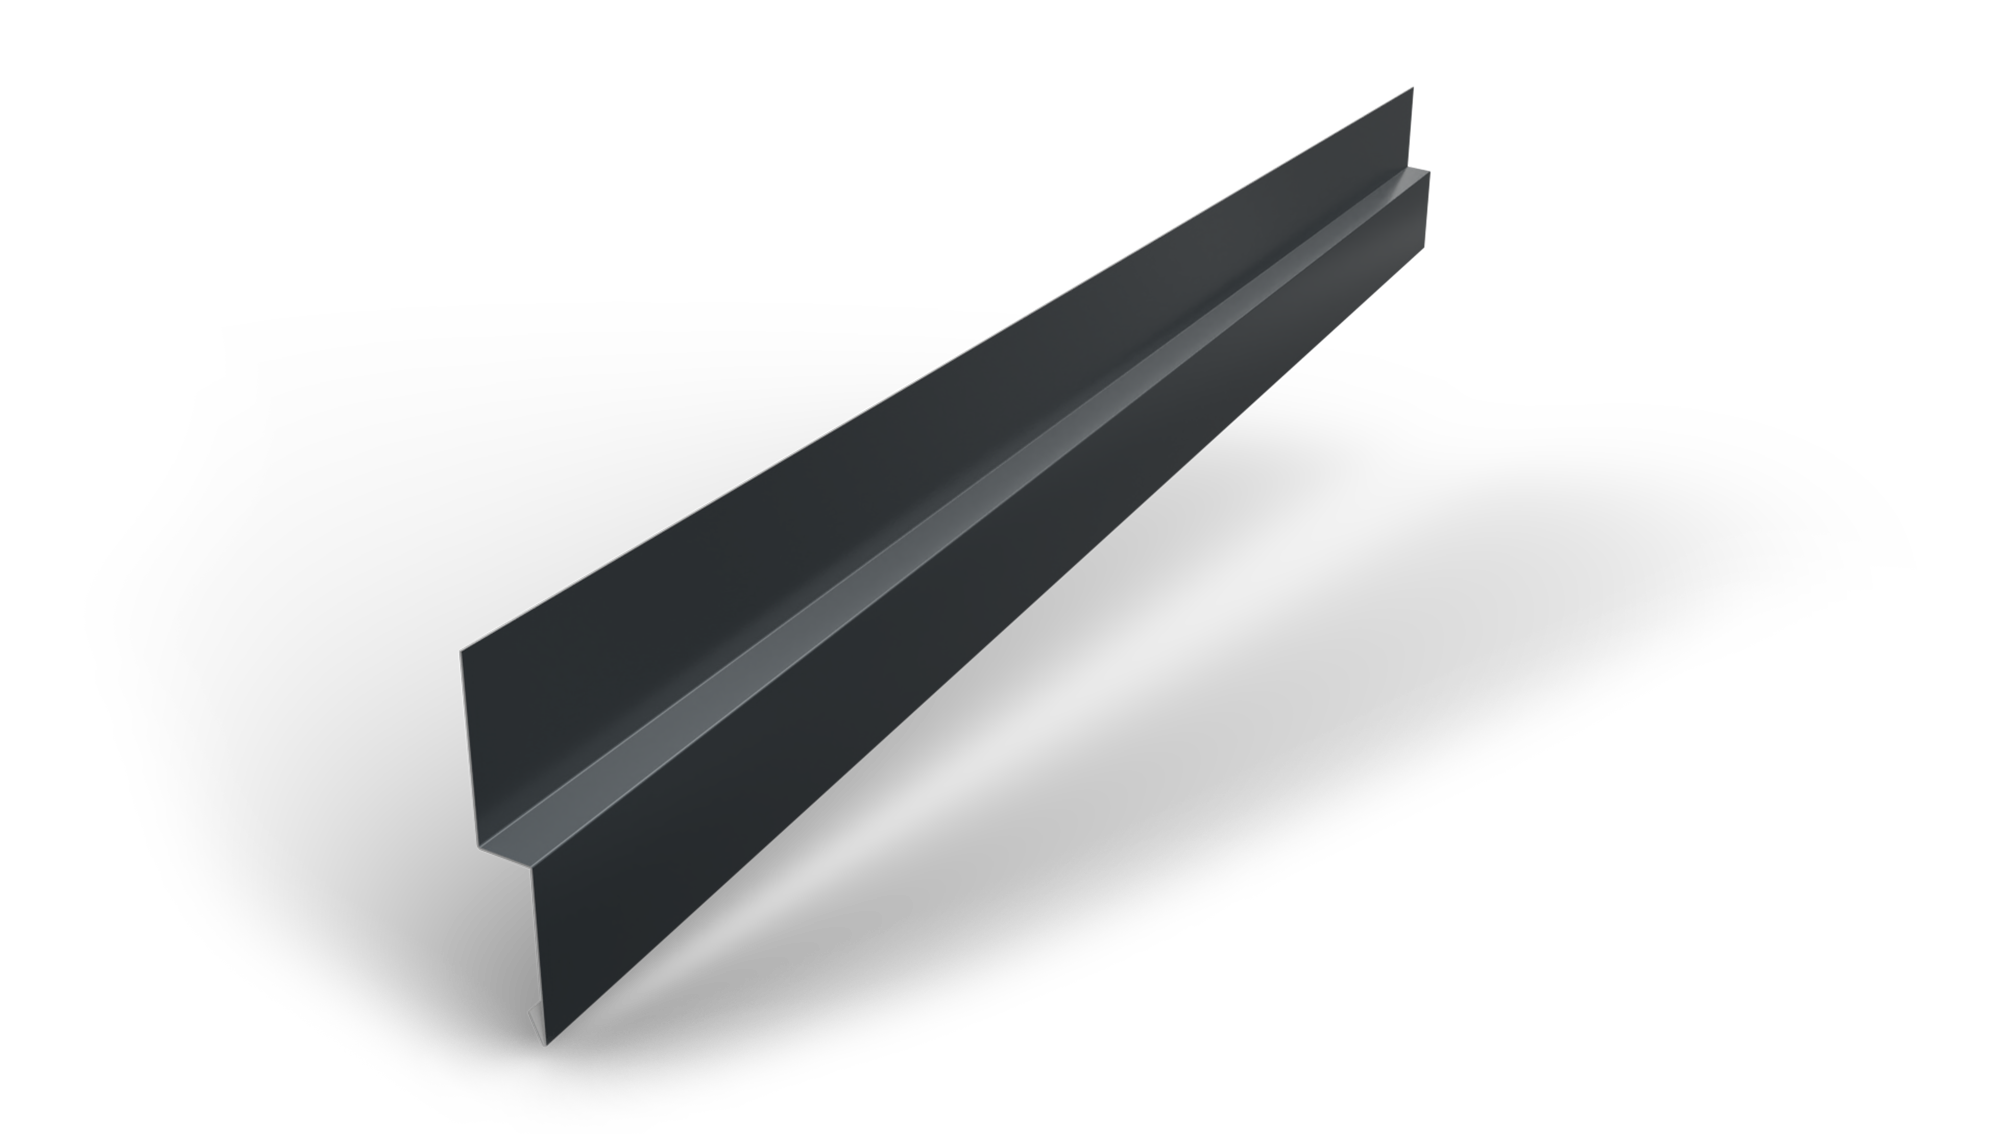 LONGITUDINAL JOIN PROFILE
LONGITUDINAL JOIN PROFILE
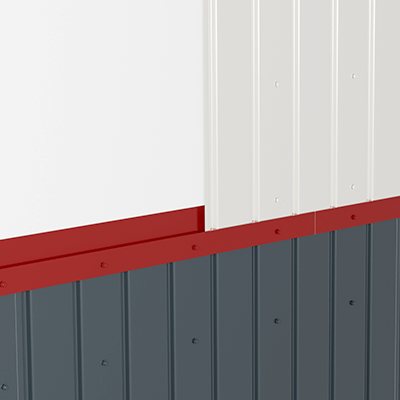
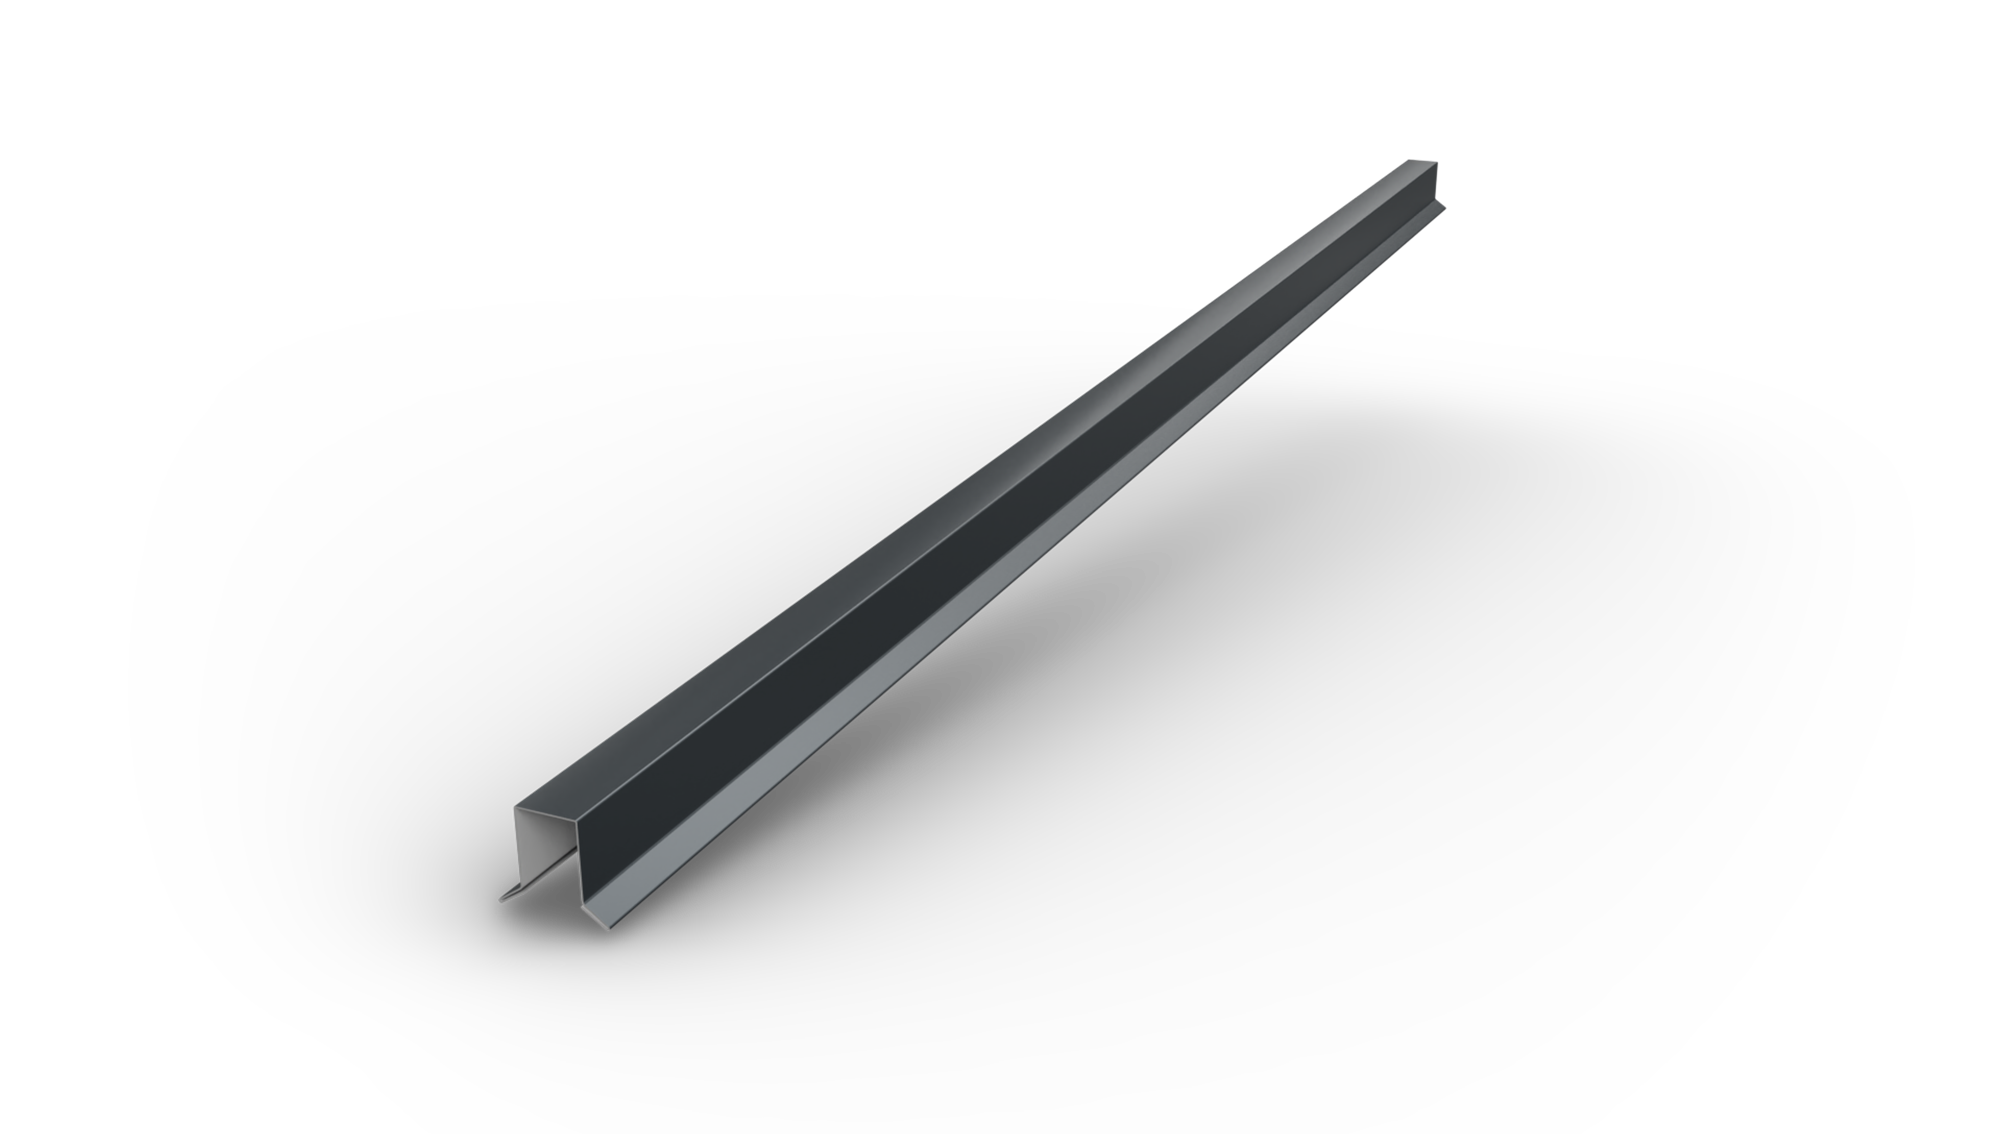
Used for fixing and ensuring the connection between constructive elements, serving as a transition piece where components are installed over another support.
 FENCE COVER PROFILE 70
FENCE COVER PROFILE 70
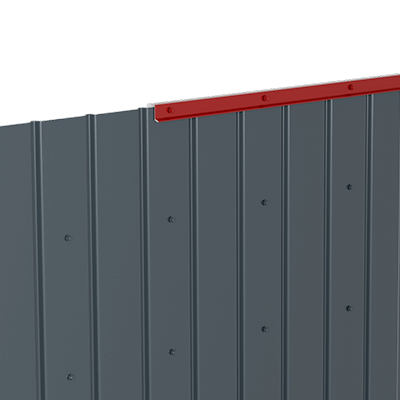
Used for H12 and H12+ corrugated sheets when they are installed as fencing. Its role is to protect the exposed edge of the trapezoidal panel and prevent premature corrosion.
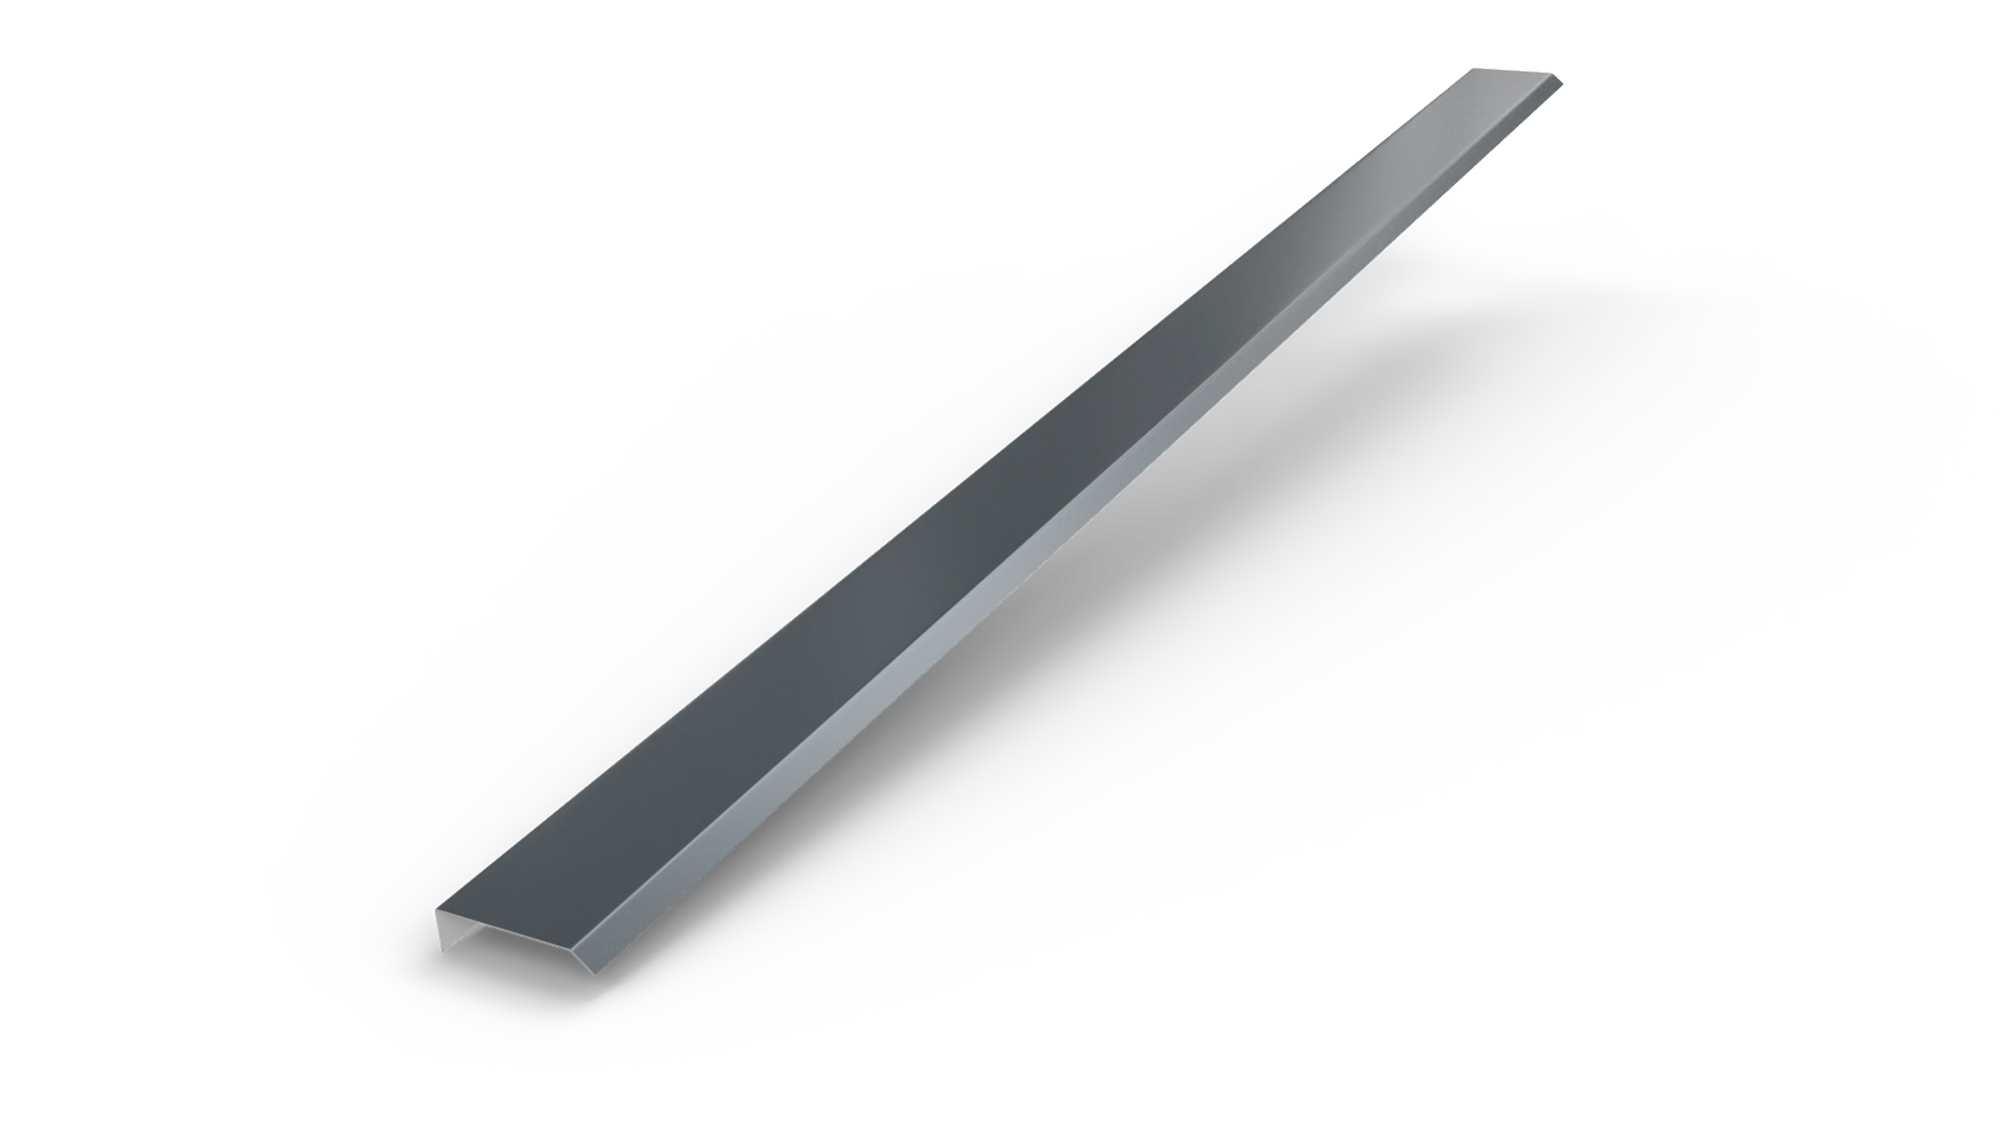 COVER PROFILE 74
COVER PROFILE 74
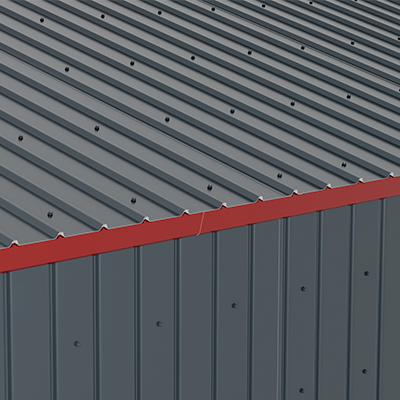
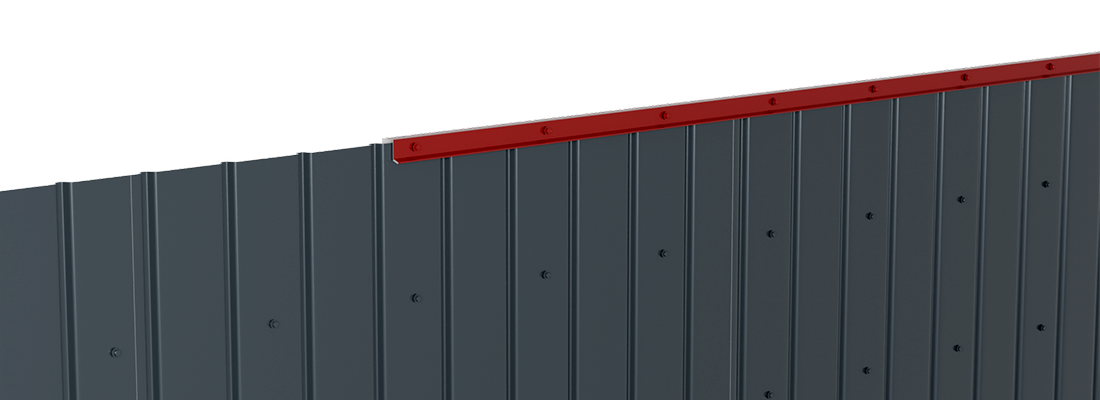
It can be used to fix various roof elements onto wall surfaces, providing protection and securing the constructive components.
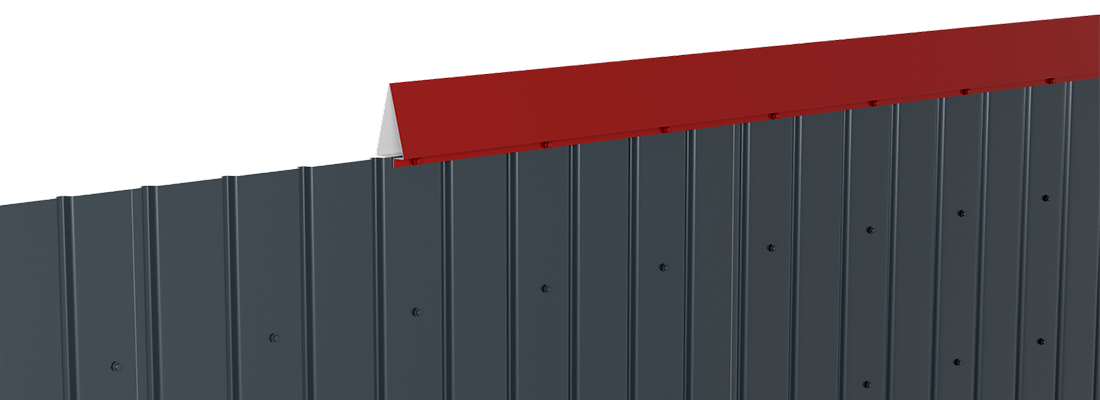
 FENCE CREST 220
FENCE CREST 220
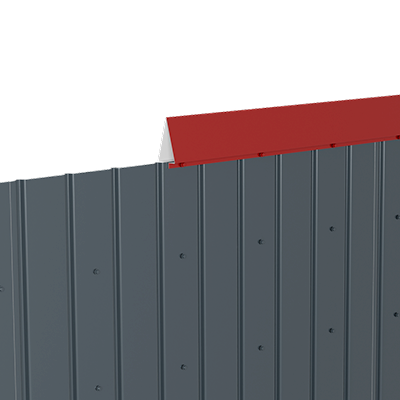
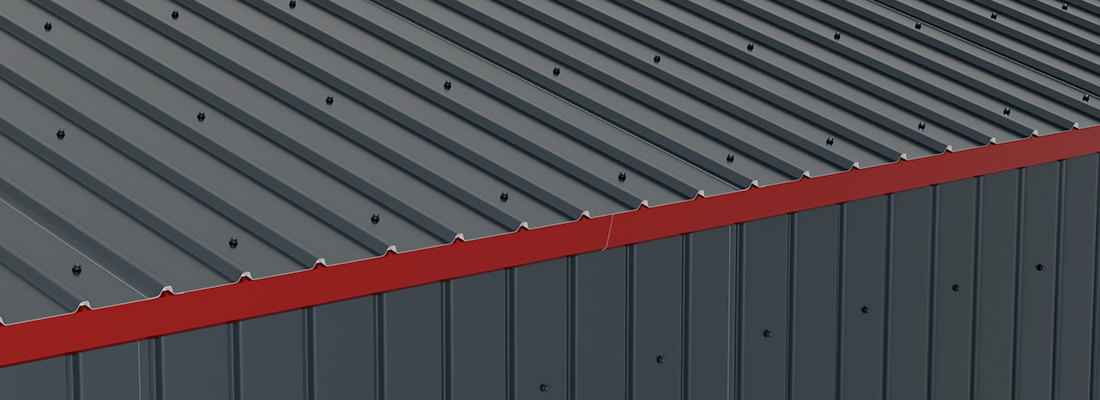
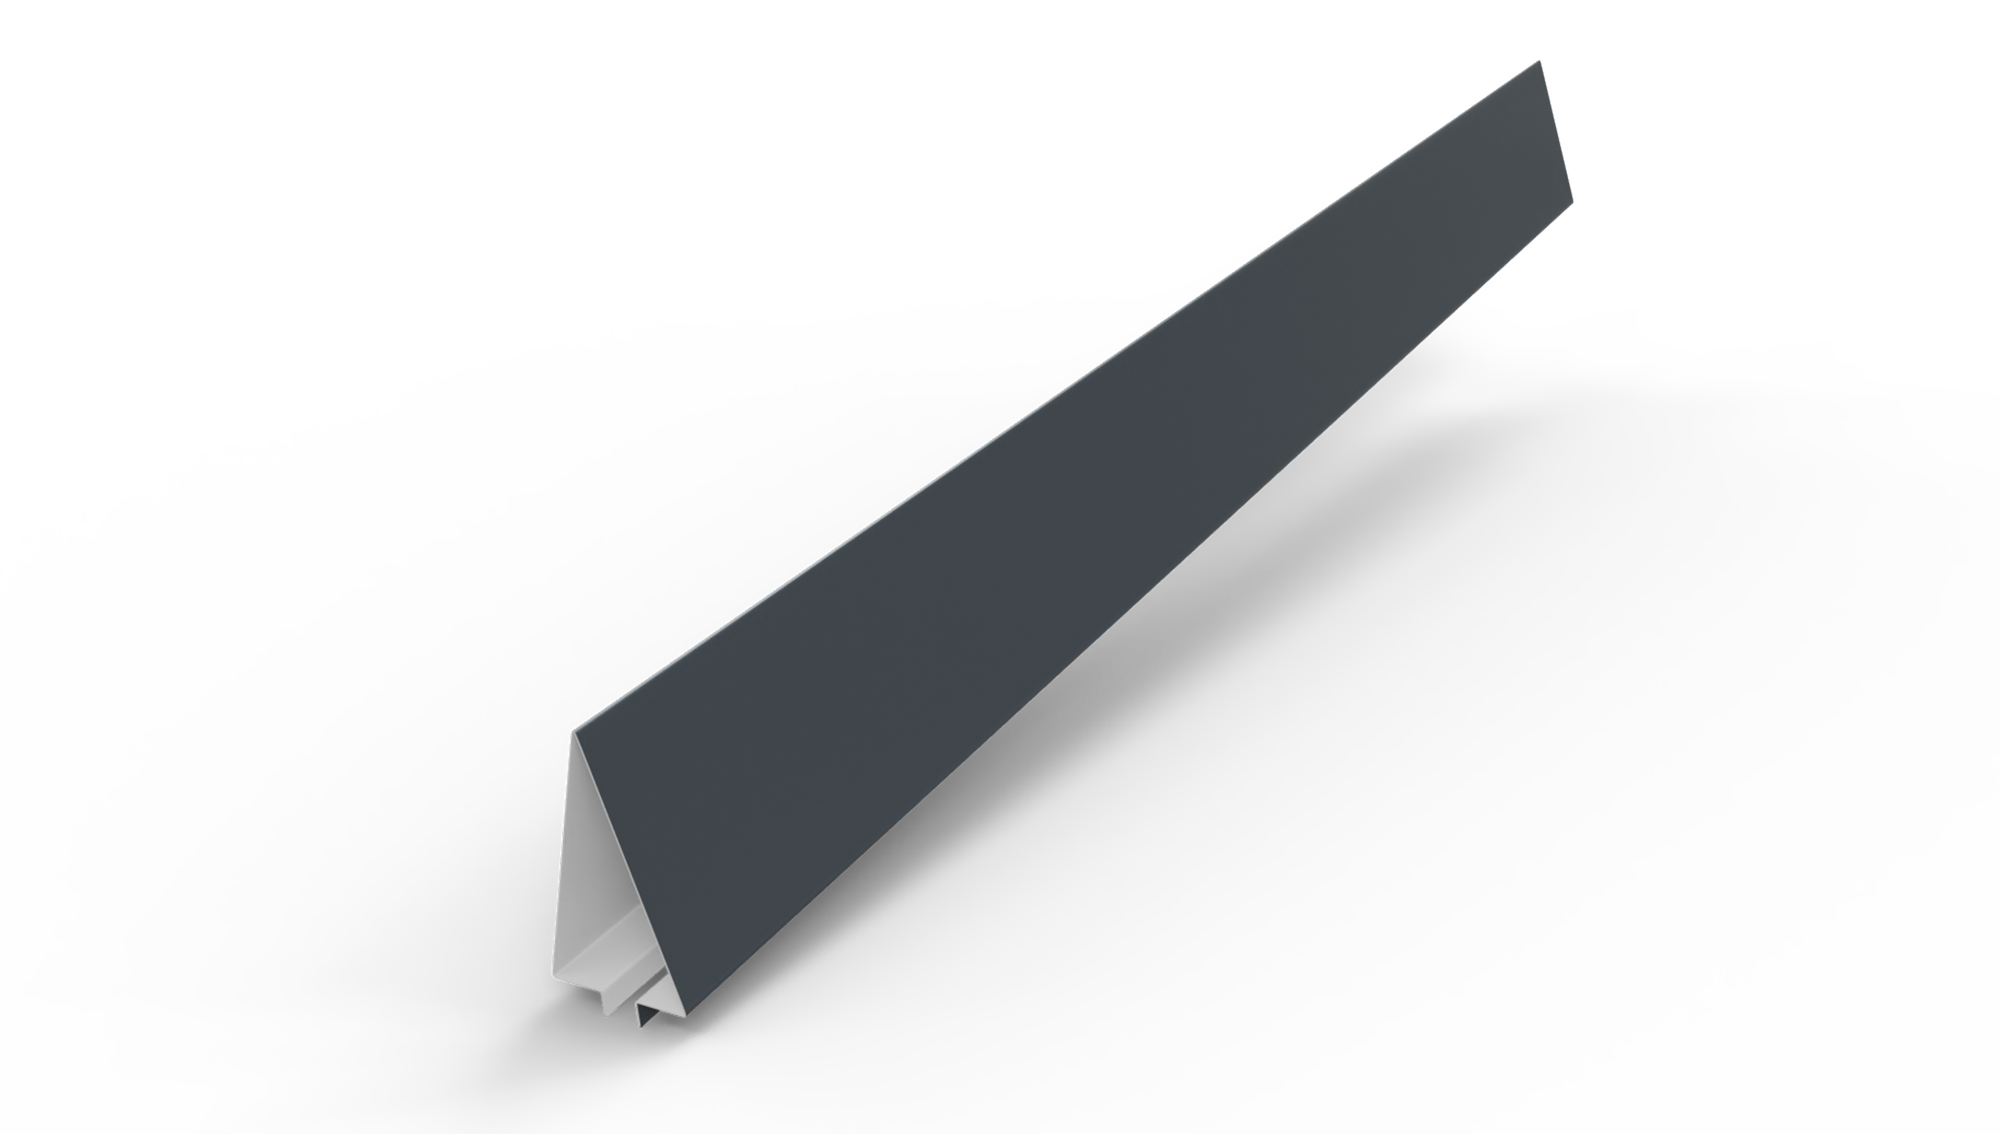
It is positioned at the top of a fence made of corrugated sheet panels and serves to prevent their premature corrosion. The unfolded width is 220 mm.
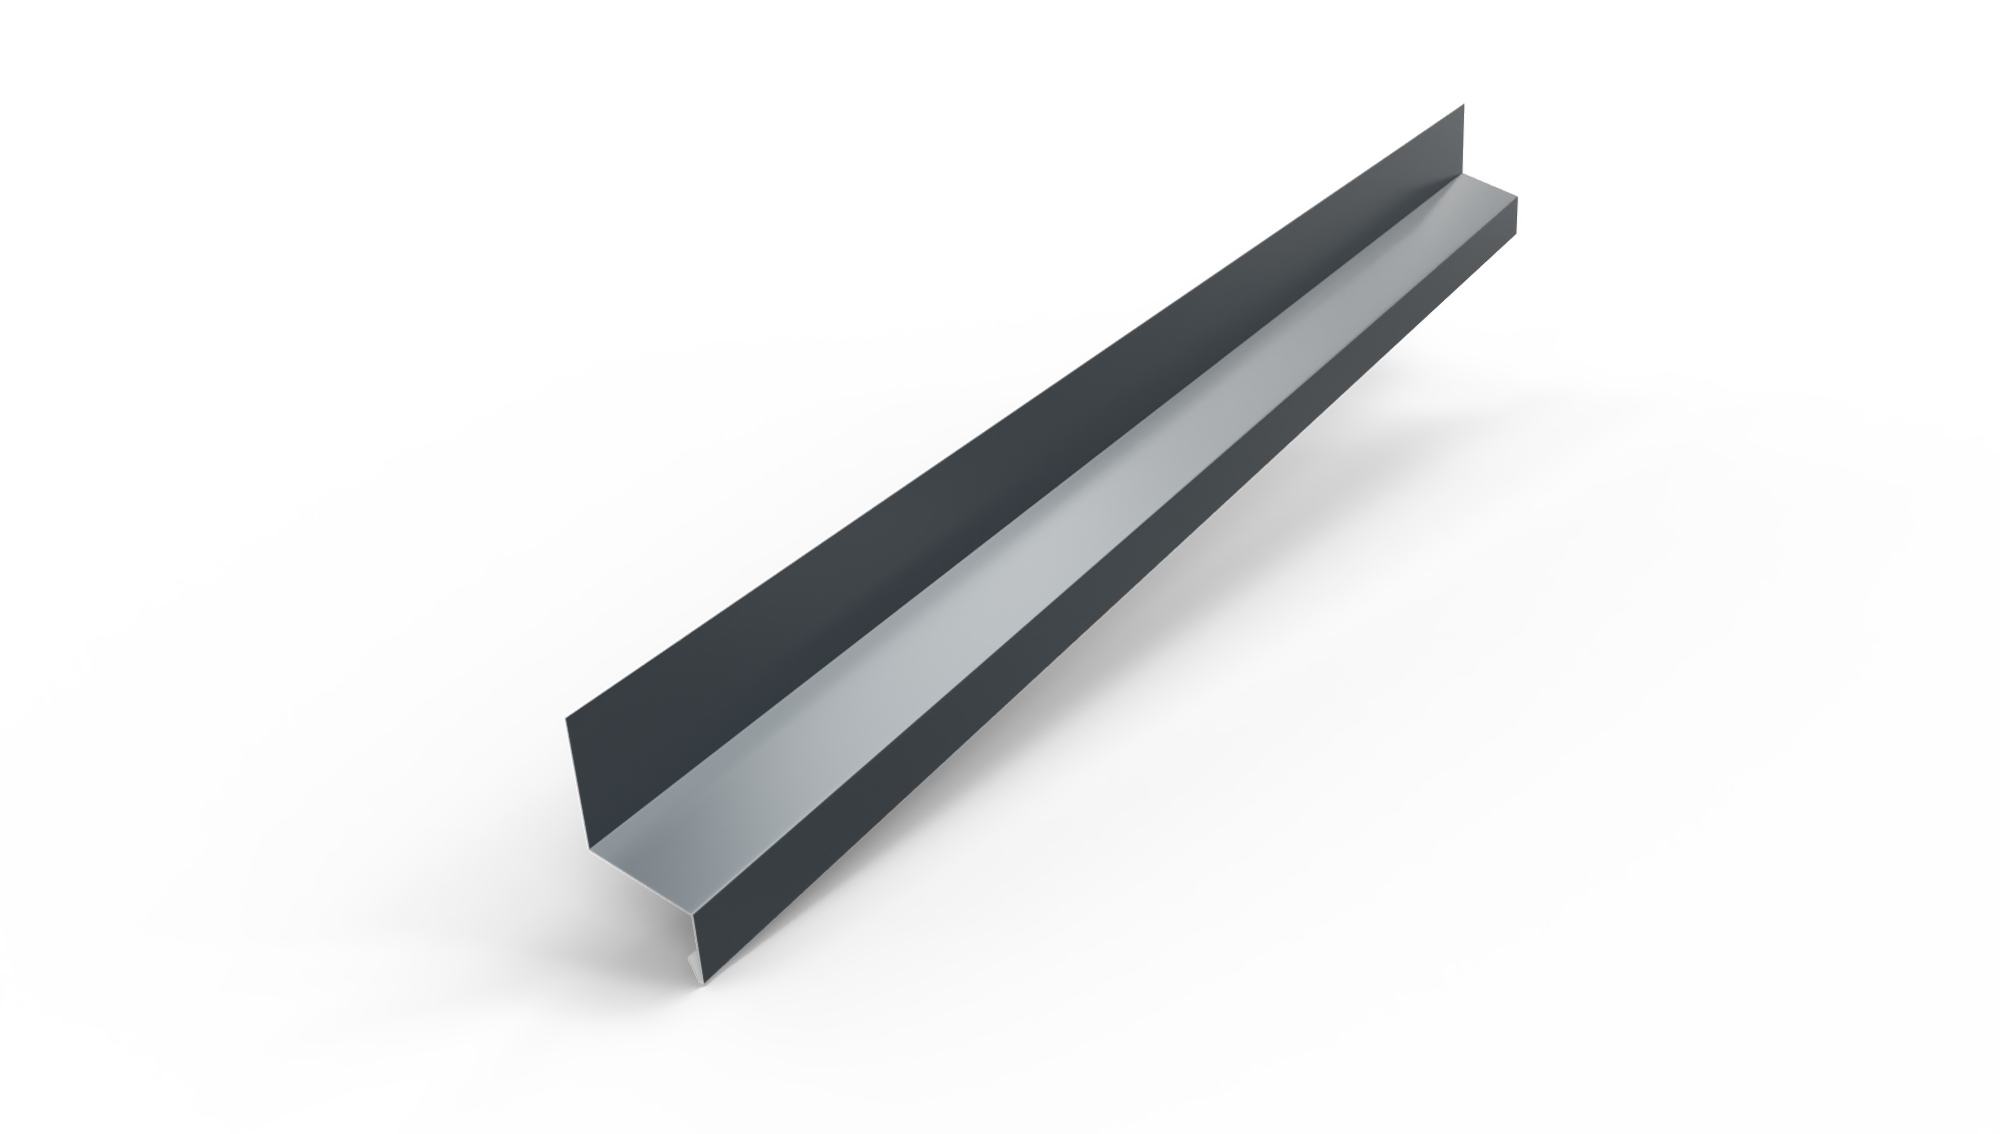 START PROFILE TR45
START PROFILE TR45
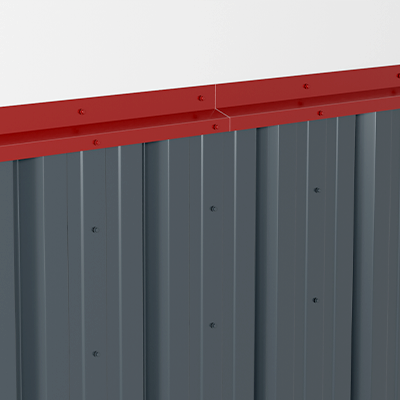
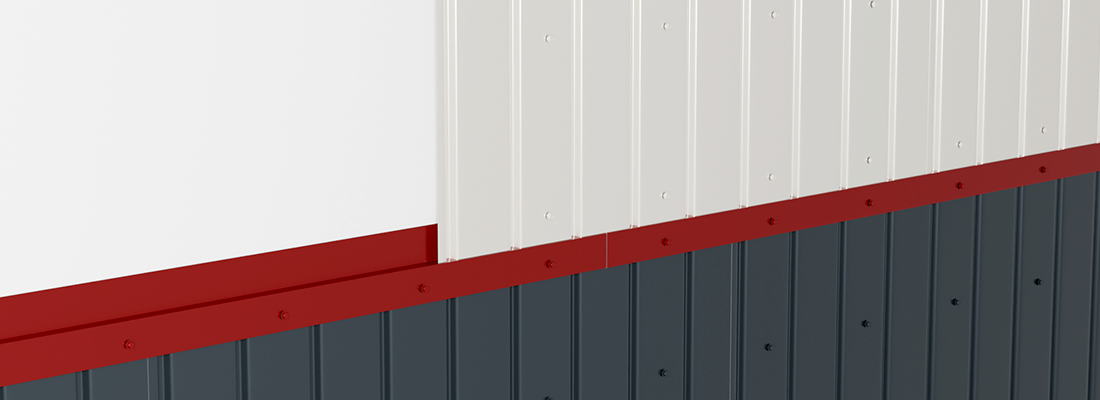
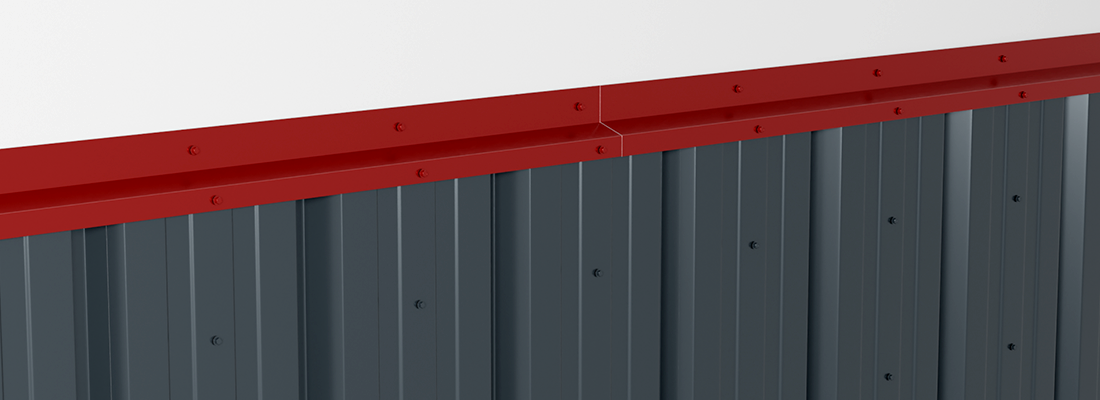
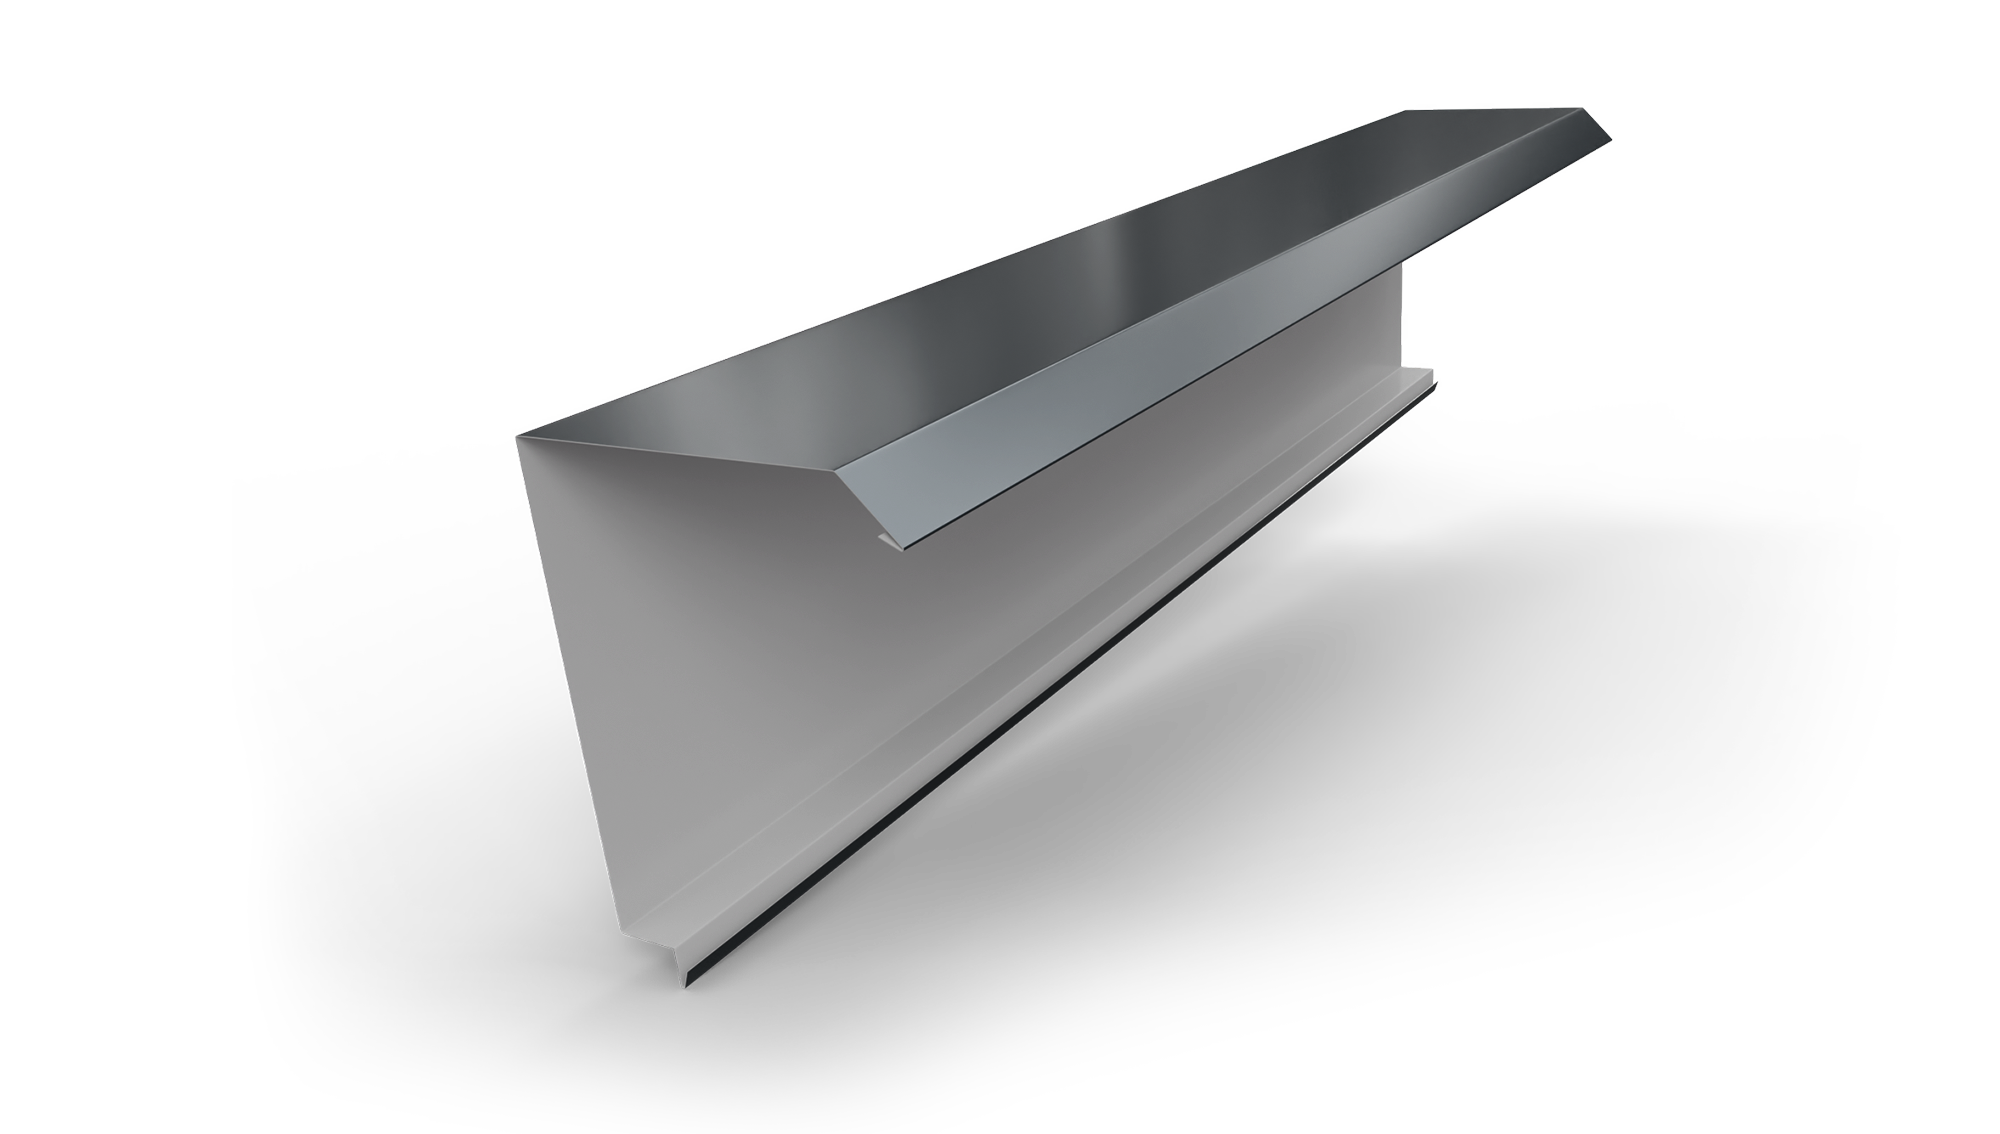
It is used for the installation of corrugated sheet metal on the façade, and can be used in several situations: starting profile (it is installed in the boulder at the base of the wall, above the windows) - offers a straight starting base or as pressor or termination profile. It is used in the upper area of the wall to mask the cut of the panels or to press the panel towards the wall.
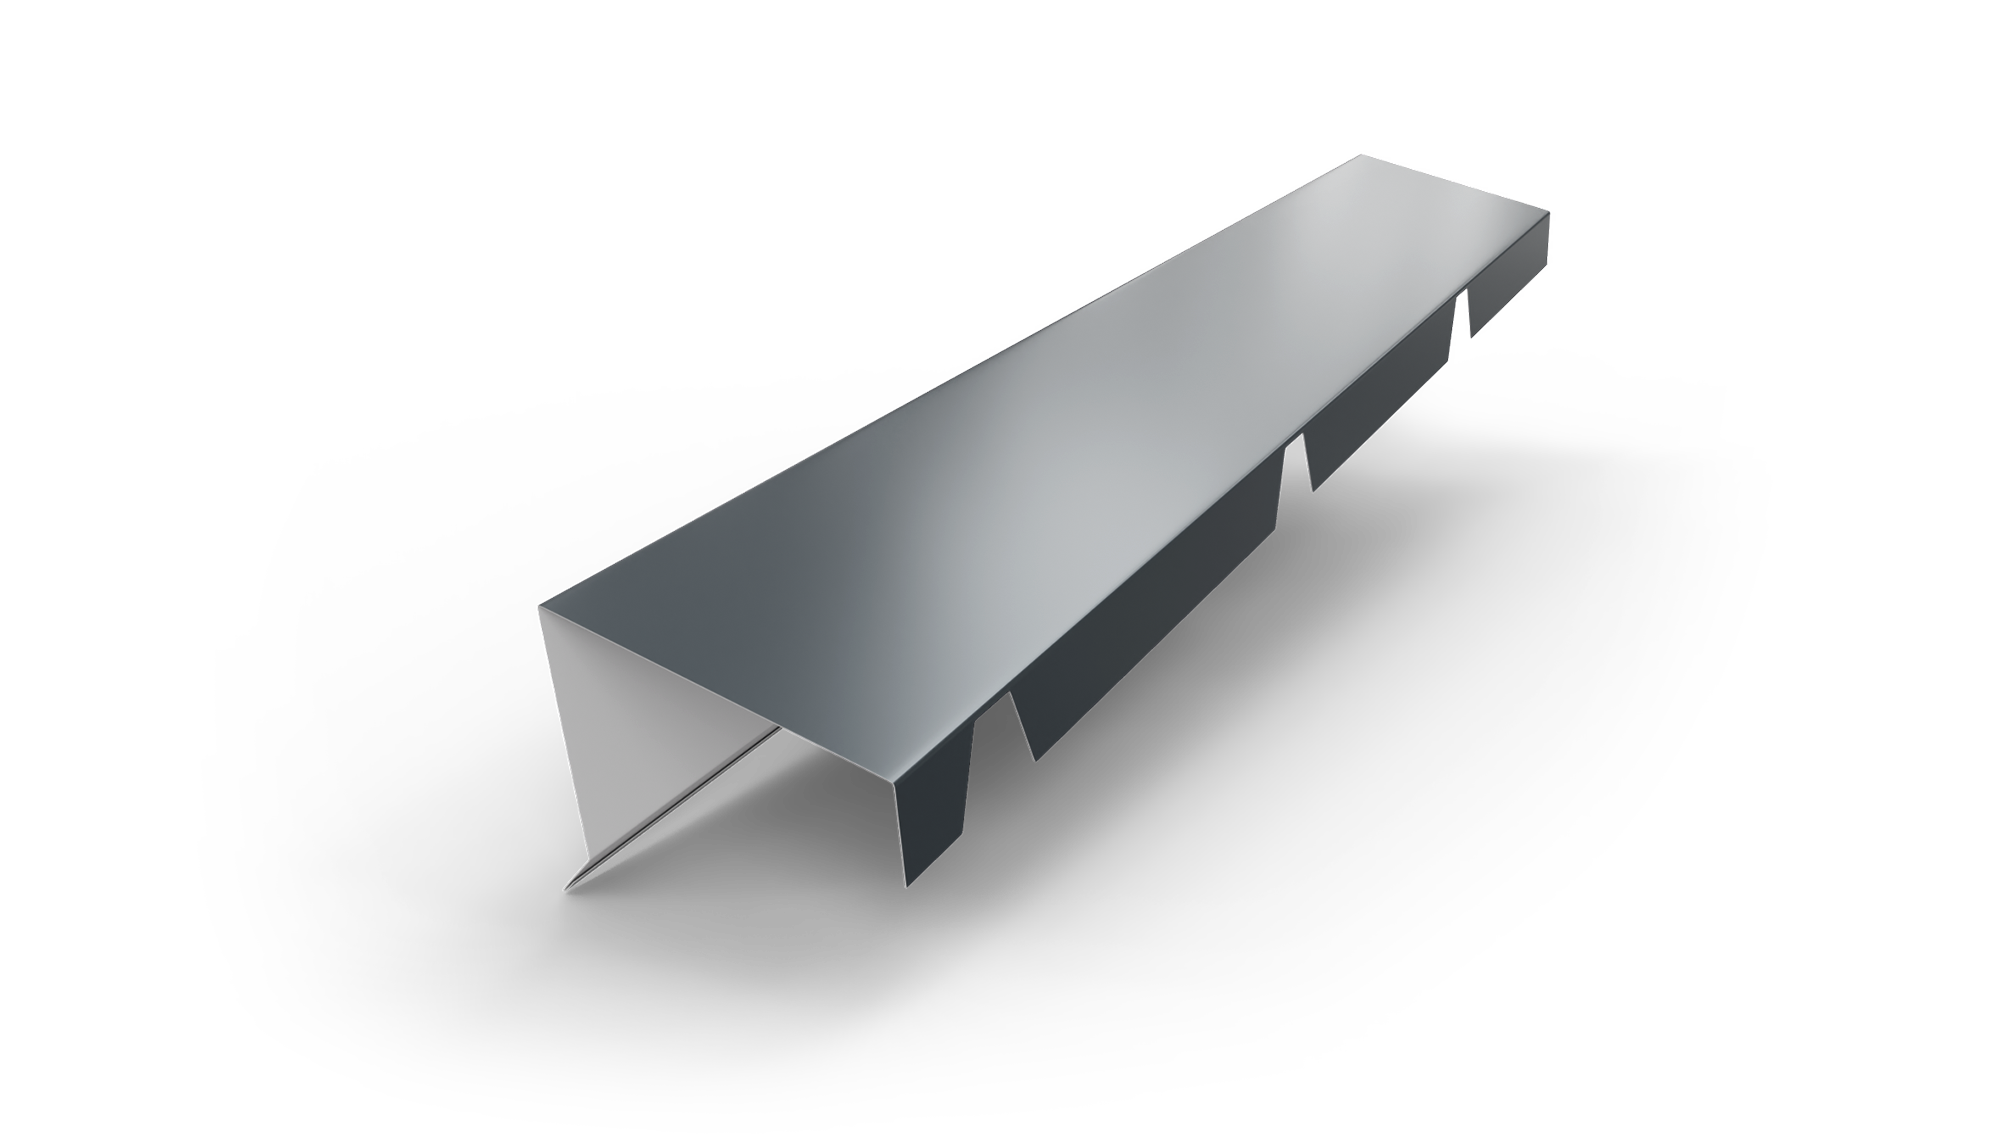
 BORDER BAR TR45
BORDER BAR TR45
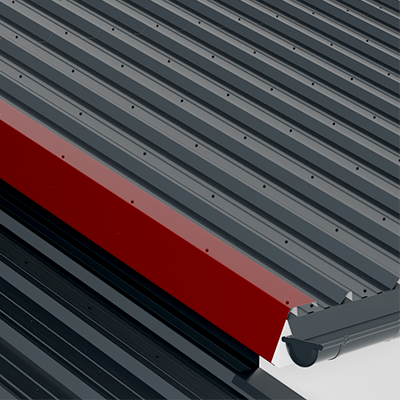
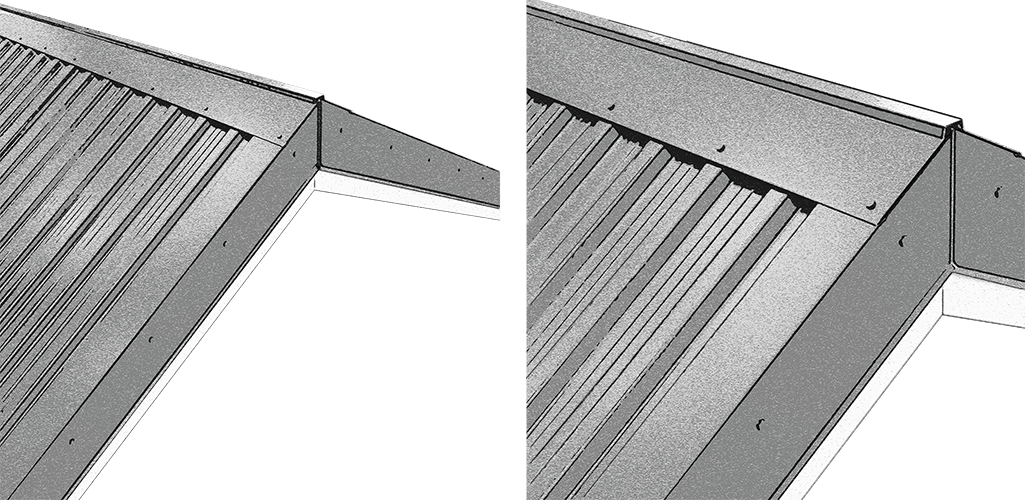
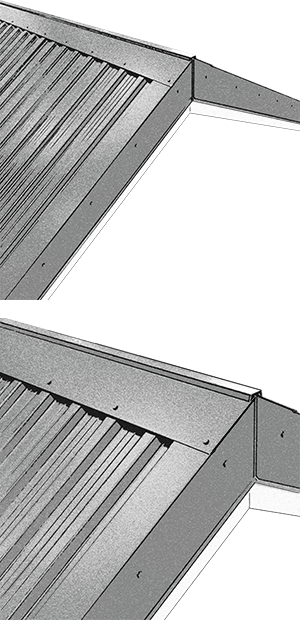
It is used when closing the edge roof. It is installed over the roof and is suitable for corrugated roofs with a pitch height of 35-50 mm.
 CREST TYPE BORDER BAR TR45
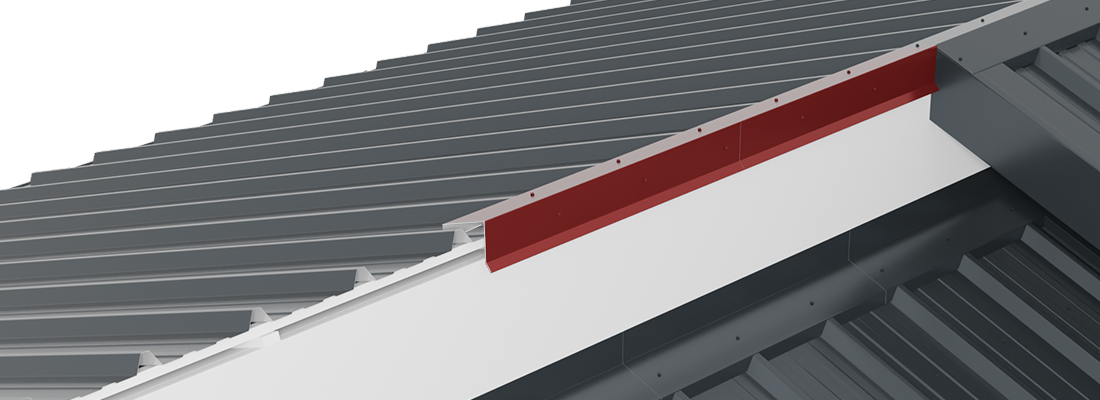
CREST TYPE BORDER BAR TR45
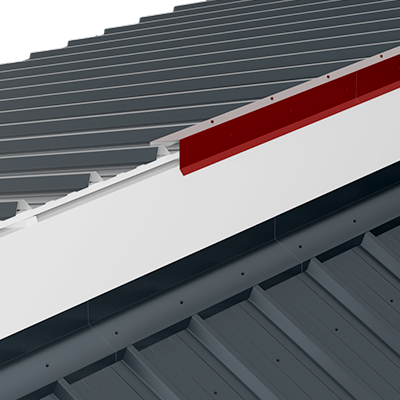
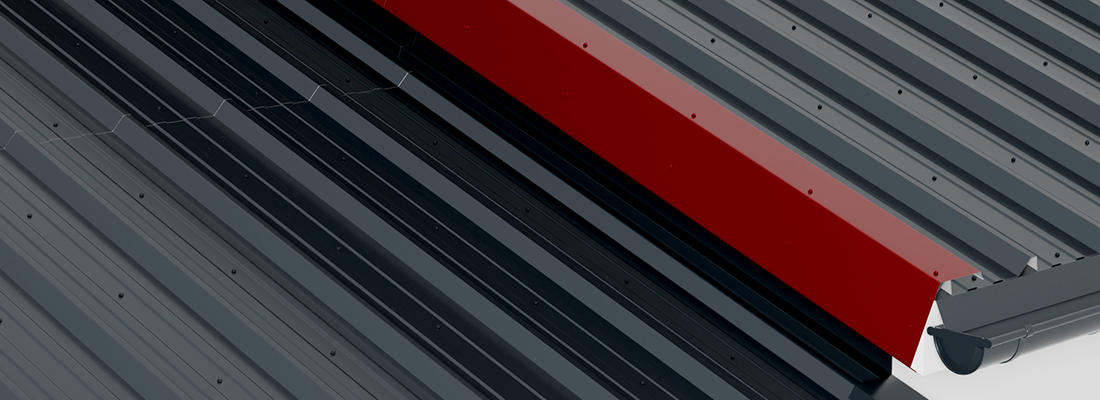
It is used to close the upper ridge area, in case a roof slope intersects one of the vertical building walls. Specifically designed for TR45 corrugated sheets.
 FIRE WALL BAR TR45
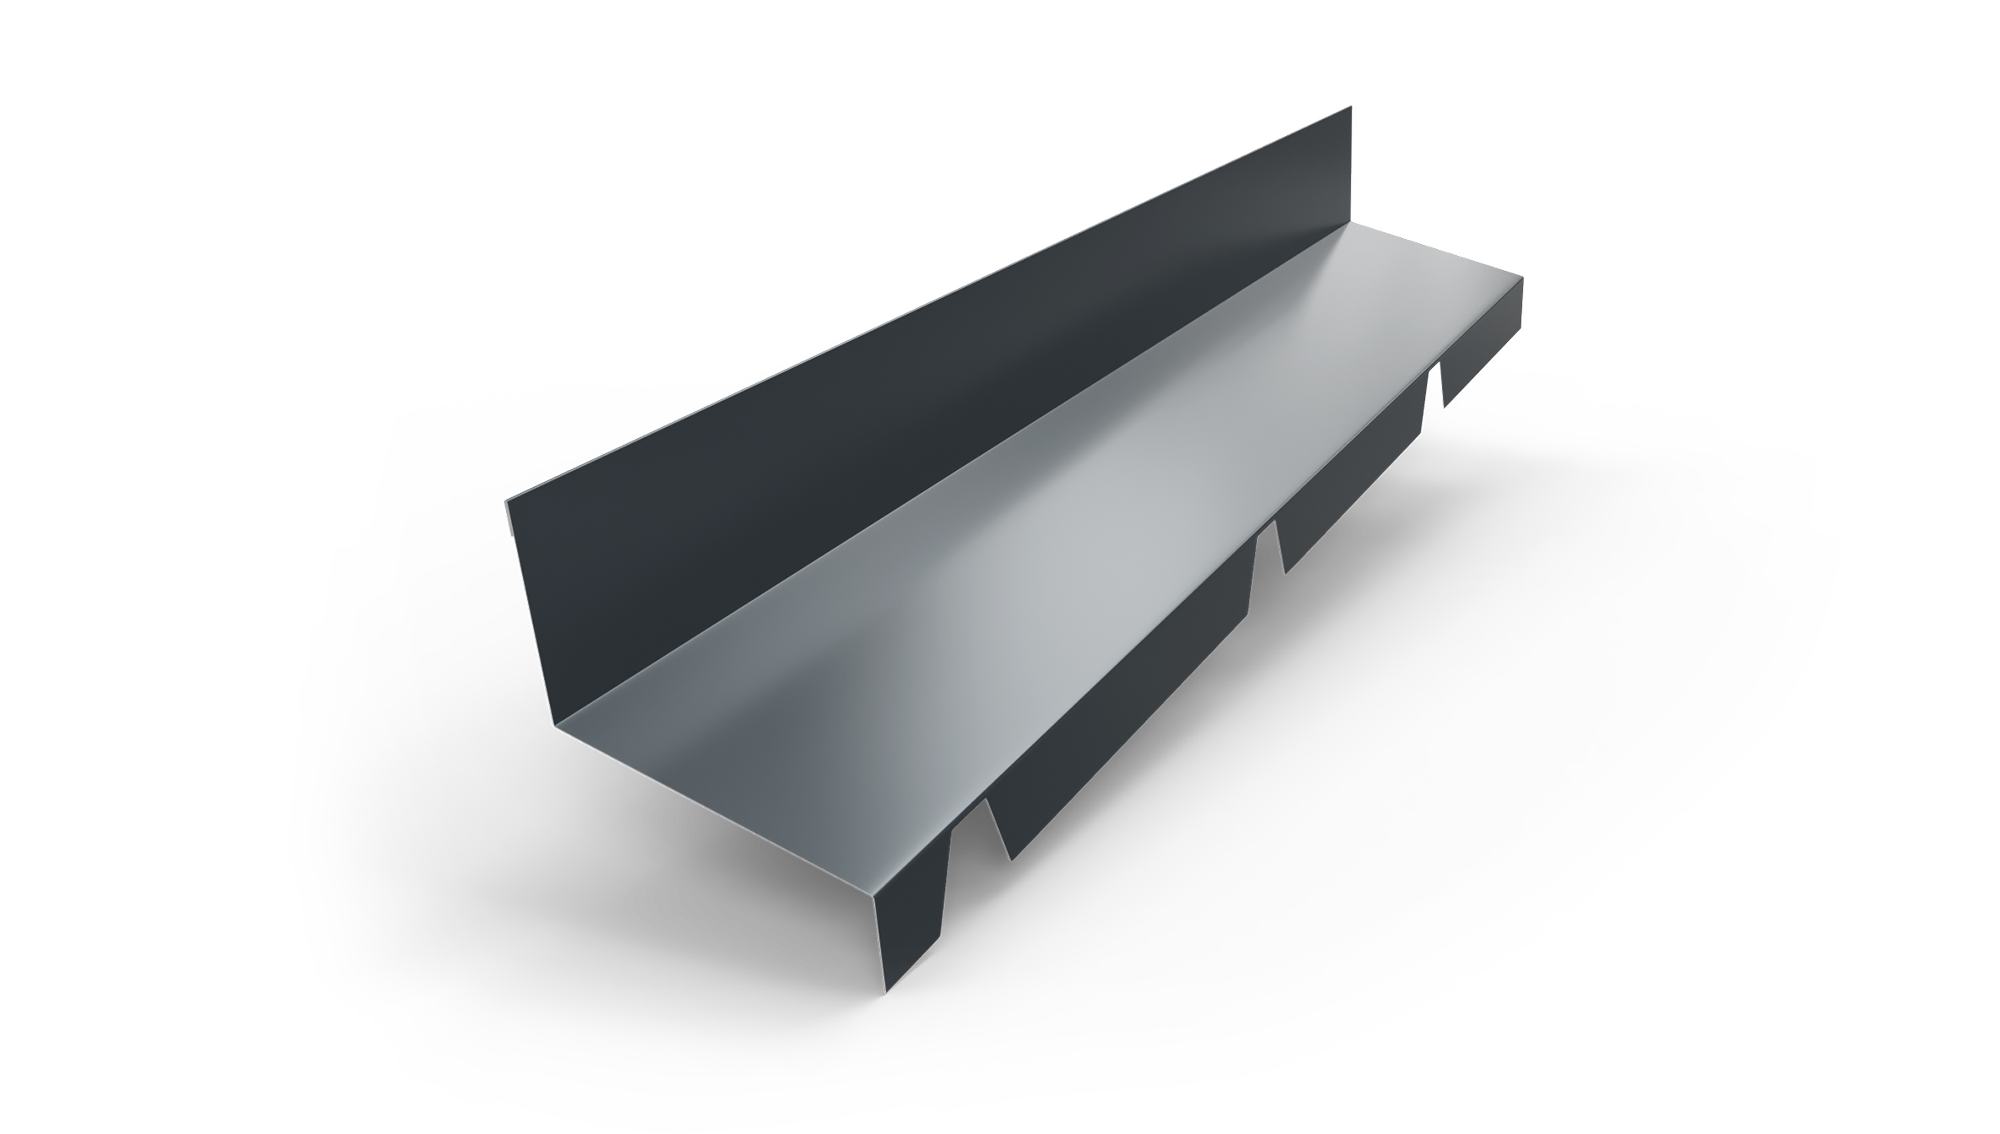
FIRE WALL BAR TR45
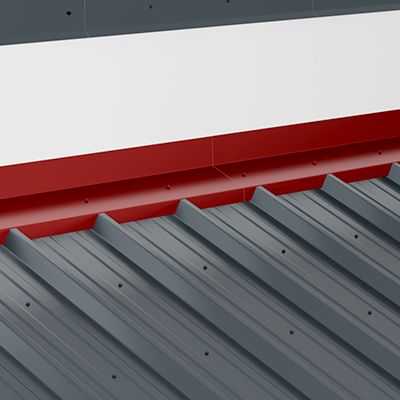
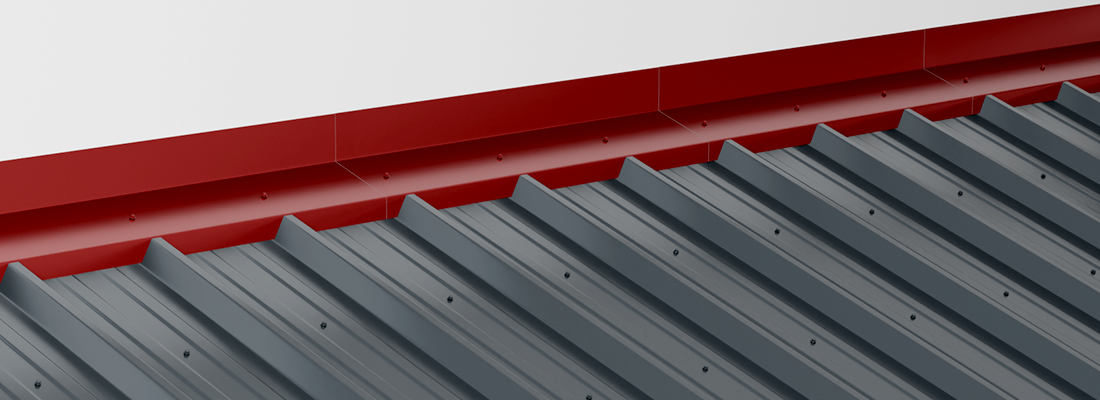
It is used on the edges of the roof to ensure the collection of rainwater that infiltrates accidentally.
It is imperative to use it especially if the angle made by the edge of the roof with the eaves is open / >90° / obtuse.
 SIMPLE STRAIGHT CREST TR45
SIMPLE STRAIGHT CREST TR45
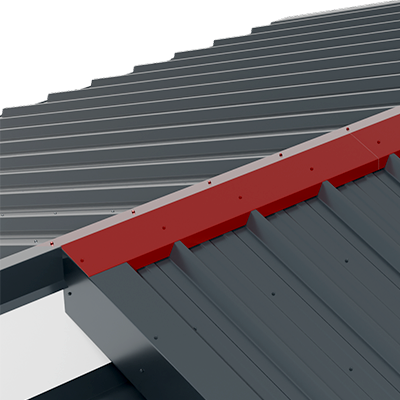
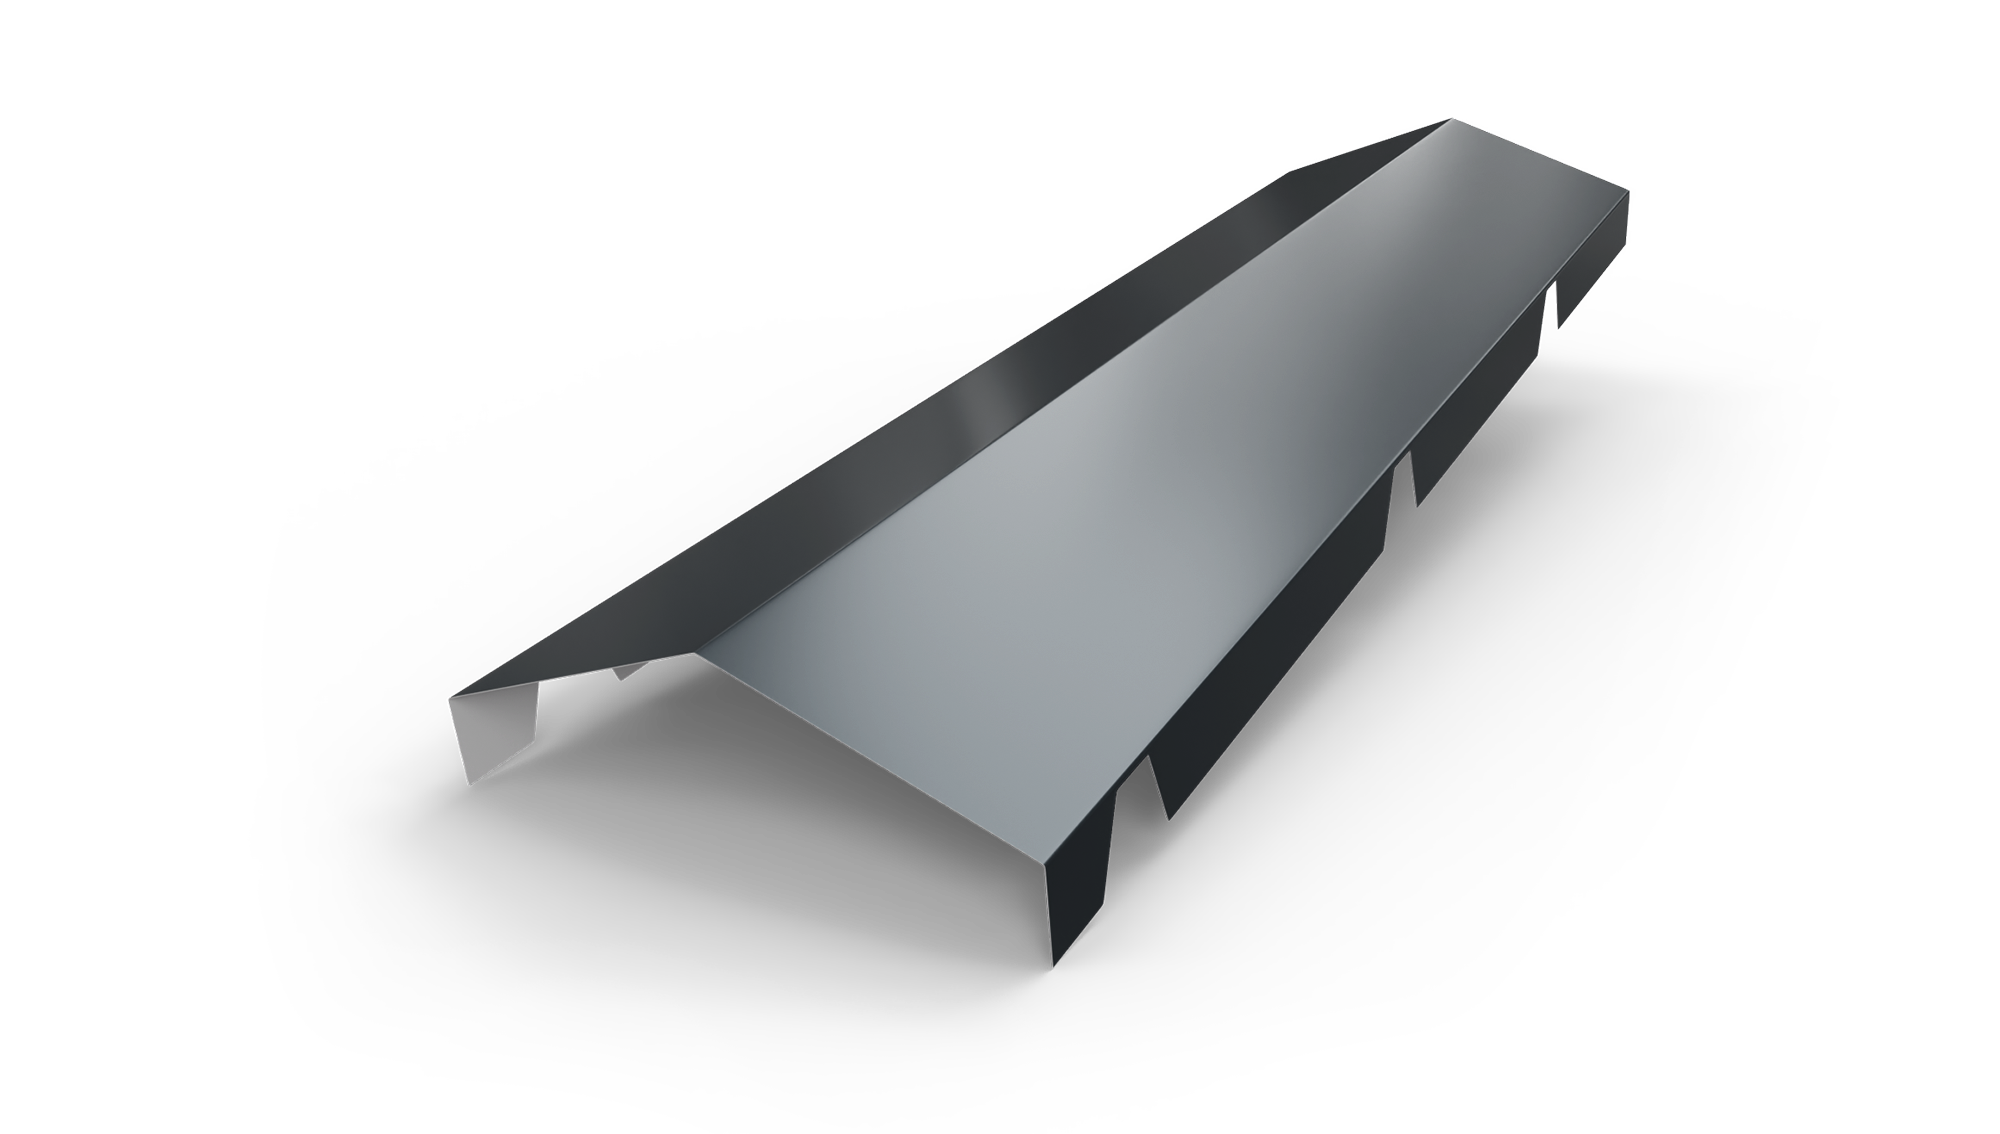
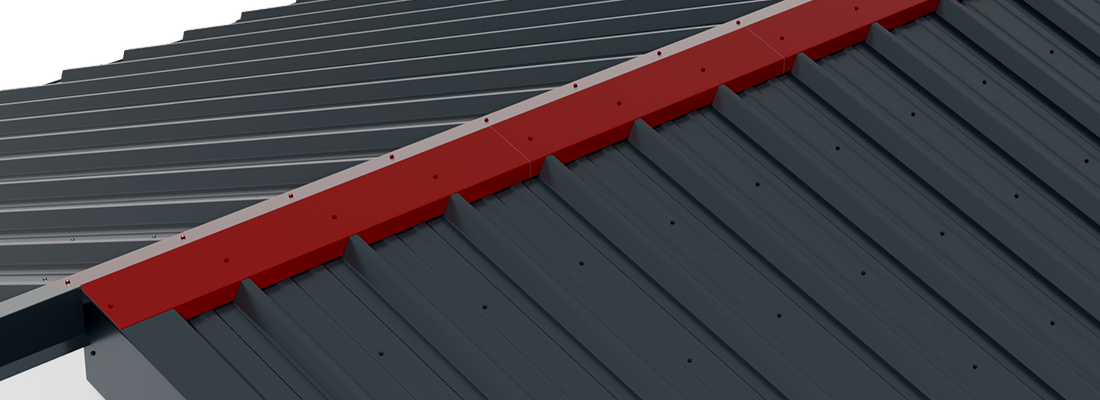
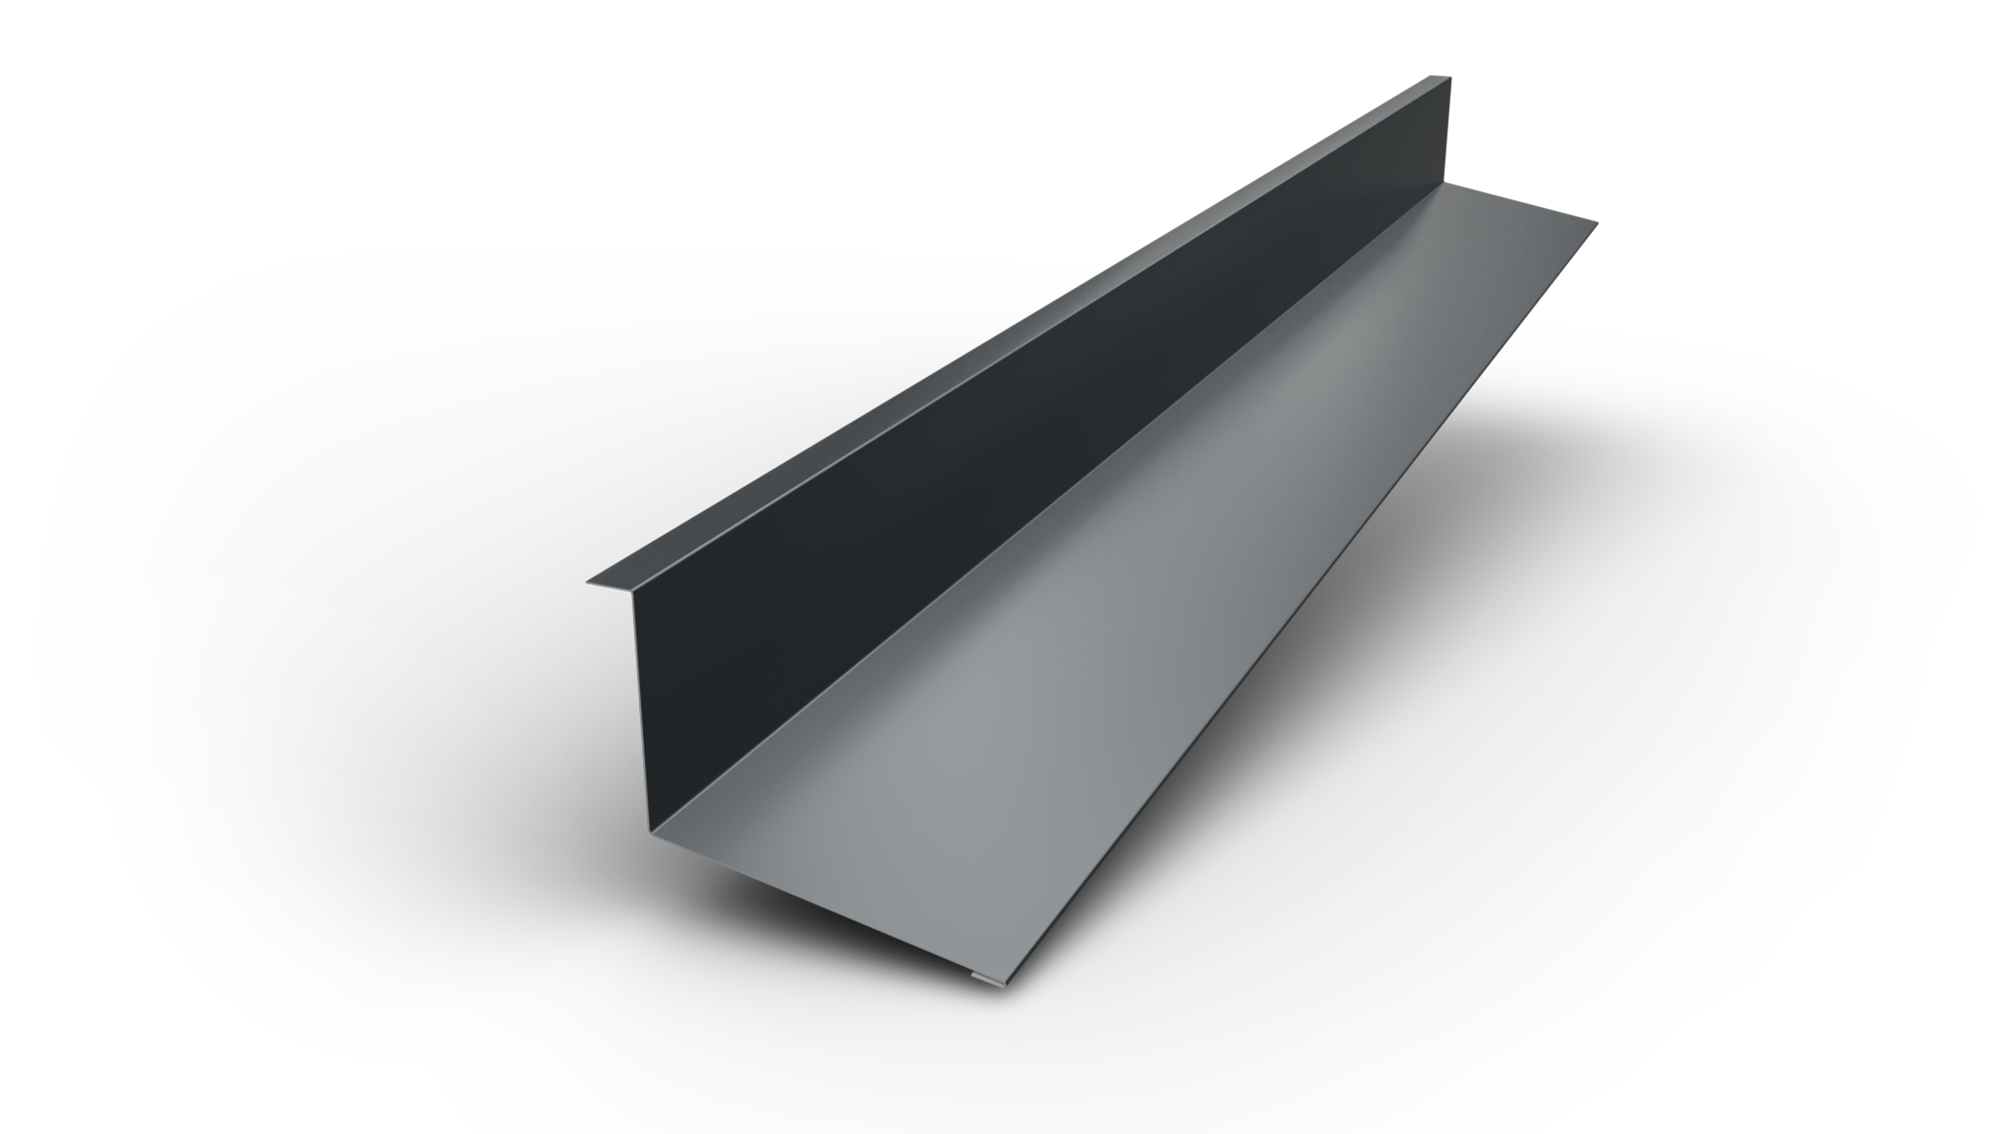
It is used to close the intersection between 2 slopes of the roof, in a straight position or in an inclined position.
 BLIND WALL ANGLE
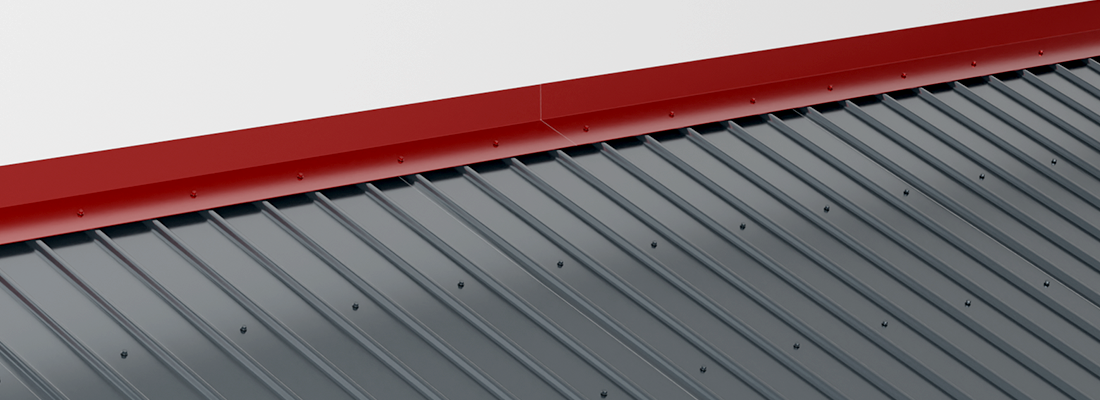
BLIND WALL ANGLE
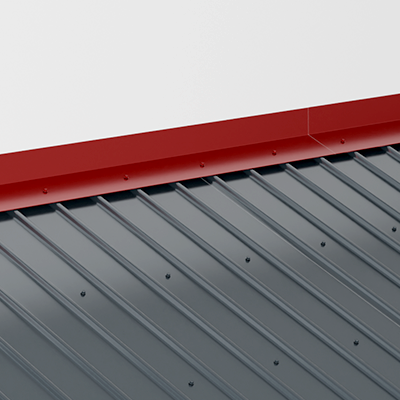
It is used at the intersection between a wall / blind wall and a roof slope, at a blunt angle. The slope angle starts at the intersection with the wall. The blind wall angle is mounted in the wall.
SMART INSTALLATION PRINCIPLES
The slope of the roof structure must be at least 14°.
It is mounted either directly on the board support or on the slat network. The distance between the support slats will be 400 mm.
It is fixed on the wooden bed, after mounting the rainwater collection system.
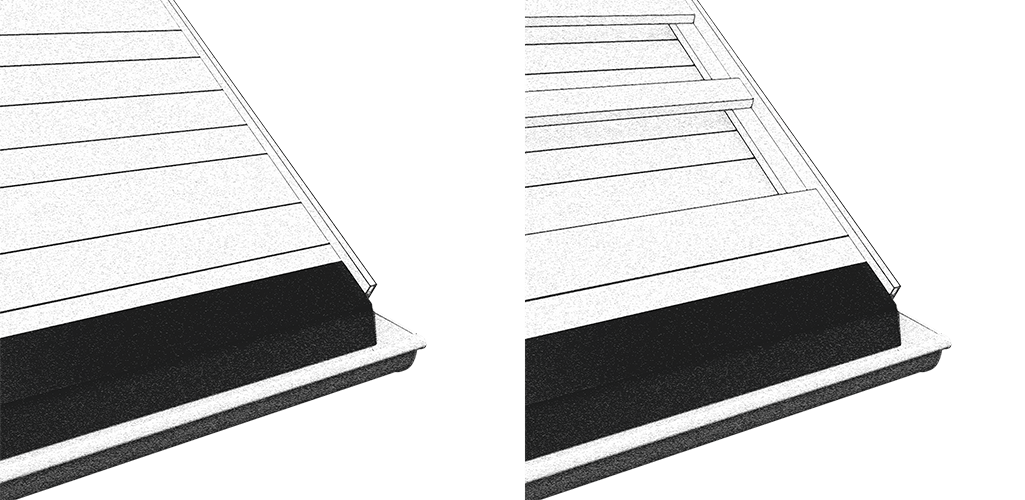
It is fixed with clamps, drilling is forbidden. It is mounted at the intersection of two slopes.
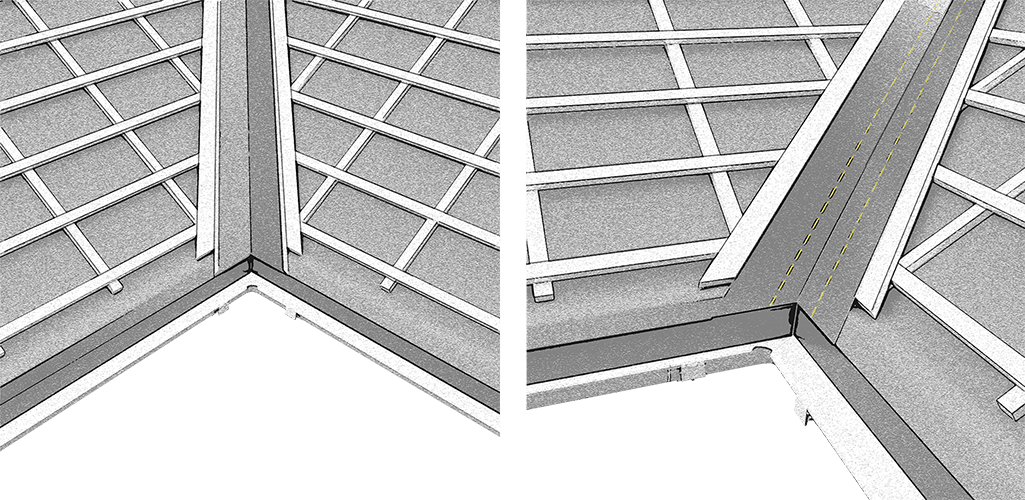
The panels are placed from right to left, from the bottom. Before starting installation, we need to determine the angle between the eaves and the gable. Depending on the result obtained, the panels will be cut for perpendicular positioning on the eaves.
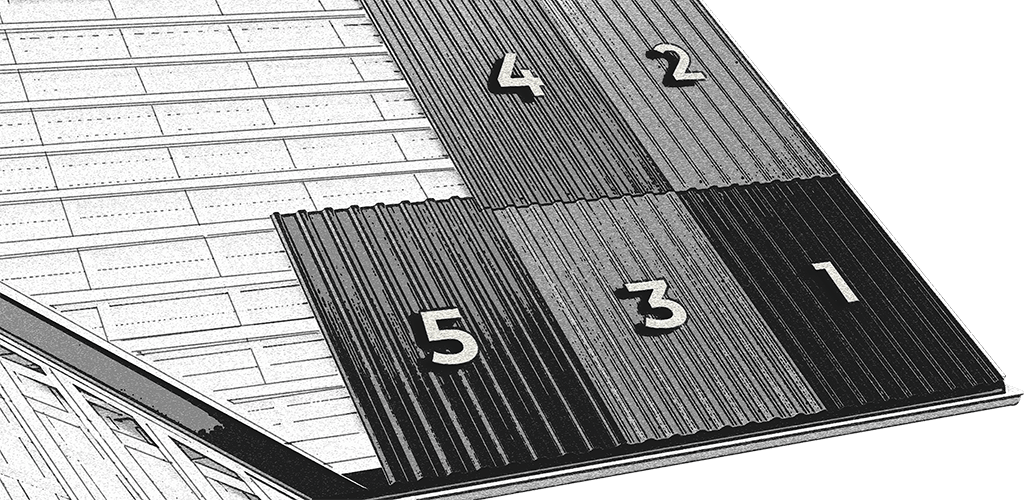
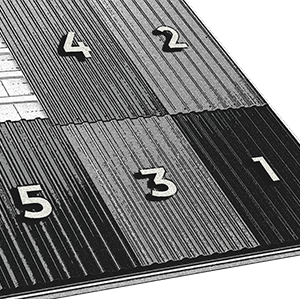
Along the length, the panels are mounted by overlapping a single crease.
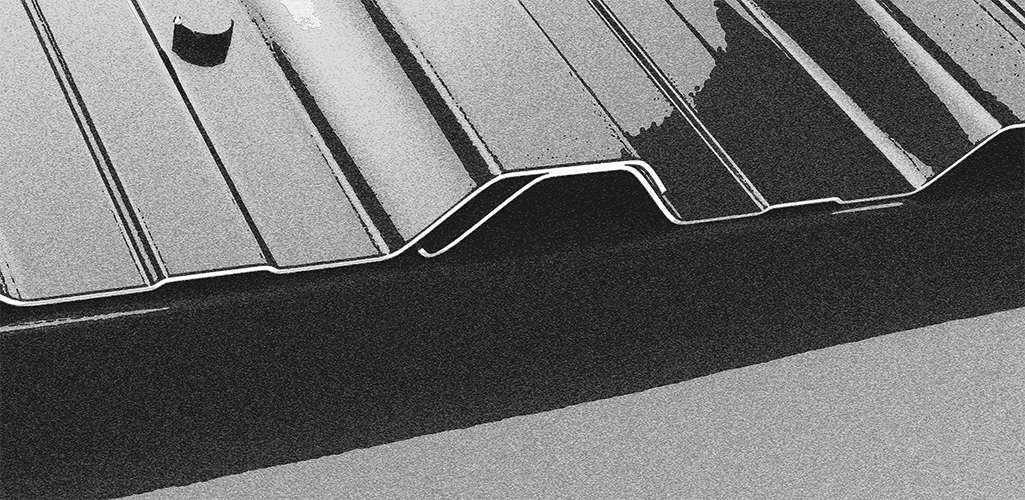
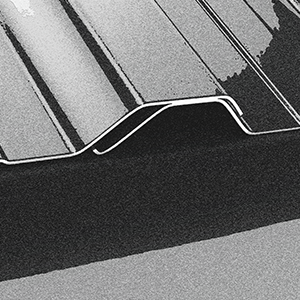
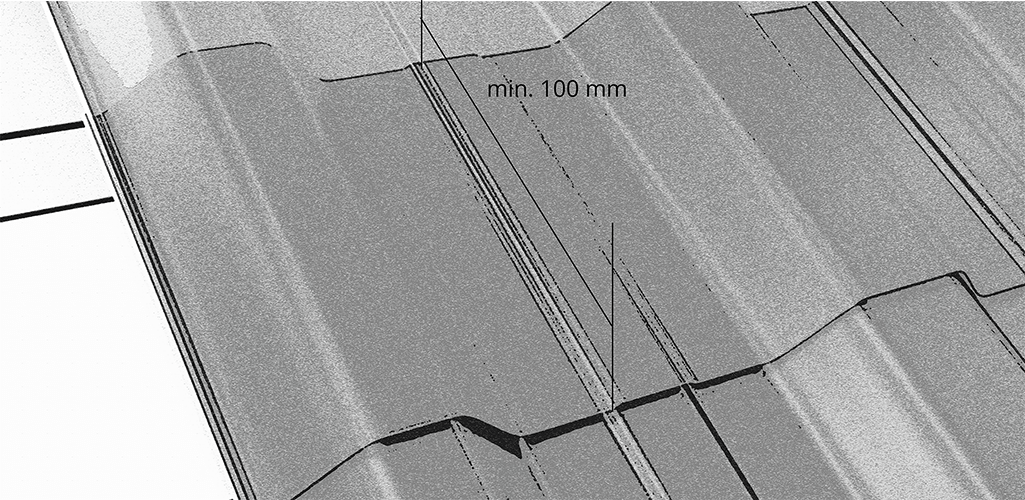
The panels must have an overlap of at least 100 mm.
It is used for the lateral closing of the roof. It is fixed over the corrugated sheet and guard.
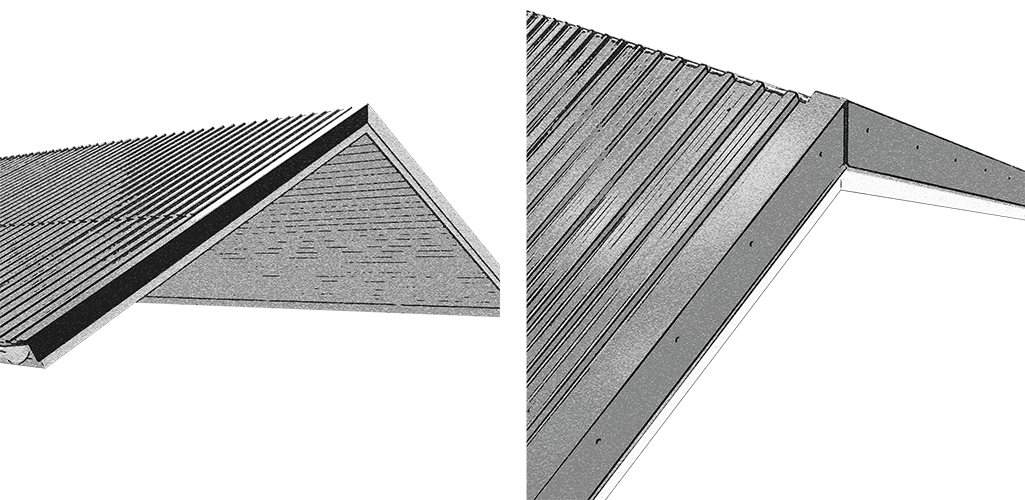
Closes the upper limitation area of the roof. Its fixing is done in the folding area of the plate, in two folds, for an increased stiffening.
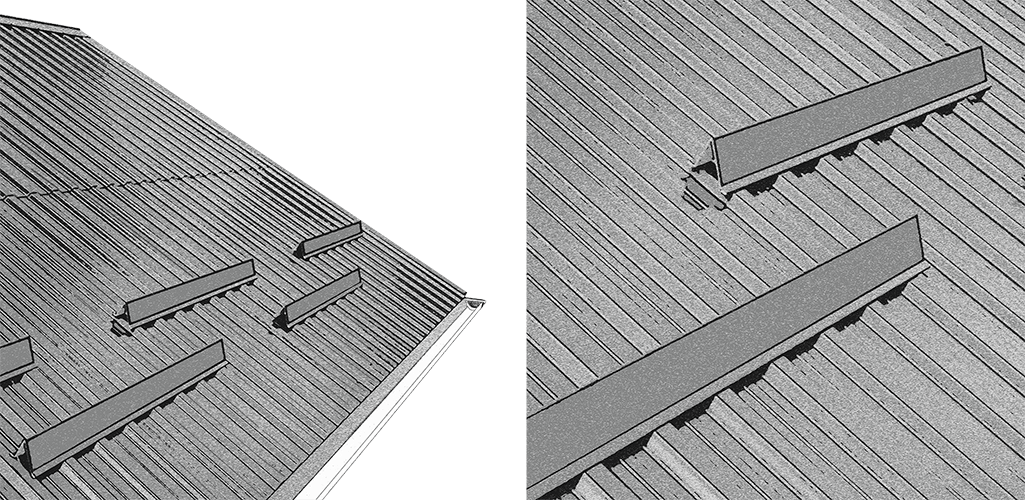
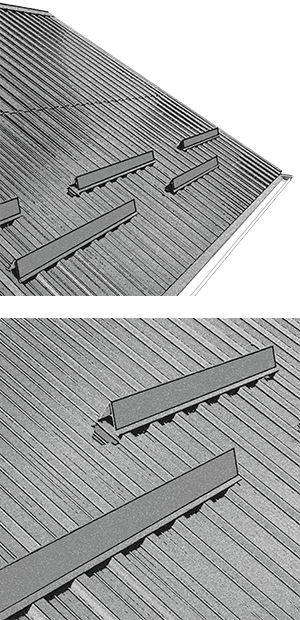
Mount in a triangle to gradually cut the sliding snow mass on the roof.
SMART VIDEO INSTALLATION GUIDE