POLYCARBONATE
Polycarbonate sheets are the ideal material for the construction of transparent and flexible coverings and enclosures: various coverings (terraces, stadiums, swimming pools, awnings, greenhouses, glazing), luminaires for industrial halls, partitions, false ceilings, fences, commercial furniture parts or light boxes
SMART BENEFITS
 Quick and easy fit
  Lightweight material
  Flexible material
  Suitable for outdoor use
  Thermal Insulation
  Fire resistant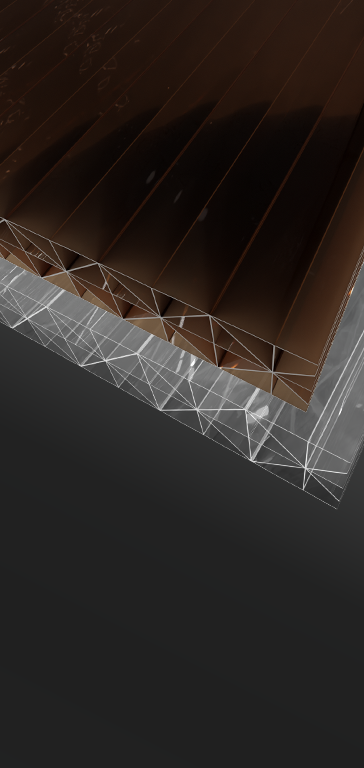
- Weight: 1750 gr. / sqm
- Bending min. radius: 1.75 m
- Colors:clear | bronze
- Softening point: 145oC (ISO 306)
- Water absorption: 0.35%
- Mechanical resistance (Mpa): >60 (ISO527-2/1B/50)
- Hail resistance test: passed
- Density: 1.2 gr./ cm2
- Elongation: 0.35% (ISO527-2/1B/50)
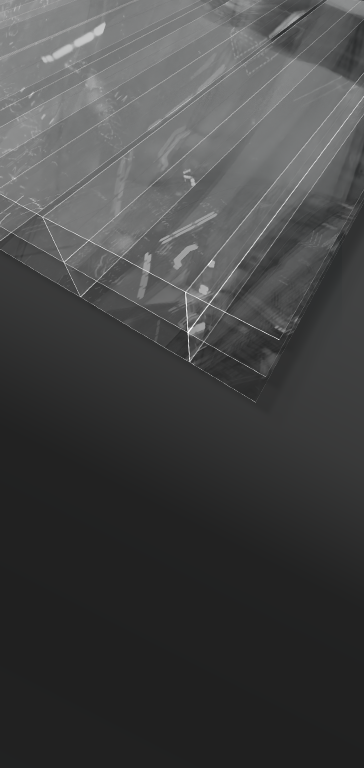
- Weight:
- 16 mm: 2500 gr./ m2
- Bending min. radius:
- 16 mm: 2.80 m
- Colors:
- 16 mm: clear
- Softening point: 145oC (ISO 306)
- Water absorption: 0.35%
- Mechanical resistance (Mpa): >60 (ISO527-2/1B/50)
- Hail resistance test: passed
- Density: 1.2 gr./ cm2
- Elongation: 0.35% (ISO527-2/1B/50)
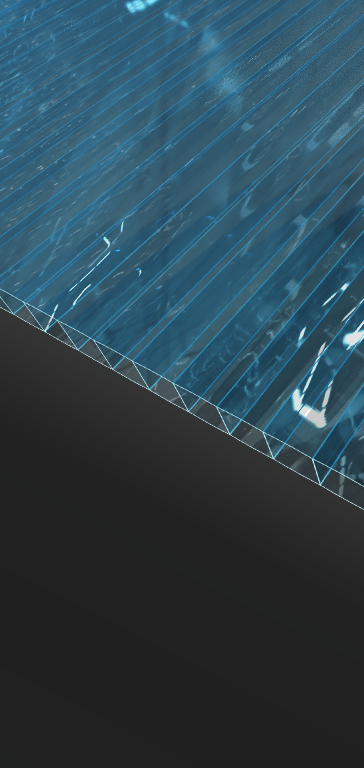
- Weight:
- 3.5 mm: 550 gr./ m2
- 4 mm: 650 gr./ m2
- 6 mm: 1000 gr./ m2
- 8 mm: 1200 gr./ m2
- 10 mm: 1300 gr./ m2
- Bending min. radius:
- 3.5 mm: 0.7 m
- 4 mm: 0.7 m
- 6 mm: 1.05 m
- 8 mm: 1.4 m
- 10 mm: 1.75 m
- Colors:
- 3.5 mm: clear | bronze
- 4 mm: clear | bronze | green | blue | opal
- 6 mm: clear | bronze | green | blue | opal
- 8 mm: clear | bronze | green | blue | opal
- 10 mm: clear | bronze | green | blue | opal
- Softening point: 145oC (ISO 306)
- Water absorption: 0.35%
- Mechanical resistance (Mpa): >60 (ISO527-2/1B/50)
- Hail resistance test: passed
- Density: 1.2 gr./ cm2
- Elongation: 0.35% (ISO527-2/1B/50)
SMART ACCESSORIES
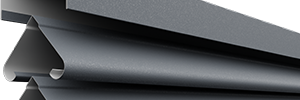
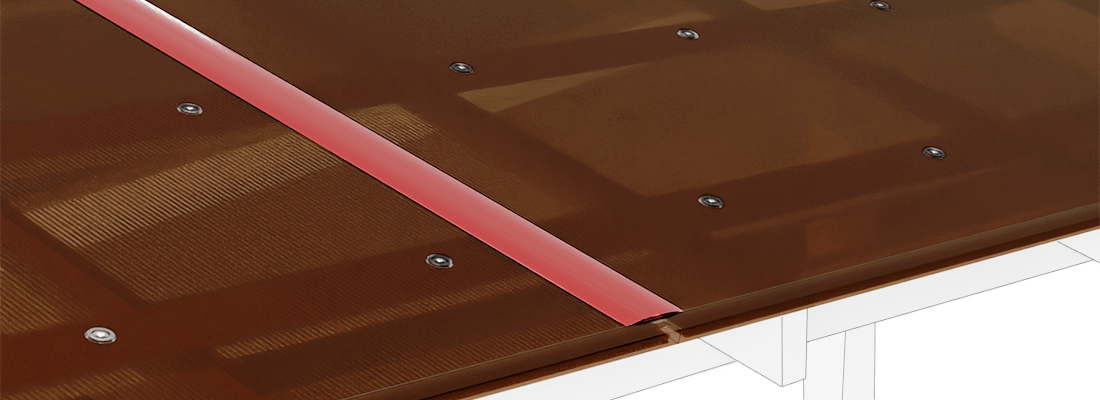
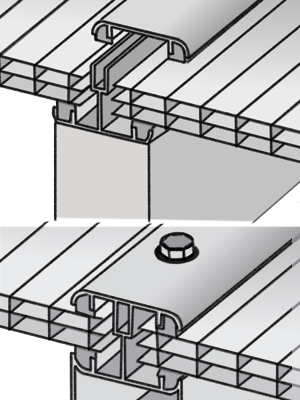
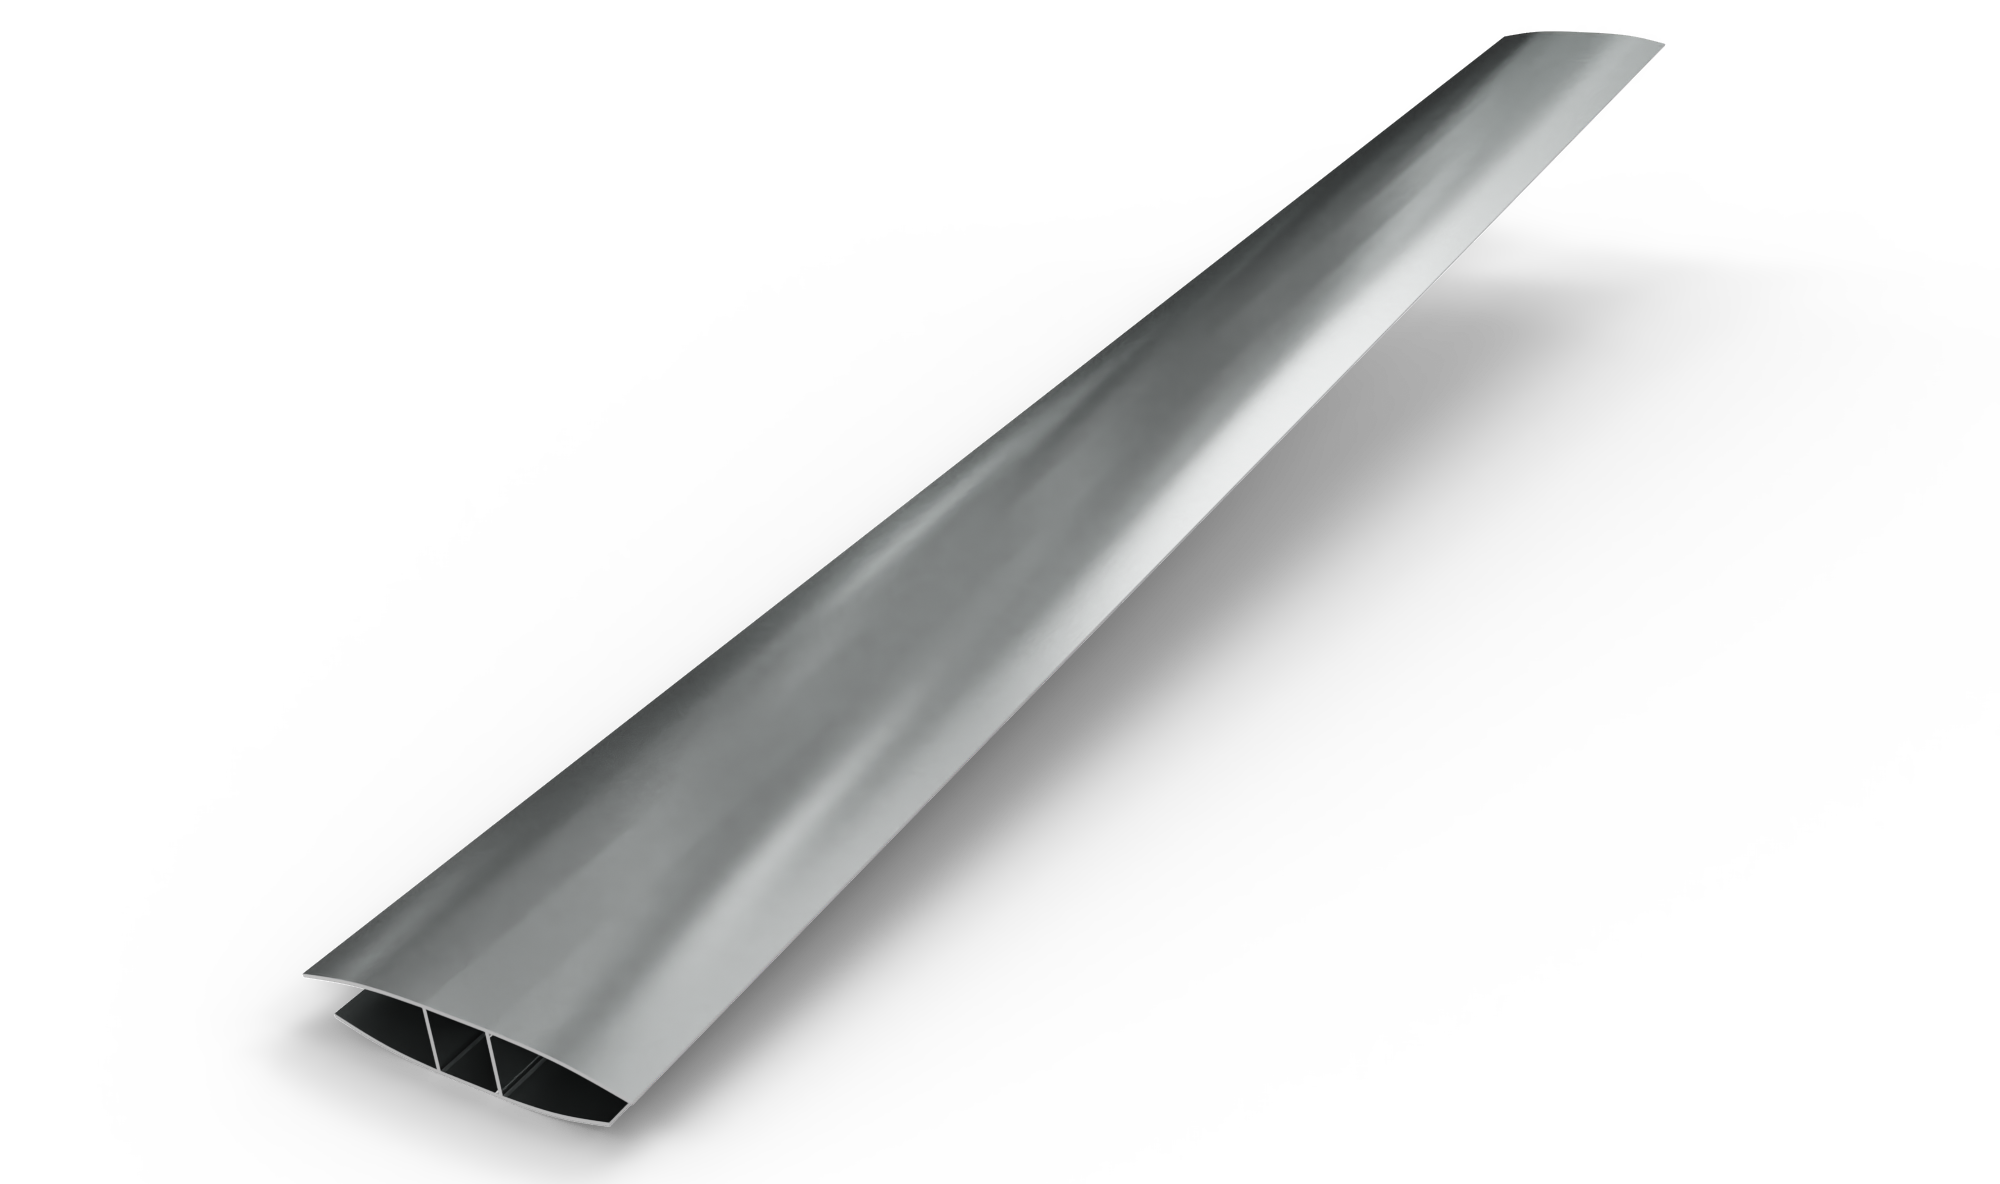 H SHAPE PROFILE Aluminum
H SHAPE PROFILE Aluminum
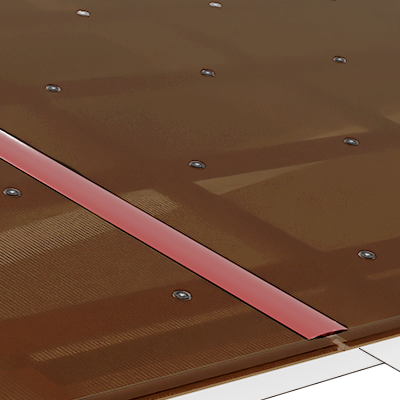
Used for joining 2 polycabonate sheets.
Thickness: 6 / 10 mm
Length: 3000 mm
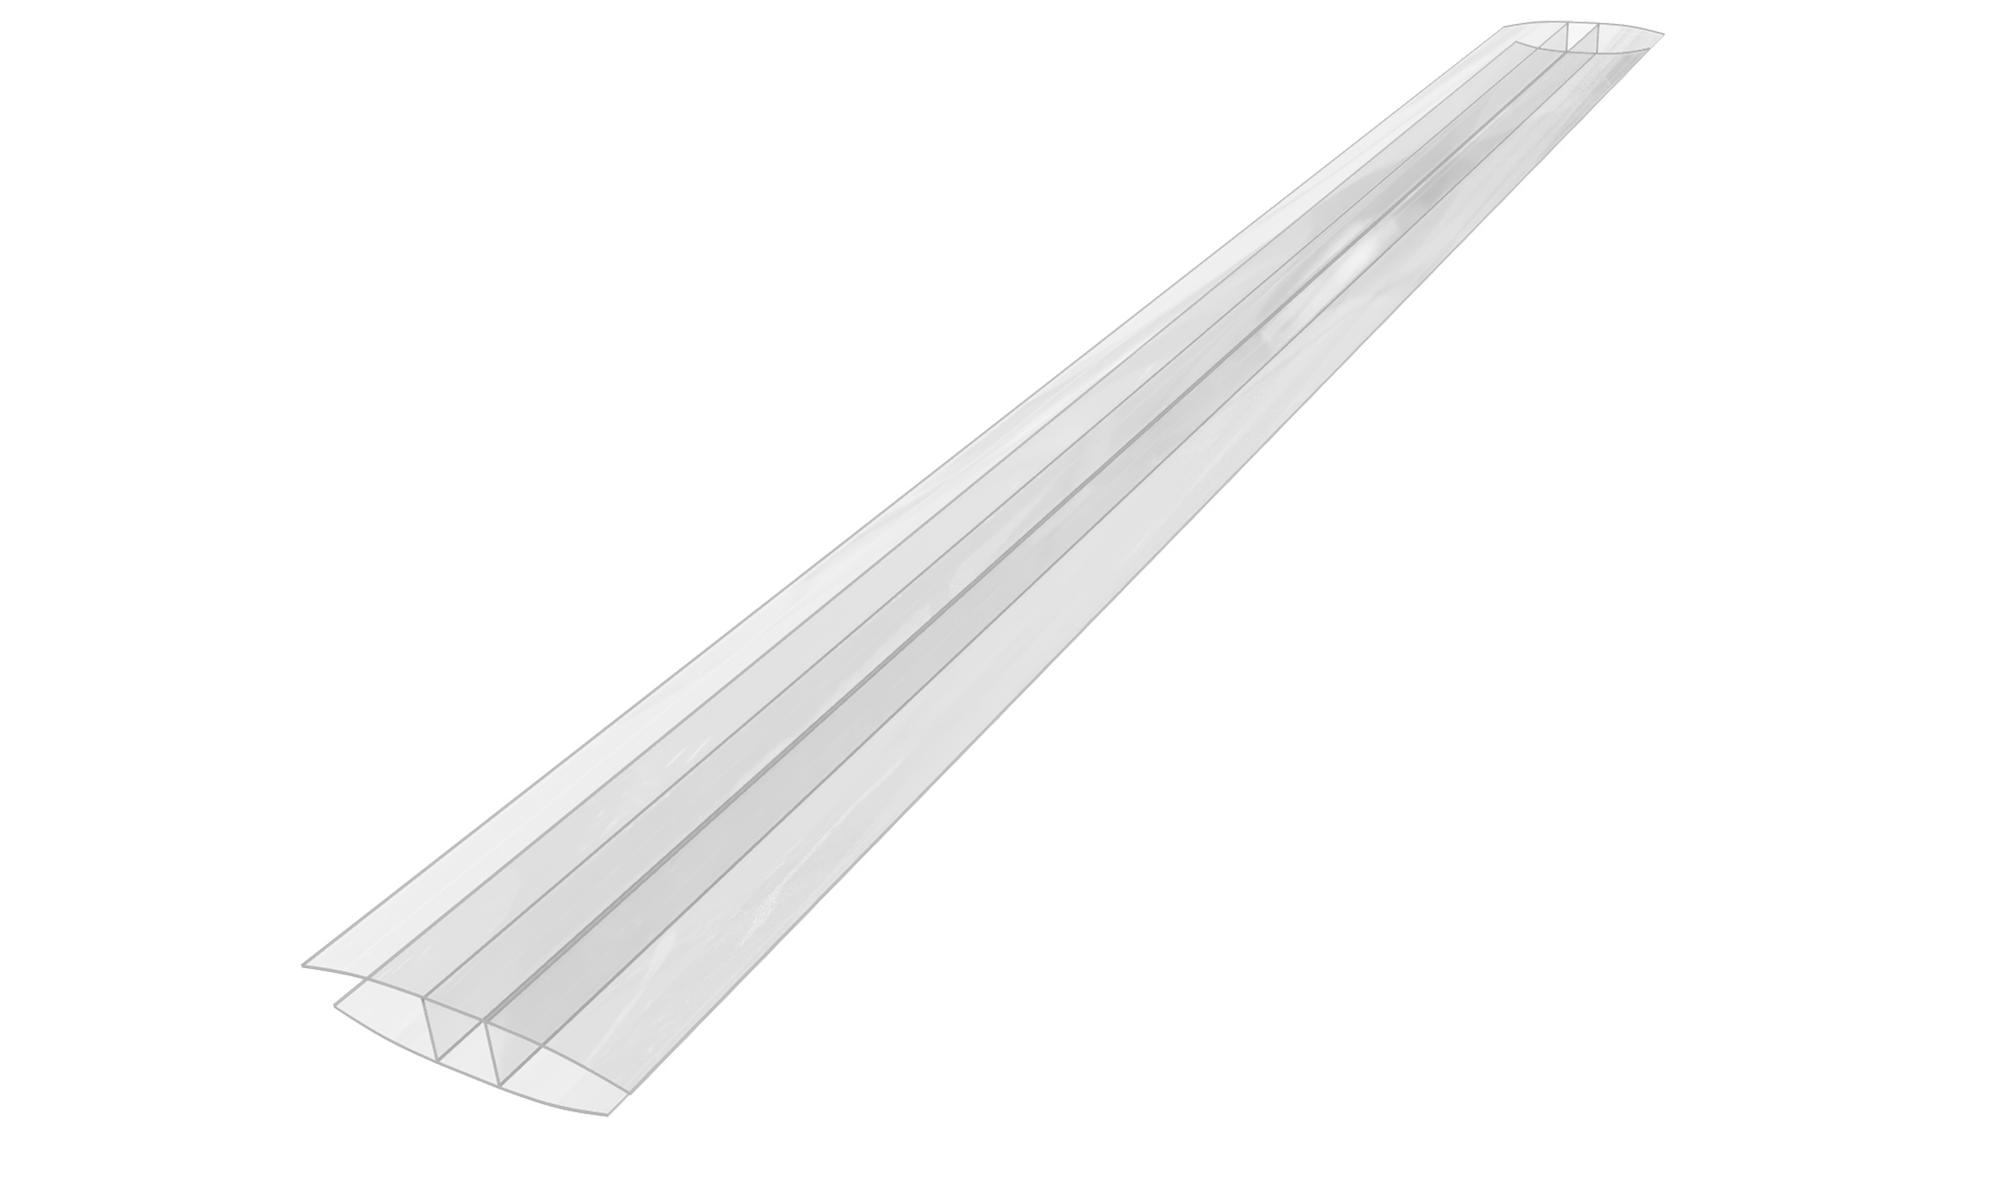 H SHAPE PROFILE Polycarbonate Clear
H SHAPE PROFILE Polycarbonate Clear
Used for joining 2 polycabonate sheets.
Thickness: 4 / 6 / 8 / 10 / 16 mm
Length: 6000 mm
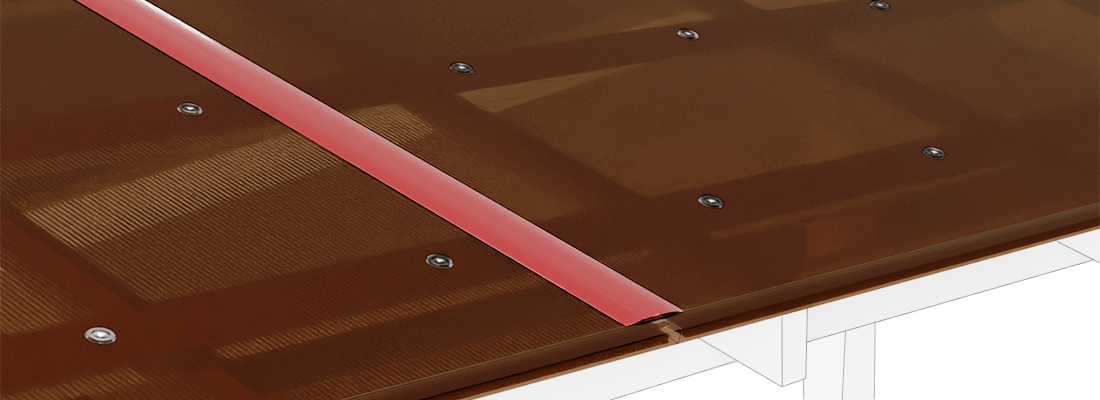
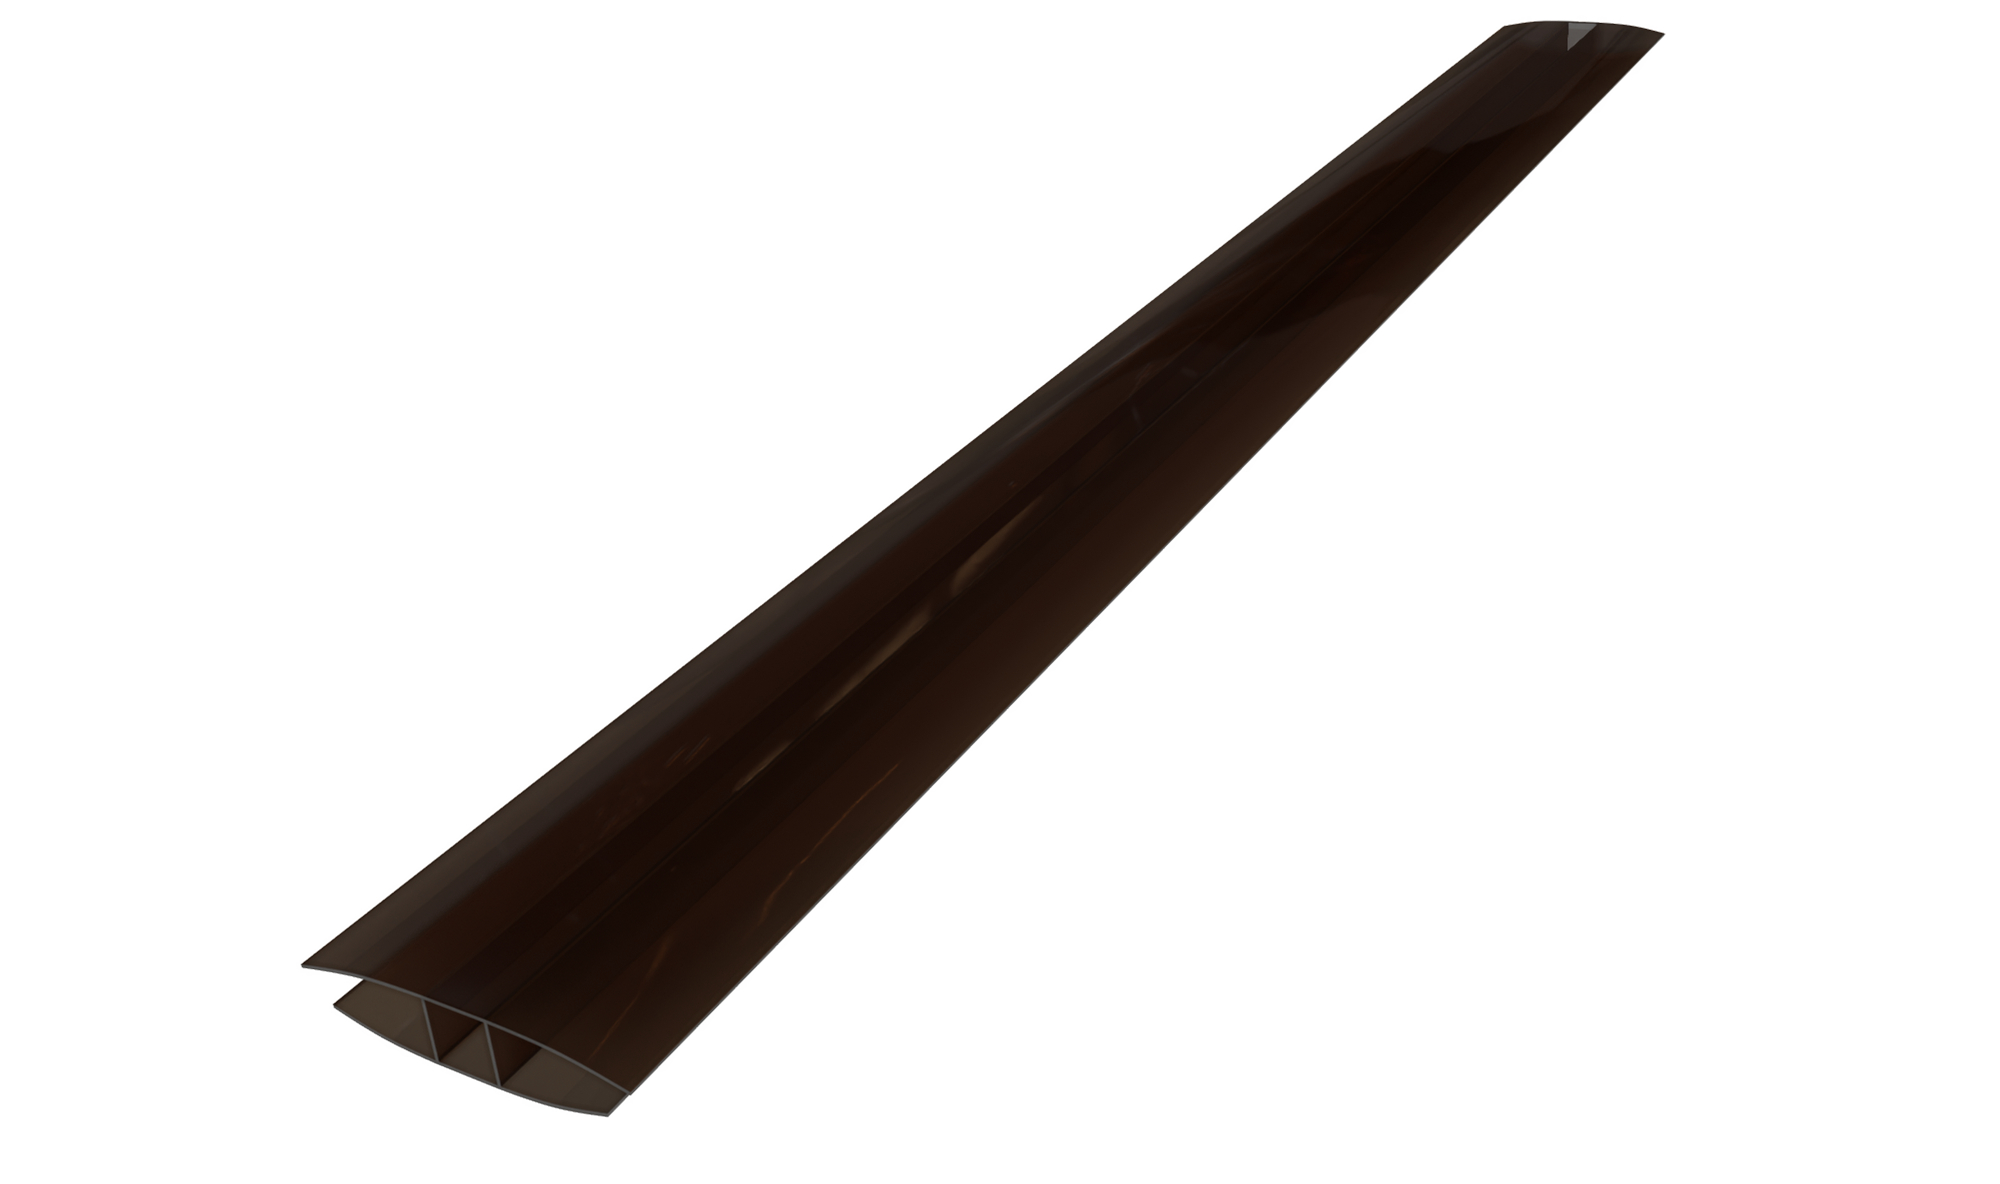 H SHAPE PROFILE Polycarbonate Bronze
H SHAPE PROFILE Polycarbonate Bronze
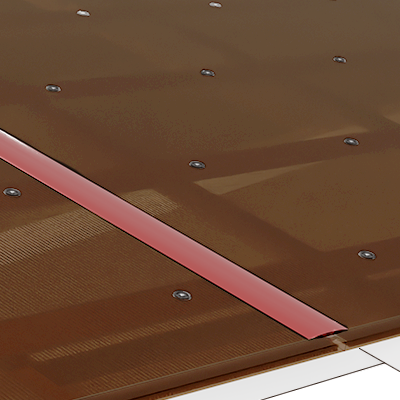
Used for joining 2 polycabonate sheets.
Thickness: 4 / 6 / 8 / 10 / 16 mm
Length: 6000 mm
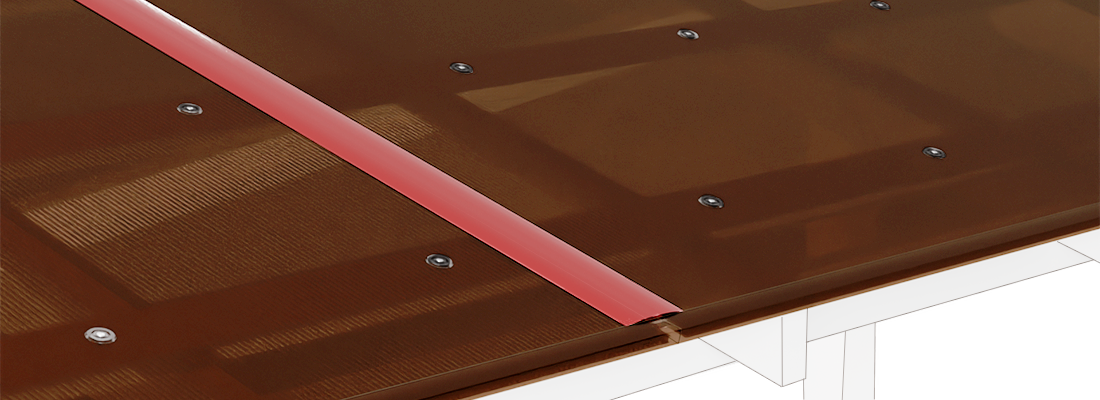
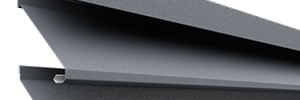
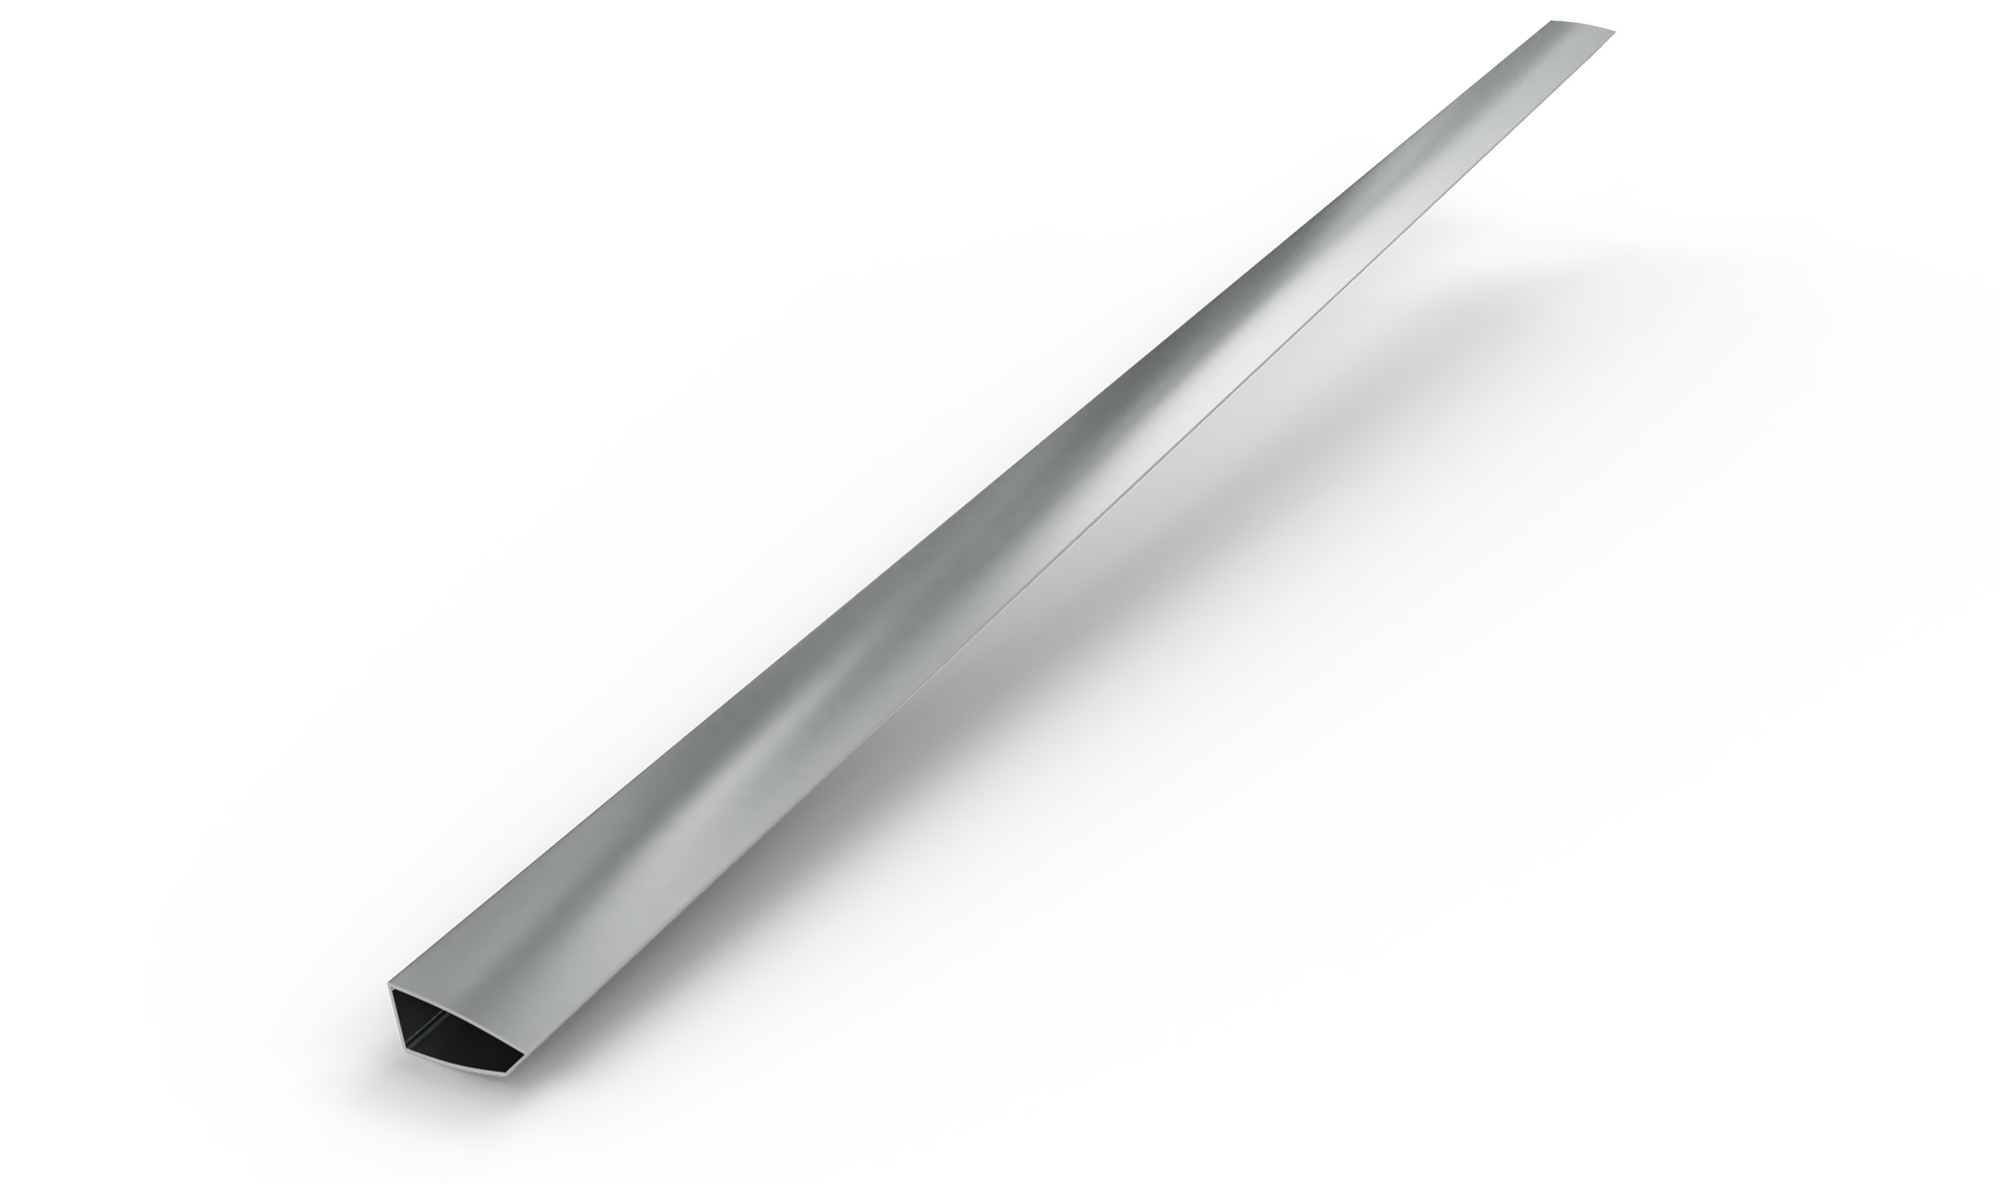 U SHAPE PROFILE Aluminum
U SHAPE PROFILE Aluminum
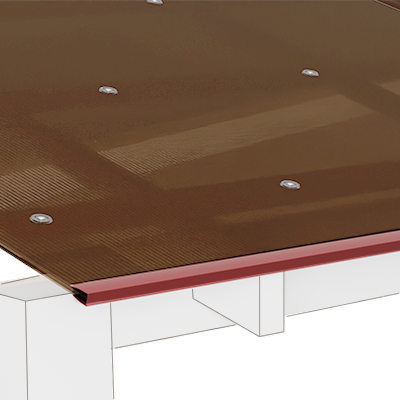
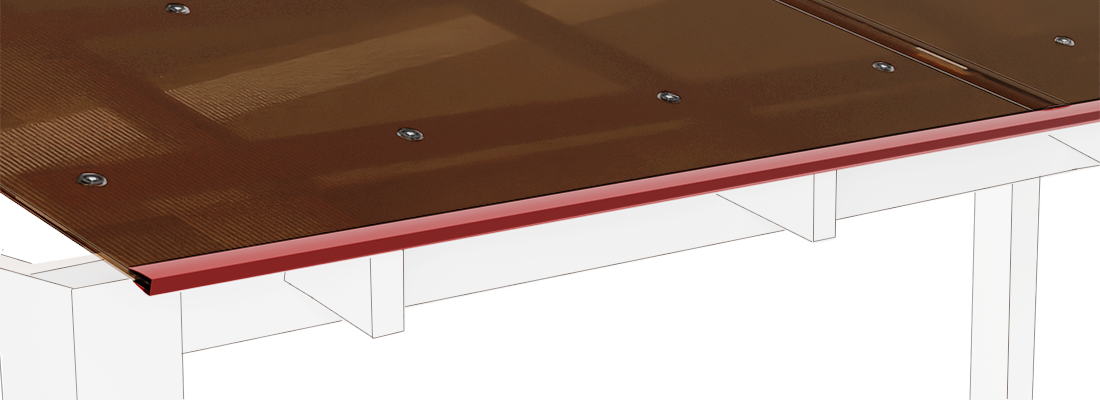
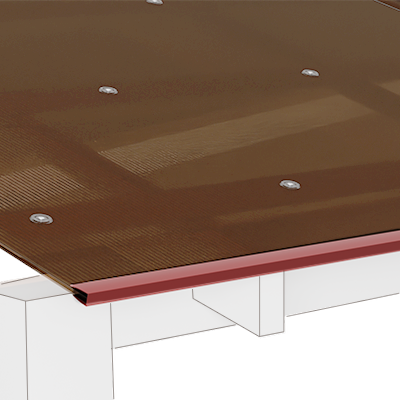
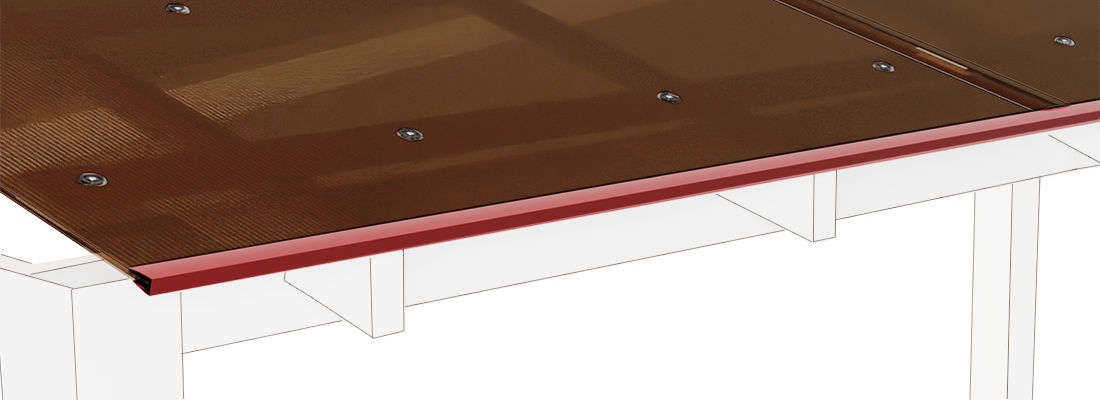
Used for closing the margins of a polycarbonate construction.
Thickness: 6 / 10 mm
Length: 3000 mm
 U SHAPE PROFILE Polycarbonate Clear
U SHAPE PROFILE Polycarbonate Clear
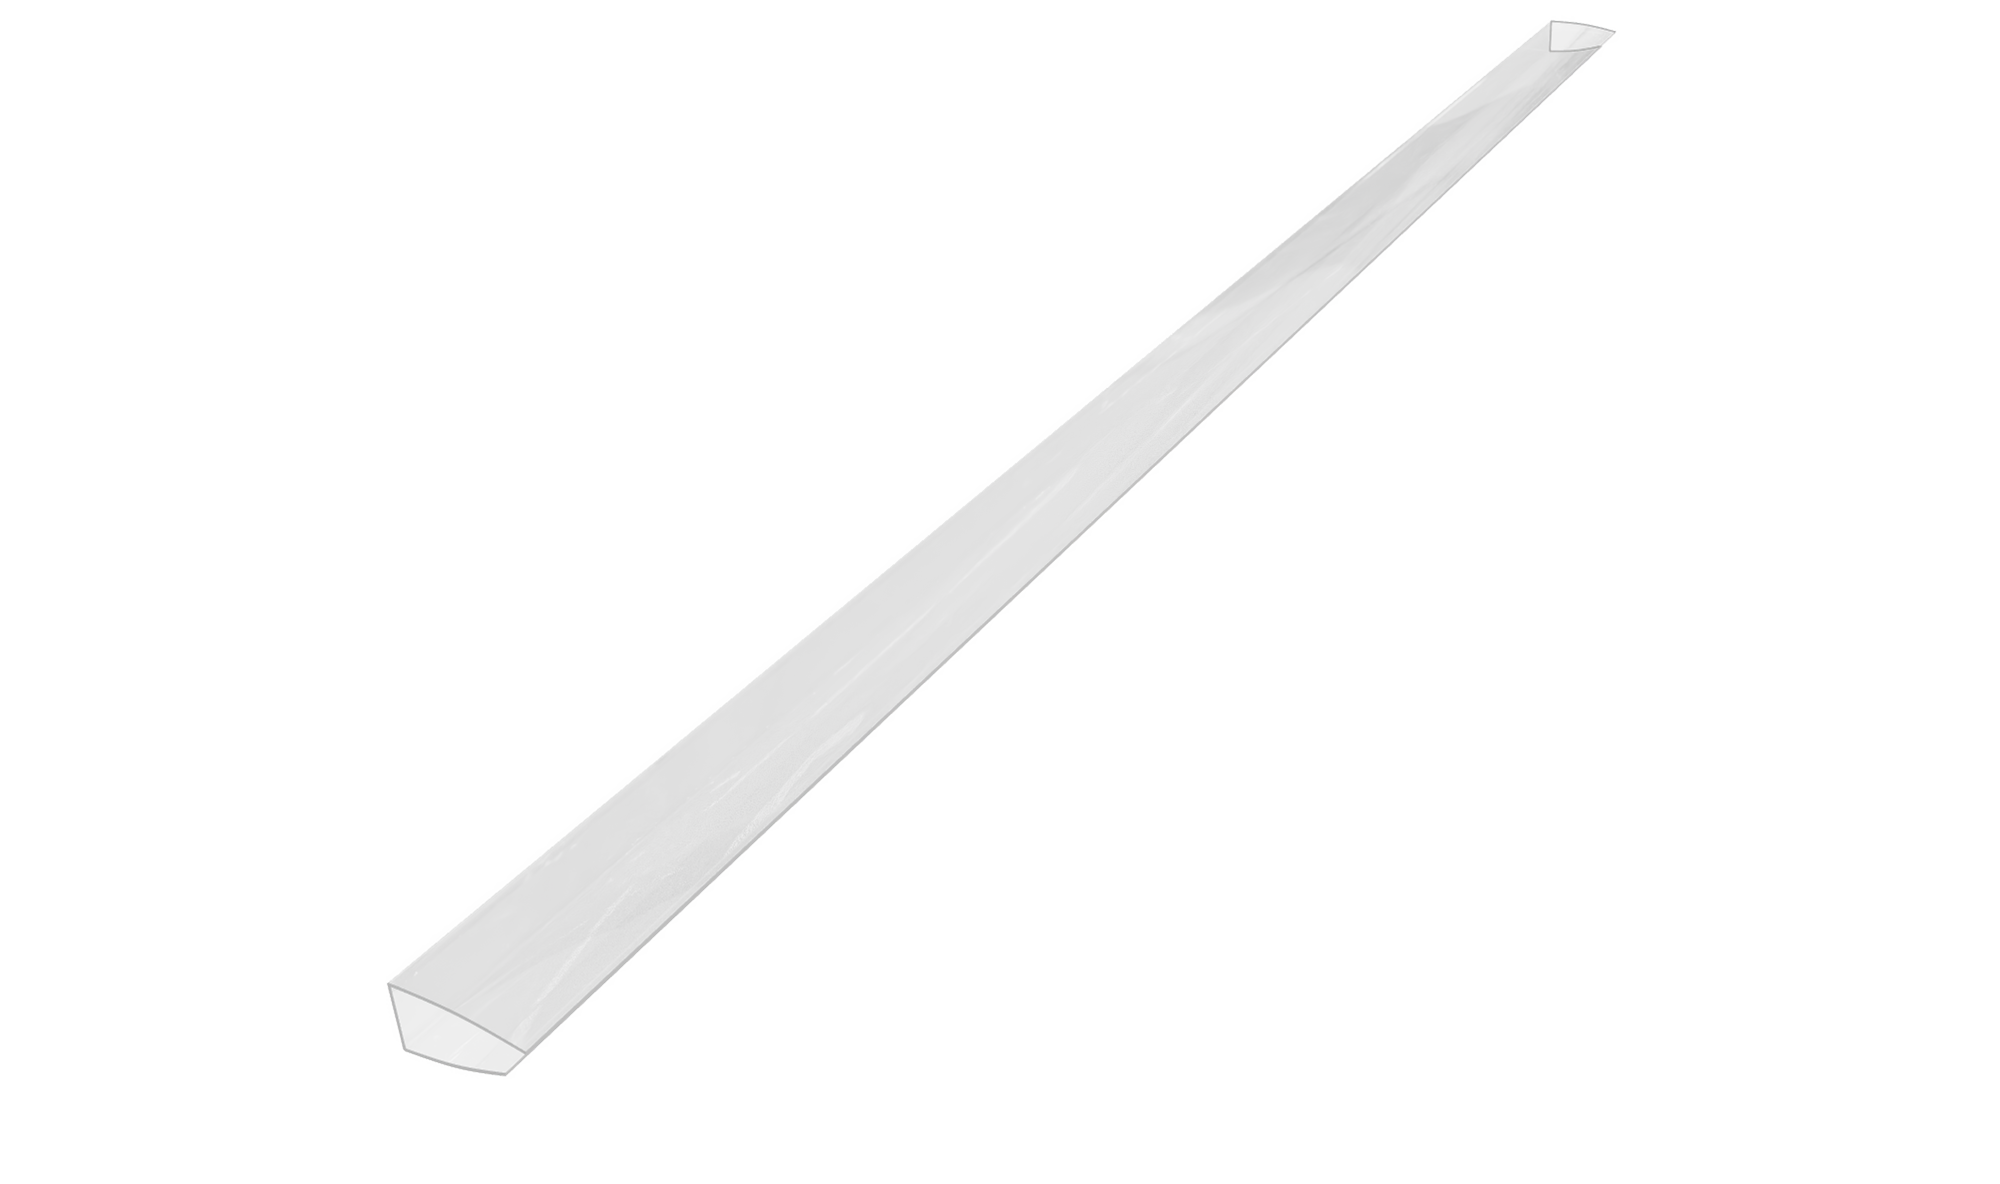
Used for closing the margins of a polycarbonate construction.
Thickness: 4 / 6 / 8 / 10 / 16 mm
Length: 2100 mm
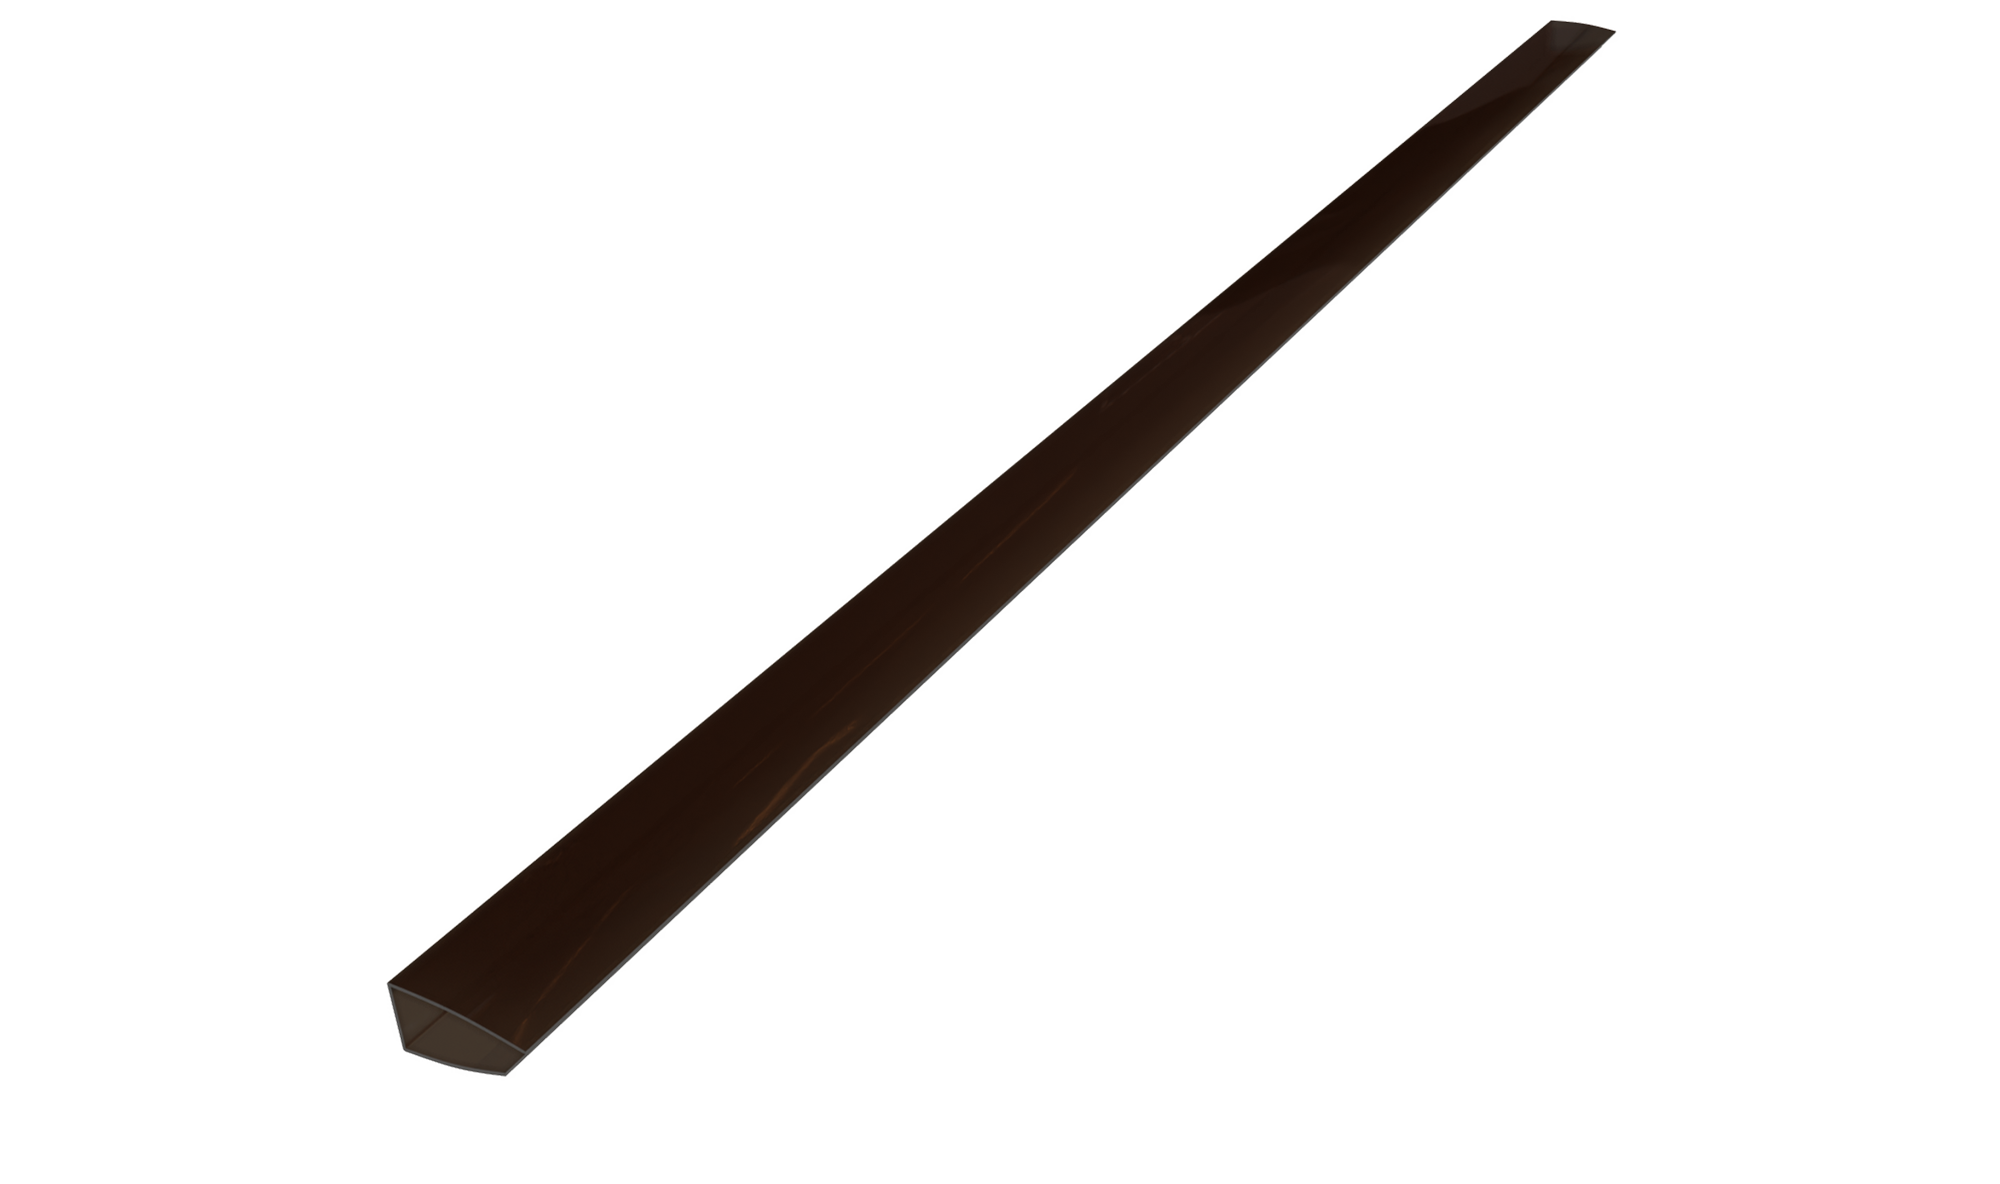 U SHAPE PROFILE Polycarbonate Bronze
U SHAPE PROFILE Polycarbonate Bronze
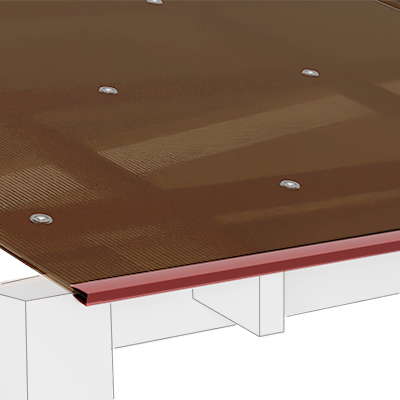
Used for closing the margins of a polycarbonate construction.
Thickness: 4 / 6 / 8 / 10 / 16 mm
Length: 2100 mm
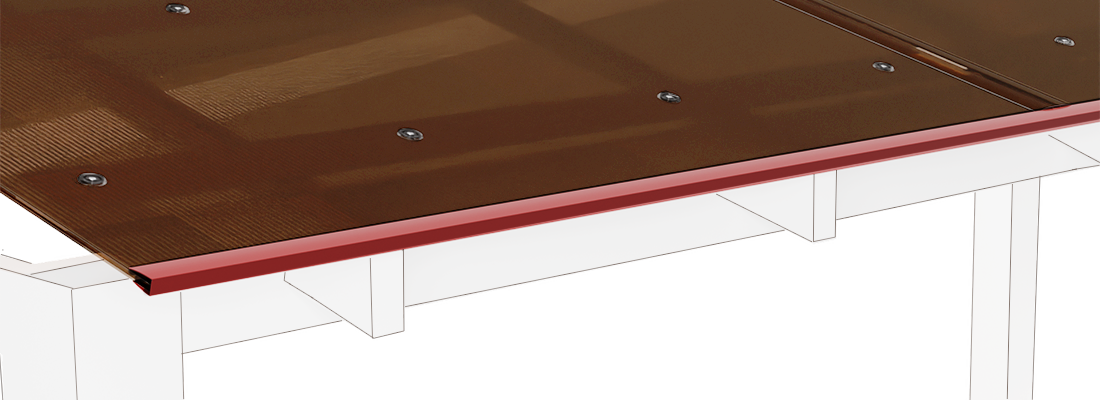
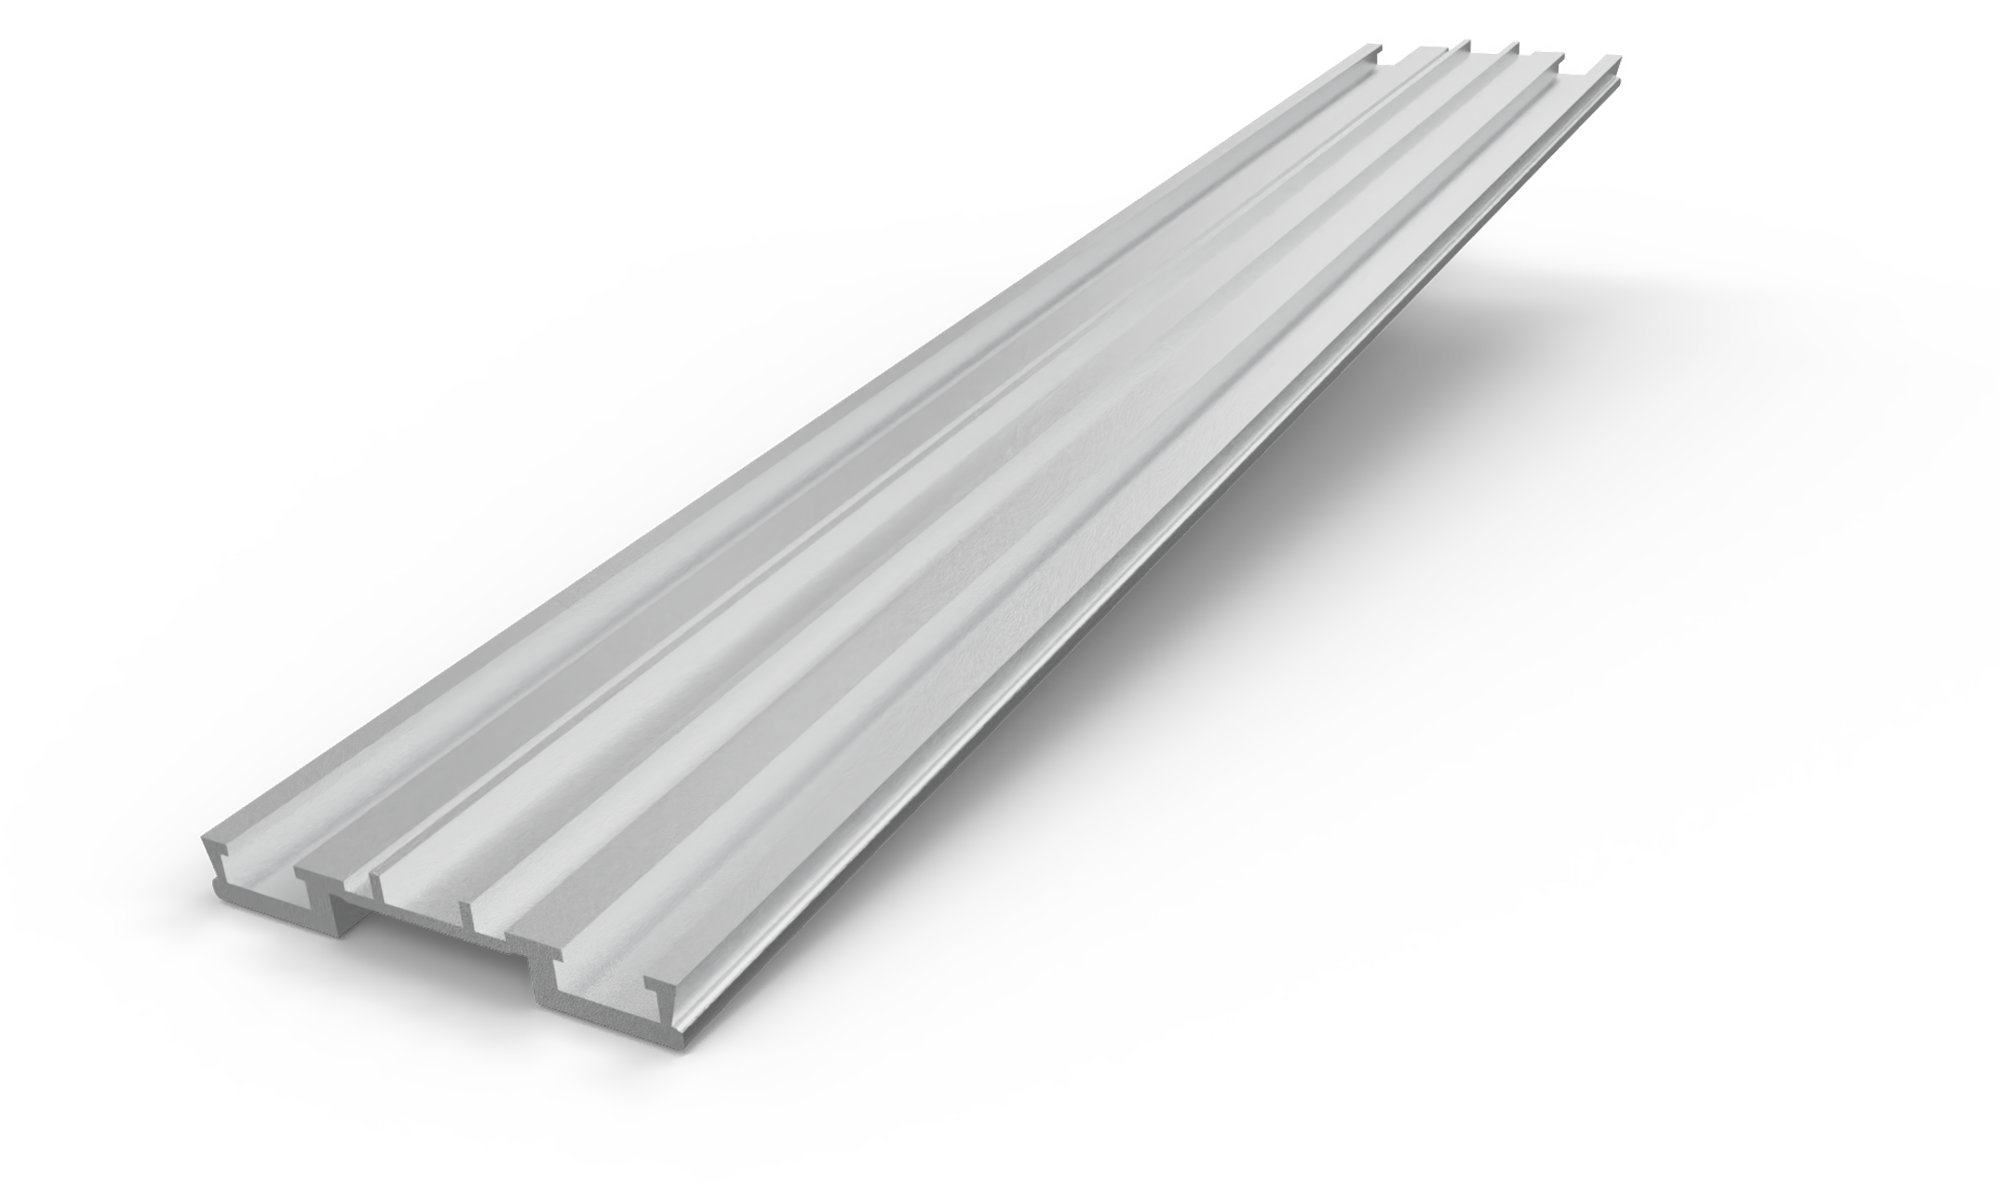 COVERING / JOINING PROFILE Aluminum
COVERING / JOINING PROFILE Aluminum
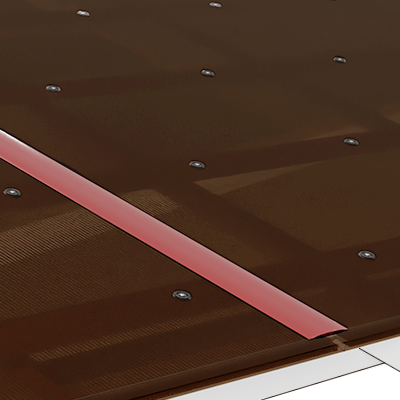
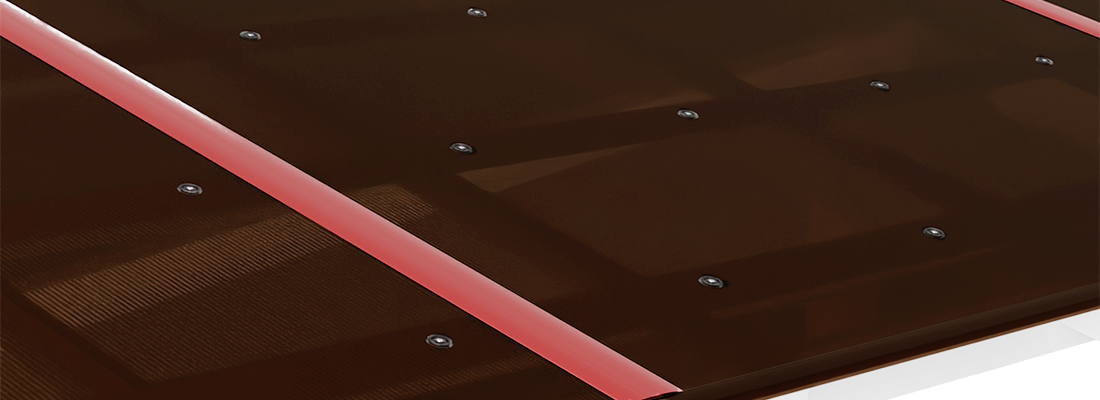
It covers the joining areas of polycarbonate sheets
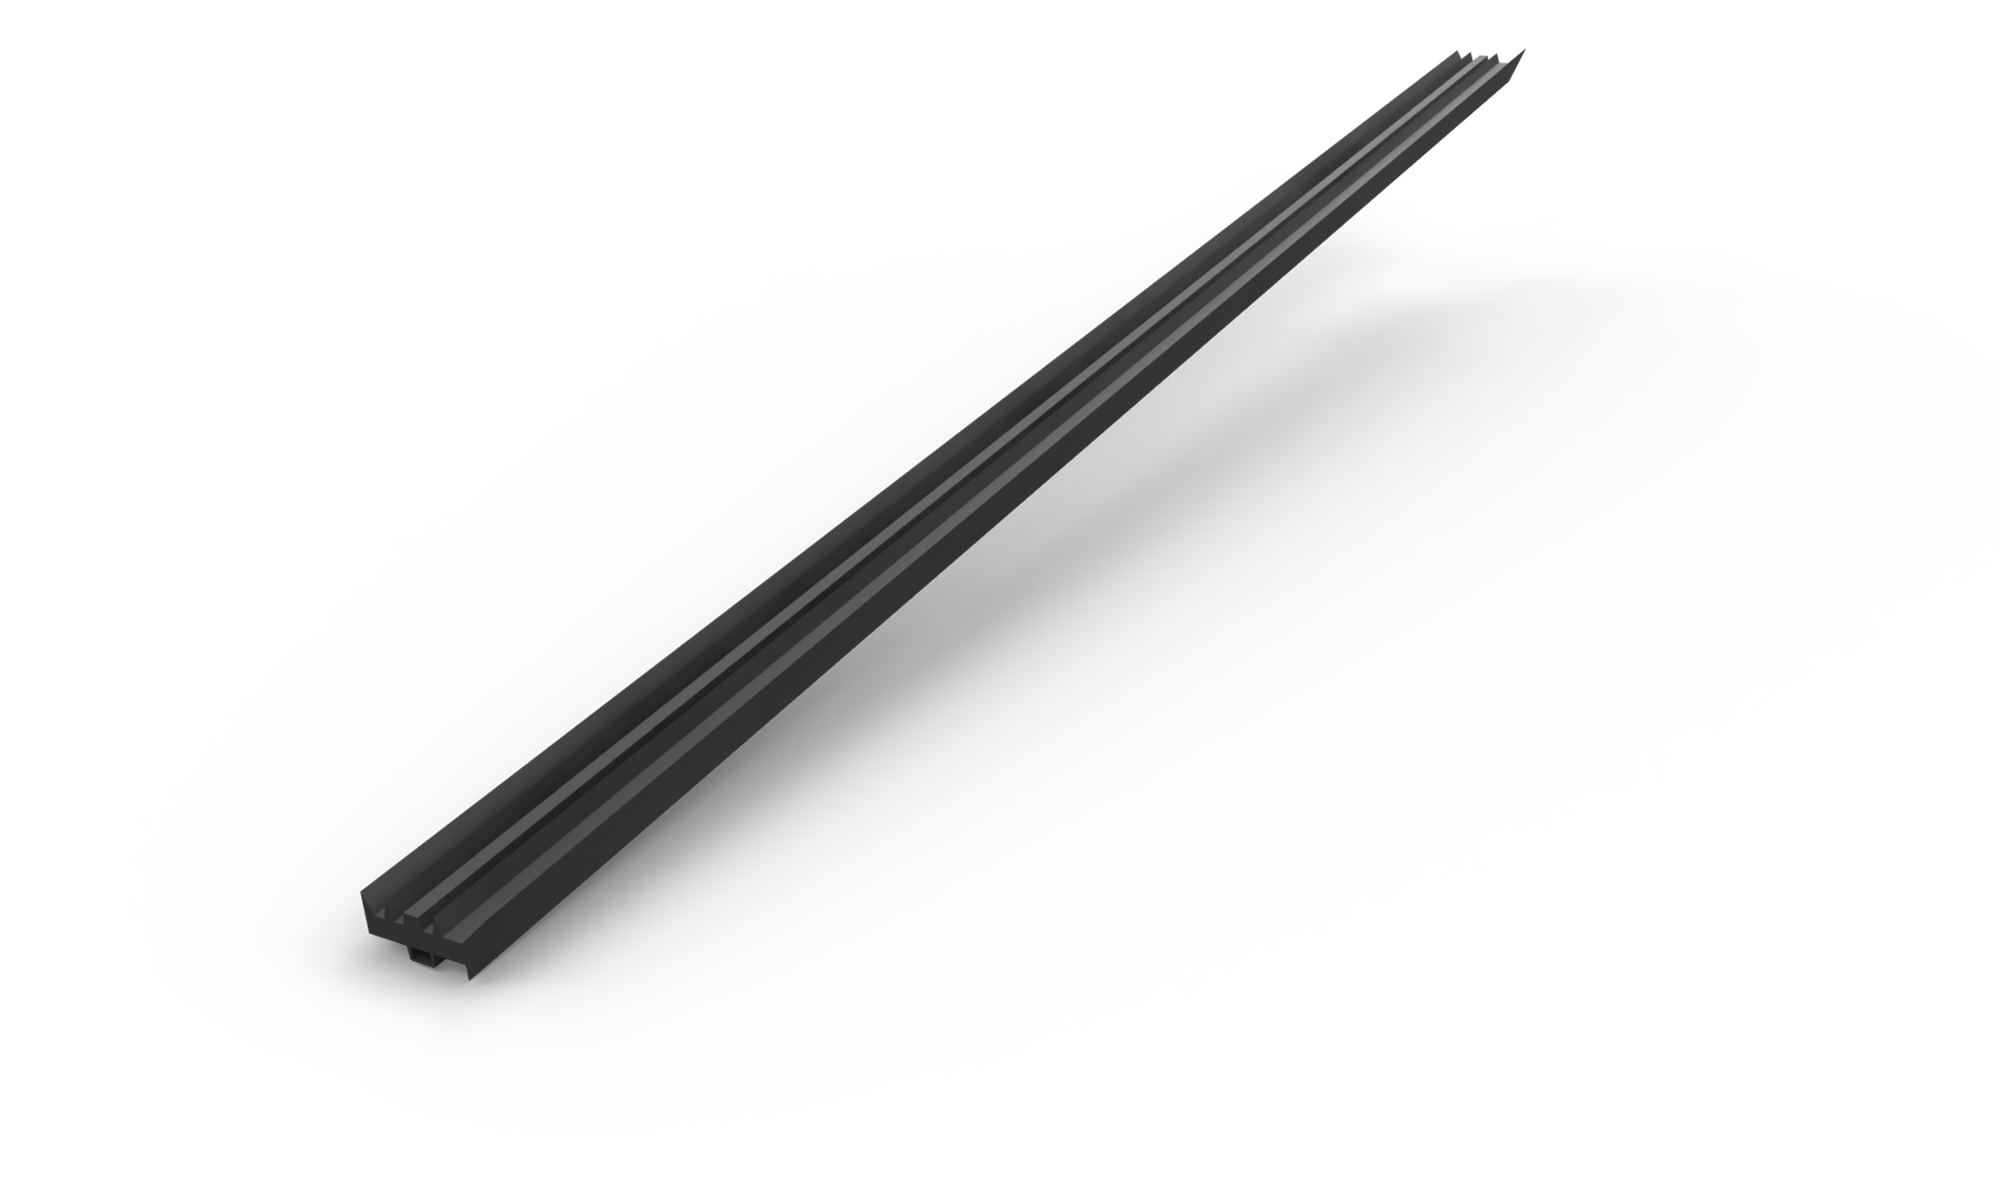 COVER PROFILE GASKET
COVER PROFILE GASKET
Used with the covering profile to insulate and ensure perfect tightness of the joining area.
Width: 25 mm
Length: 3300 mm
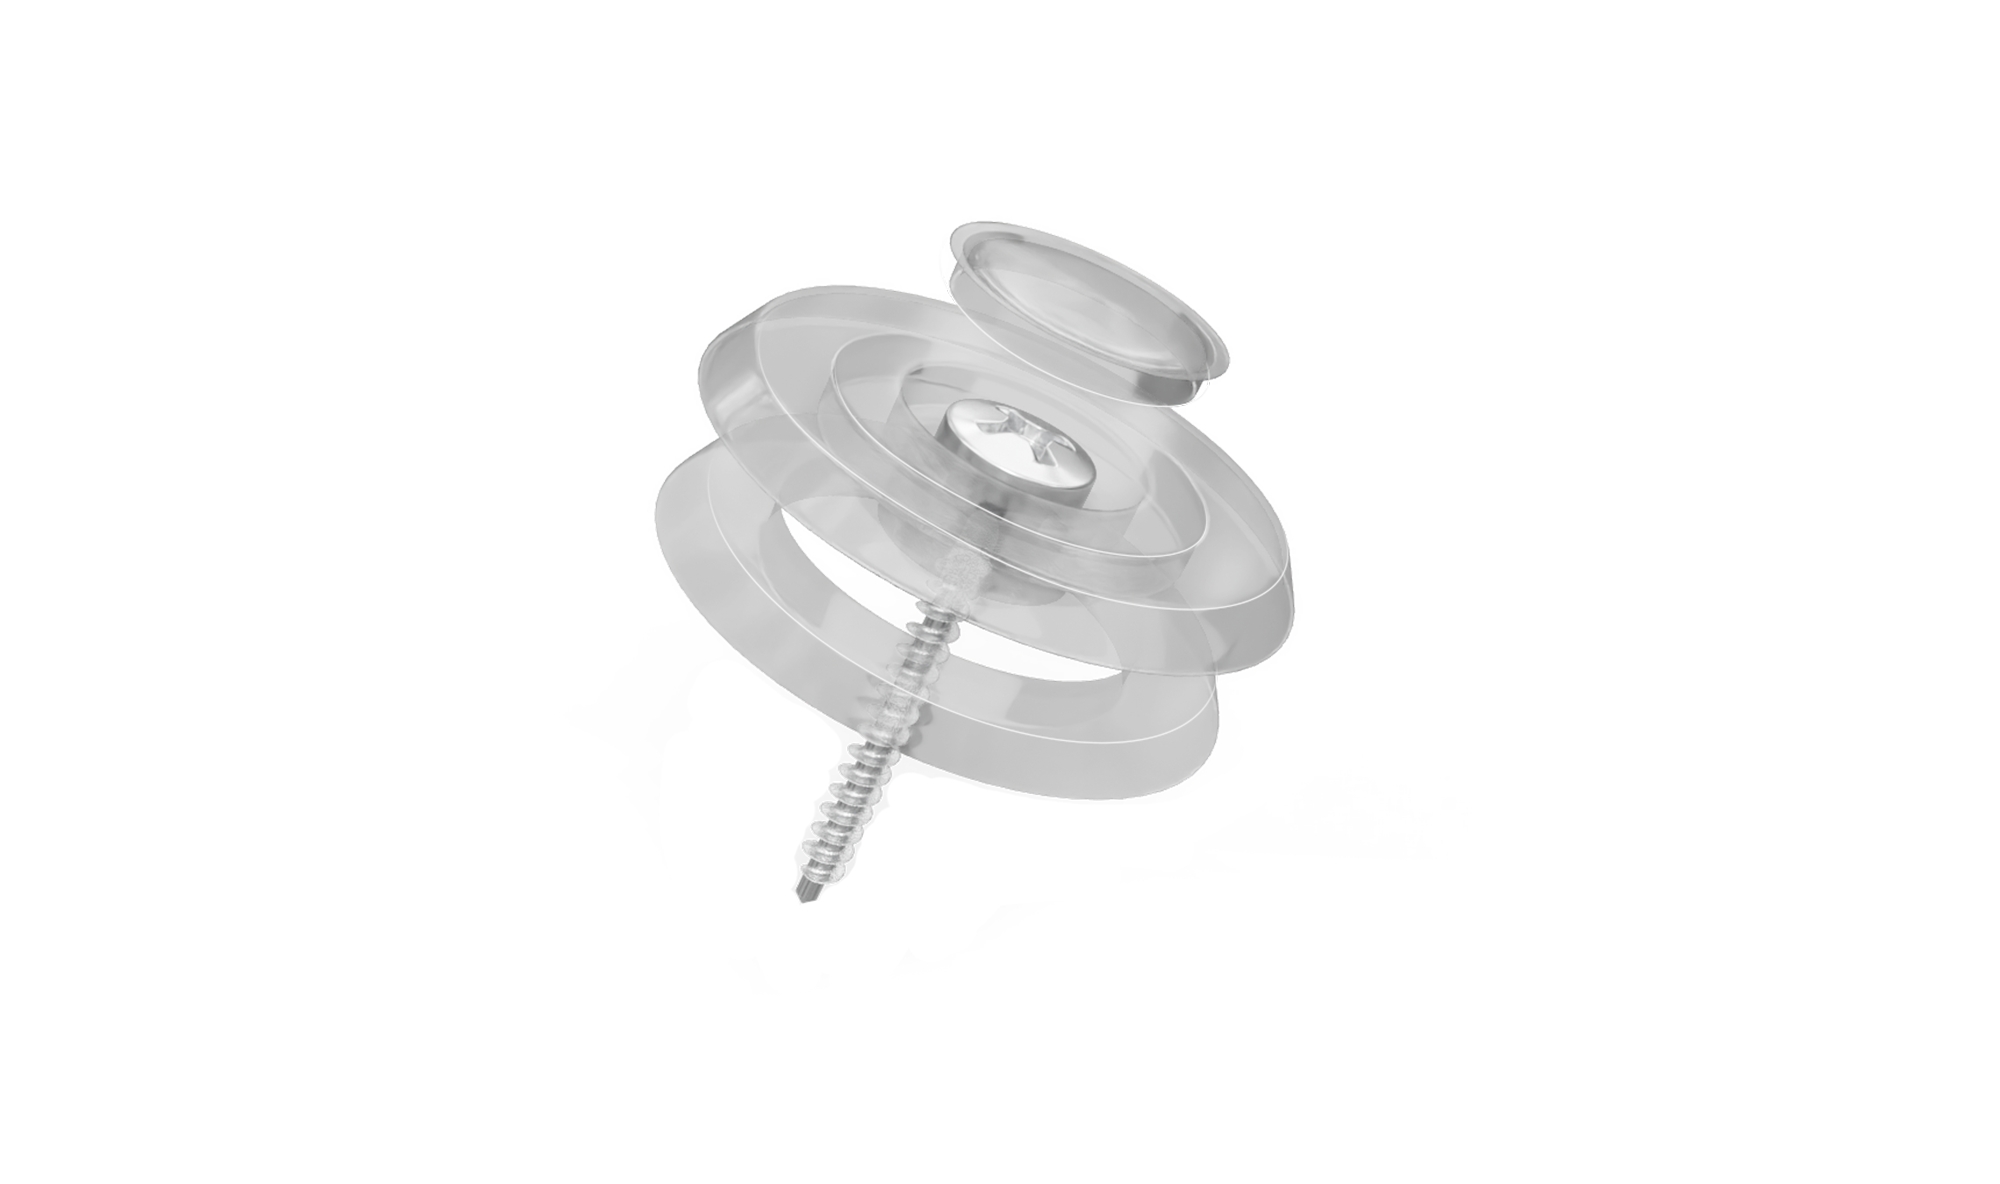 SCREW WITH CAP
SCREW WITH CAP
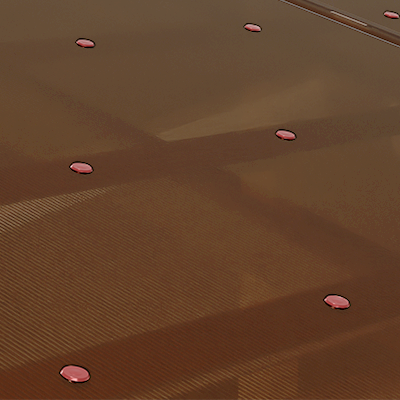
Special screws with neutral cap for installation of polycarbonate sheets (10 pcs / pack).
SMART INSTALLATION PRINCIPLES
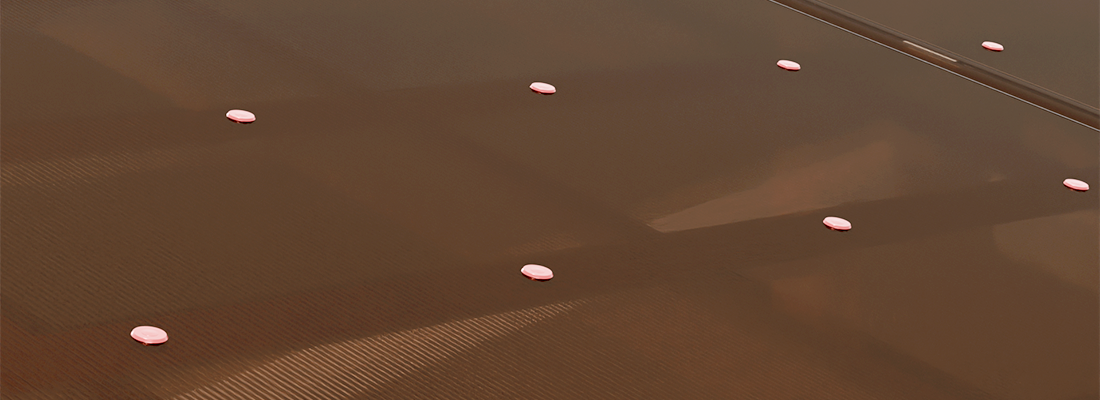
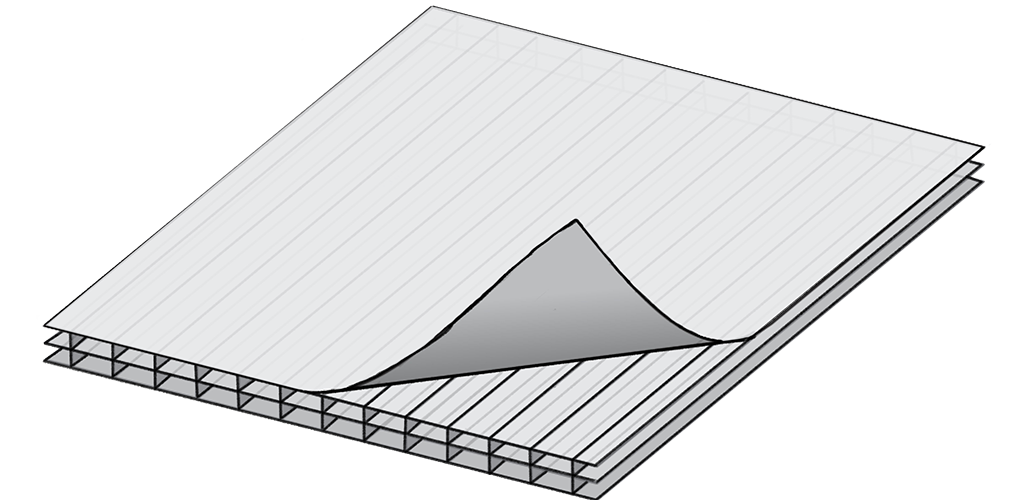
Polycarbonate sheets should always be installed with the ribs positioned vertically. Make sure that the UV-protected side of the sheet is always facing outwards. When installing, approximately 50 millimetres of the protective film is removed from the edges, and the rest of the protective film is removed after installation is complete.
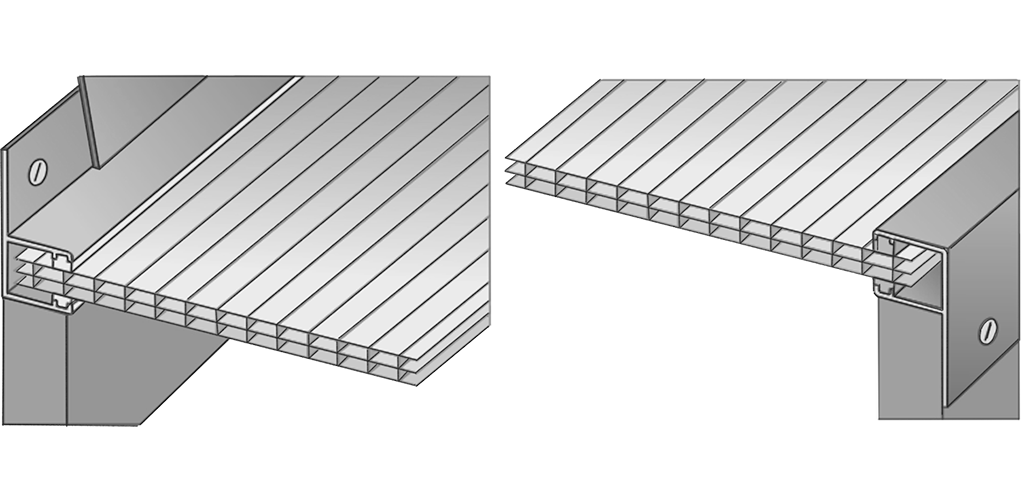
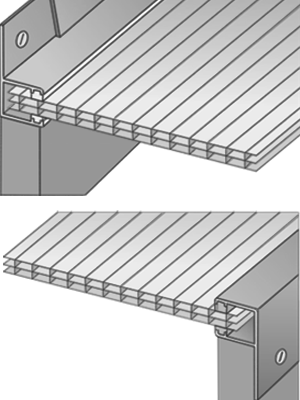
A neutral silicone will be used for sealing, as other types of silicone could cause the polycarbonate material to age or even disintegrate. A sealing strip, preferably made of aluminum, will be applied to the top of the sheet, to prevent the penetration of moisture, dust or insects. A ventilation strip is applied to the bottom of the polycarbonate sheet, allowing air to circulate freely in and out of the material cells, preventing condensation. The ventilation strip must be covered with a "U" profile, sealed with a silicone film, designed to protect the strip and prevent water from seeping into the sheet.
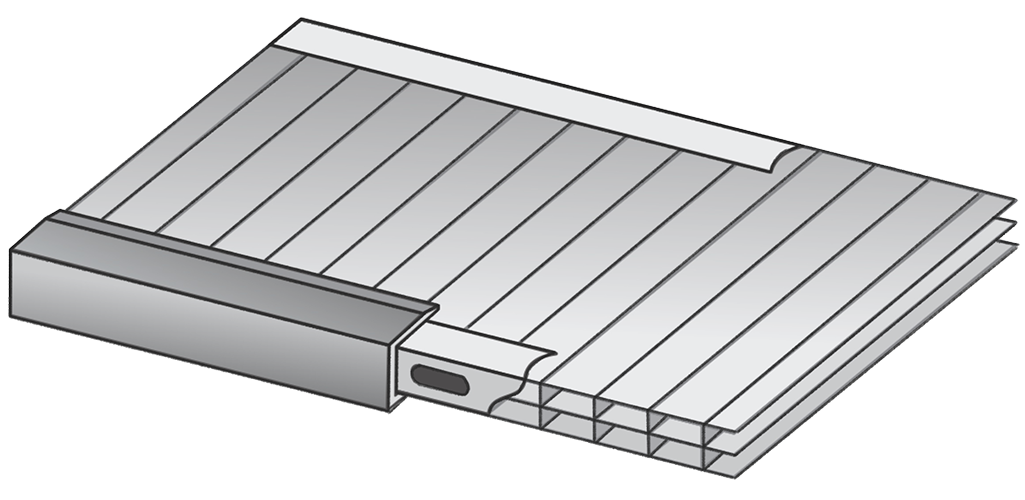
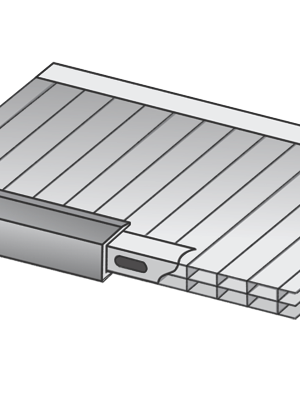
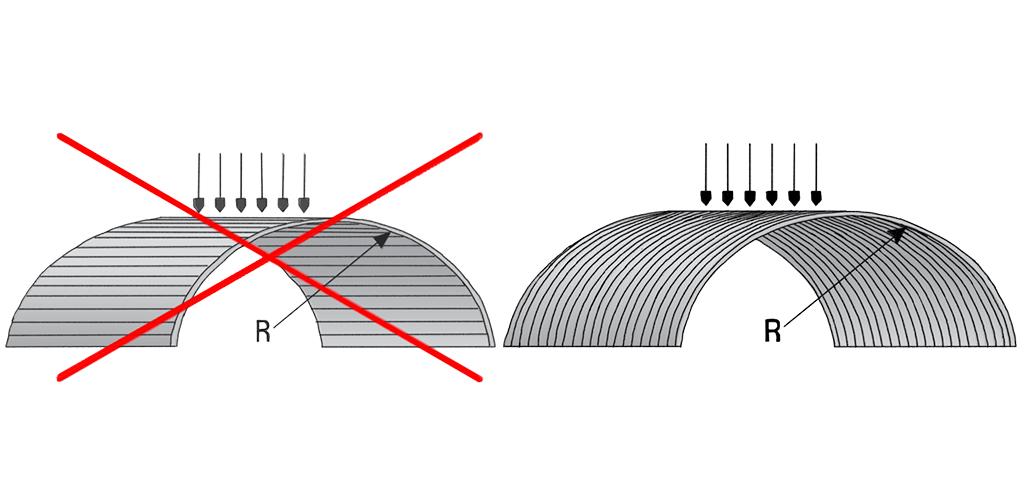
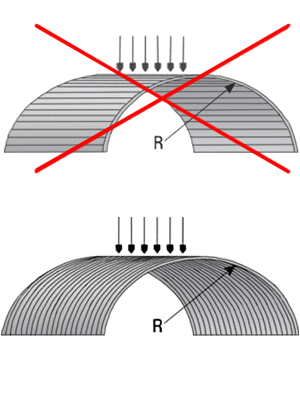
Due to its high viscosity, polycarbonate can be bent “cold”. The stiffening ribs in polycarbonate cellular sheets are located along the long side of the sheet. When designing curved awnings, the vertical positioning of the stiffening ribs must be taken into account. This is necessary to drain any condensation that forms in the cells of the sheets in the event of large temperature differences. When bending, the length of the sheet must be much greater than its width, even twice as large due to the geometric construction.
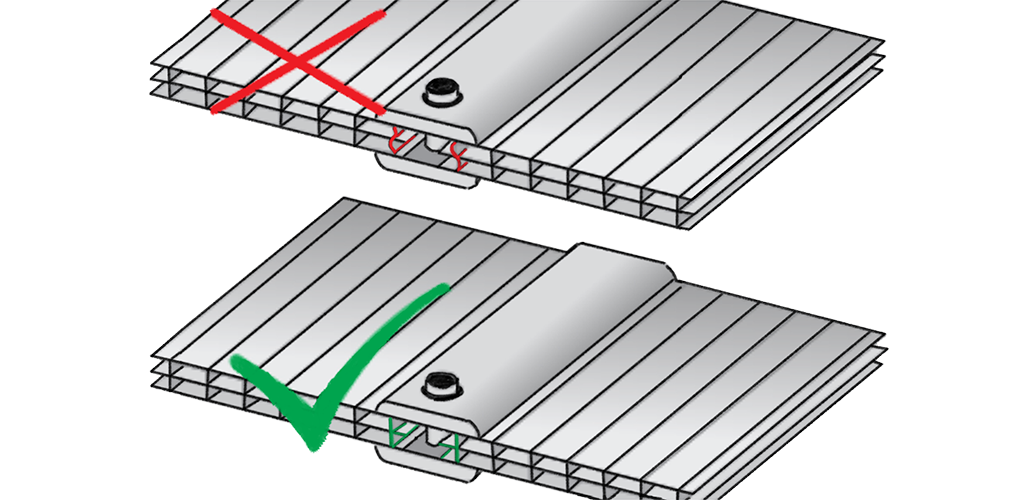
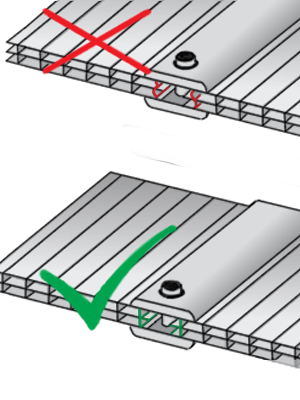
The sheets will not be fixed too tightly, as they are subject to thermal expansion and contraction, and fixing them too tightly can have negative effects, over time, on the final result. All screws with which the polycarbonate will be mounted will have rubber gaskets. The screws will be tightened until the gasket seals on the polycarbonate, but without deforming the sheet.
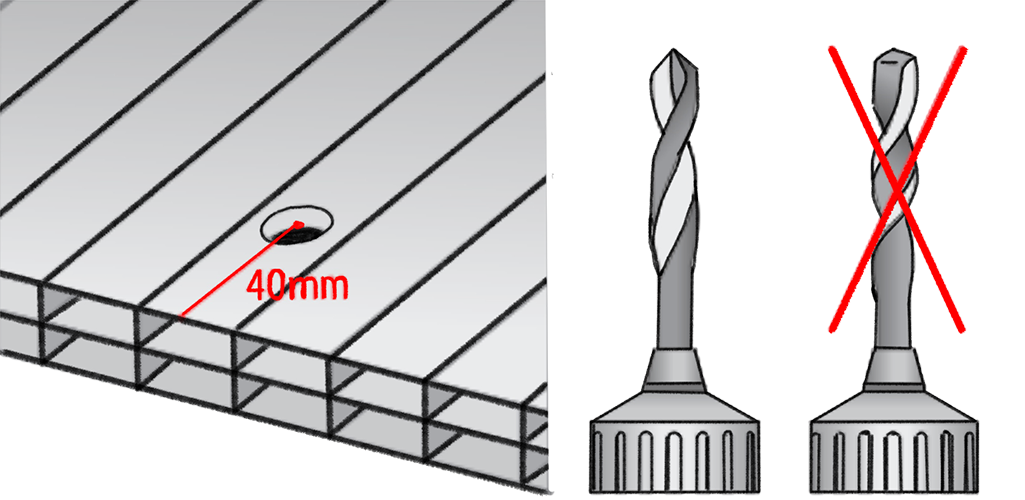
The fixing holes must be drilled at a minimum distance of 40 mm from the edge of the plate. Only regular, well-sharpened metal drill bits with a diameter adapted to the chosen type of fastening shall be used. It is not recommended to use milling drills or other equipment that can cause vibrations and cracks in the polycarbonate.
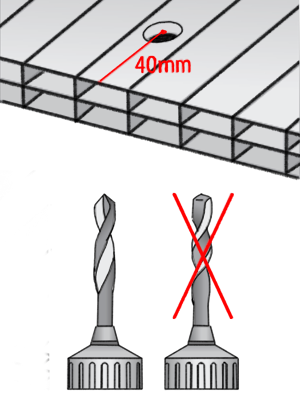
The holes for the fastening buttons should be 18 millimeters in diameter. The length of the console arm at the end of the polycarbonate sheet should be 50 - 60 mm. This will ensure good water collection in the gutter.
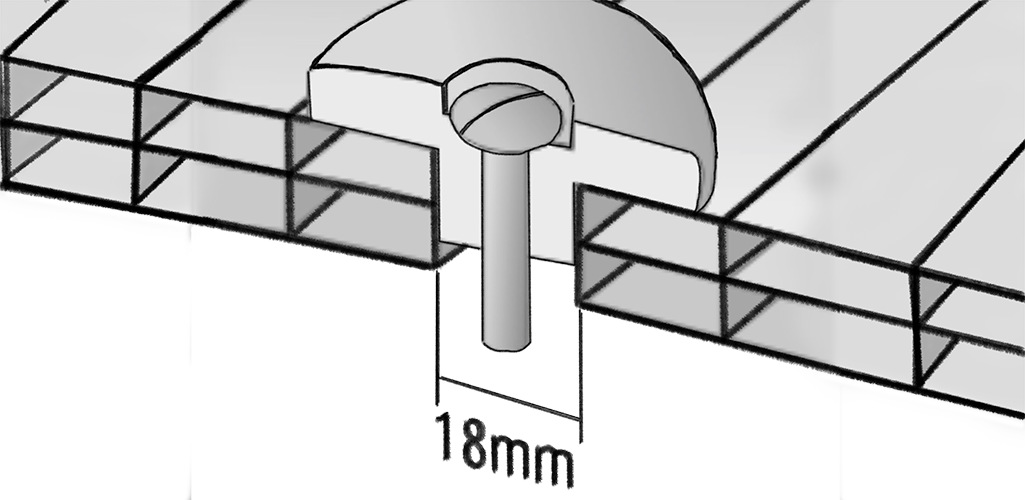
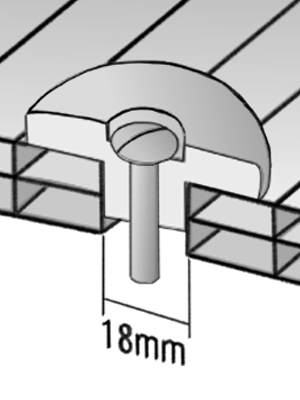
For optimum security, at least one vertical rib must be fitted into the frame, this is the case when the board has closed edges. When the board is installed with open edges, it must be cut as close as possible to the rib. It is necessary to use accessories with a large fixing surface to provide sufficient stability.
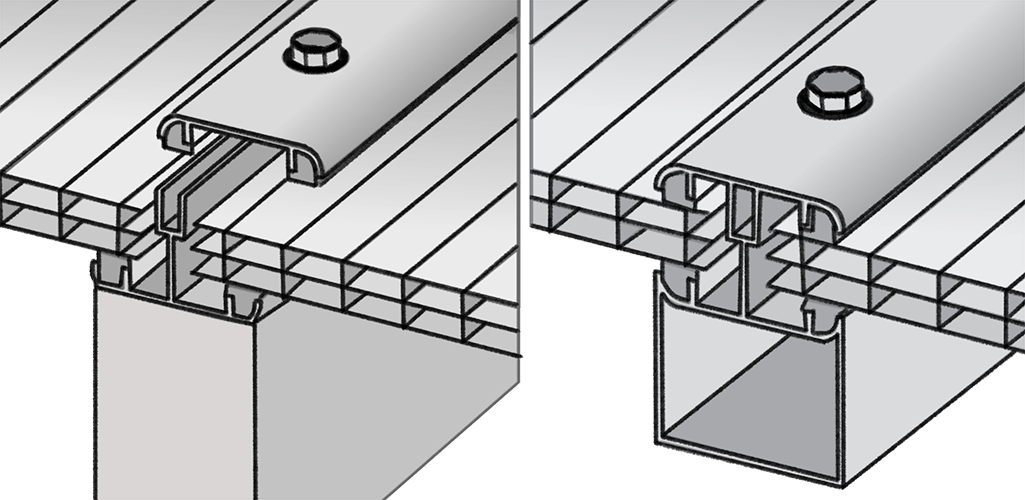
The UV-protected surface of the polycarbonate is covered by the manufacturer with a customized protective film. This must always be on the outside. Another film is applied to the other side of the sheet. Both films are initially removed only 50 mm around the edges and completely only at the end of the work, to ensure protection during installation. If the project is long-term, it will be checked periodically that the film has not stuck to the sheet, especially during hot summer periods.
SMART VIDEO INSTALLATION GUIDE